
Blush is the tiny step that makes the biggest difference. One soft sweep can make you look fresh, rested, and quietly glowing—even on no-makeup days. But the wrong placement or formula? Hello, clown cheeks 😅
The good news: a natural flush is easy when you know where to place blush, how to blend it, and which texture works for your skin. Let’s break it down step by step, beginner-friendly, with 2026’s lifted, sculpted trends in mind.
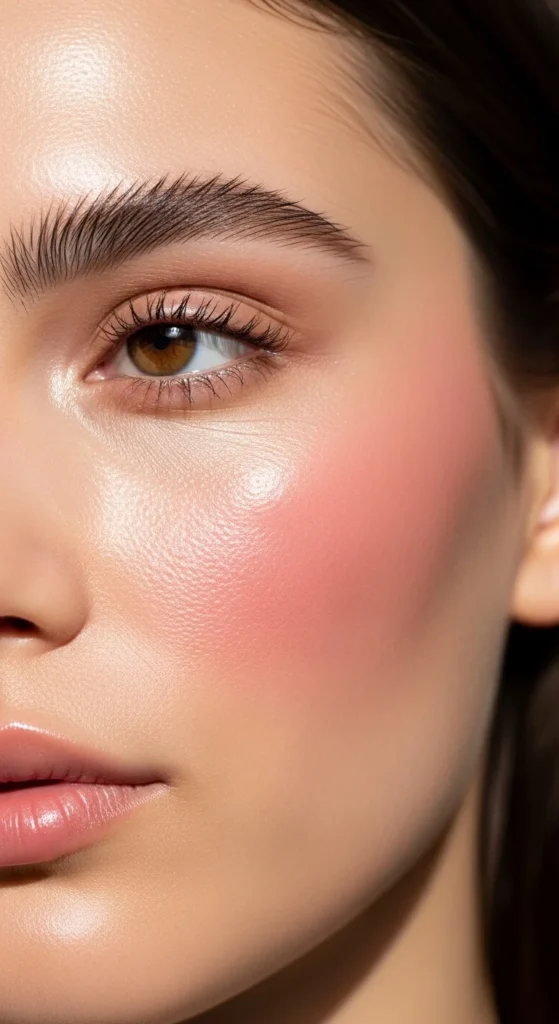
Understand What “Natural Flush” Really Means
A natural blush look mimics how your cheeks turn rosy after a brisk walk—not heavy, not stripey, and never harsh.
Key principles:
- Color melts into the skin
- Placement lifts the face upward
- Pigment is built slowly in thin layers
- Blending is tapping, not rubbing
Think “your skin, but slightly happier.”
Step 1: Choose the Right Blush Formula for Your Skin Type
Your skin type decides the formula—this alone prevents patchiness.
Cream or Liquid Blush
- Best for: dry, normal, textured skin
- Finish: skin-like, fresh, seamless
- Apply: before powder products
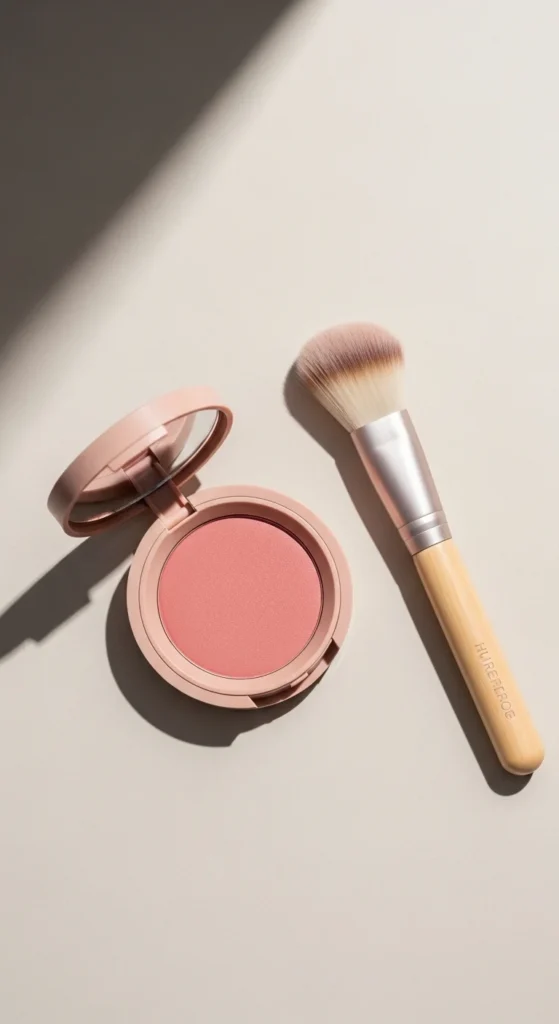
Powder Blush
- Best for: oily or combo skin
- Finish: soft matte or satin
- Pro tip: light layers only
Hybrid Trick (2026 favorite):
- Cream blush first for realism
- Powder blush on top for longevity and soft focus
Step 2: Find the Perfect Placement (No Guesswork)
The Beginner Rule: Apples of the Cheeks
Smile gently—see the fullest part of your cheek? That’s the apple.
- Tap blush there for a youthful pop
- Keep it soft and controlled
But here’s the upgrade 👇
The Lifted 2026 Placement
Instead of staying low:
- Start slightly above the apple
- Sweep upward along the cheekbone
- Stop before the hairline
This gives instant lift without contour.
Step 3: Adjust Placement for Your Face Shape
Round Face
- Place blush higher on the cheekbone
- Avoid the center of the face
- Blend upward to elongate
Square Face
- Use a soft C-shape from apple to temple
- This softens strong angles
Heart Face
- Apply slightly lower on the apples
- Curve upward gently for balance
Oval Face
- You’re lucky—most placements work
- Focus on blending for symmetry
Rule of thumb: blush should lift, never drag downward.
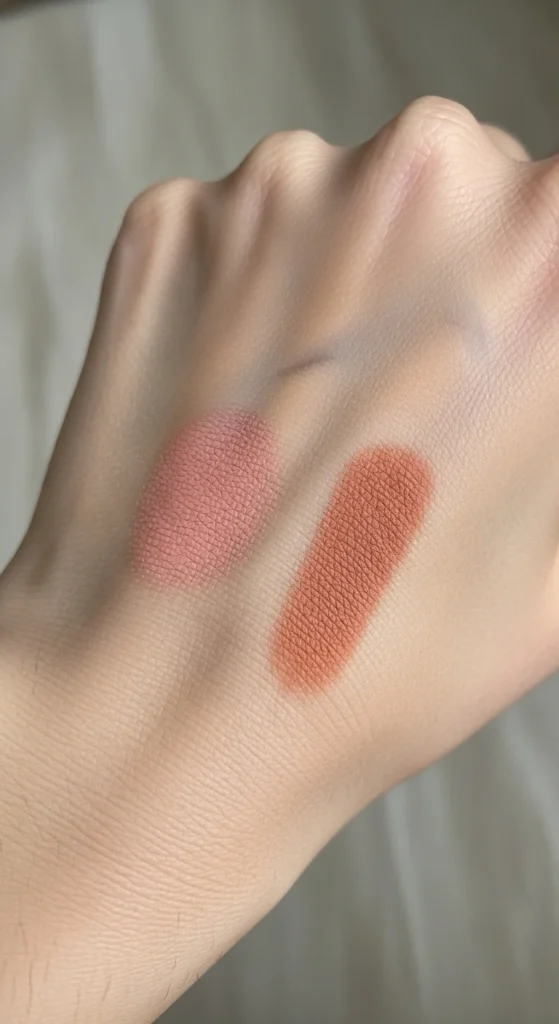
Step 4: Control Pigment (The “No-Clown” Method)
Blush mistakes usually come from too much product at once.
Fix it like a pro:
- Dab product on the back of your hand first
- Warm it up and remove excess
- Pick up color gradually
Also try the two-finger rule:
- Place two fingers from the nose outward
- Apply blush only beyond that zone
This keeps cheeks fresh—not overwhelmed.
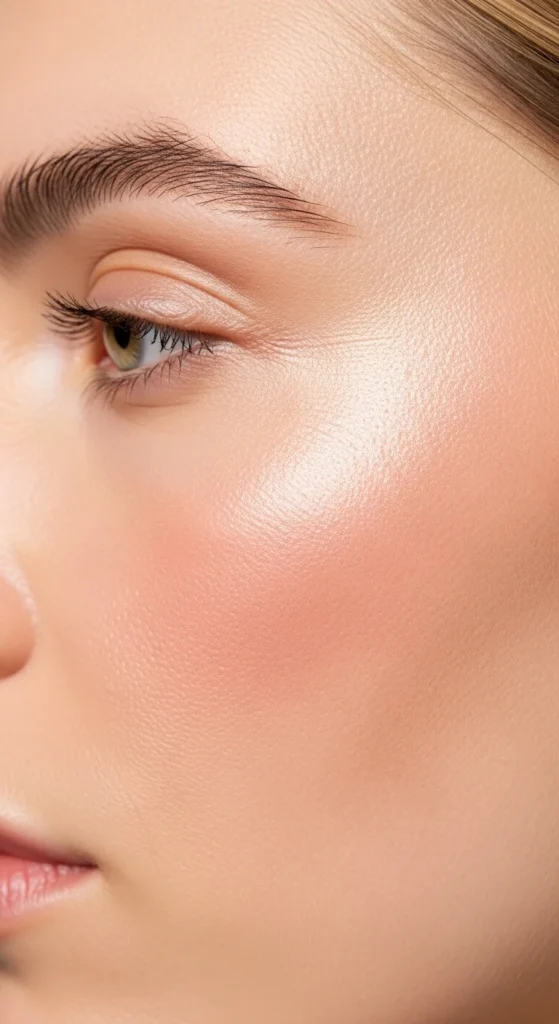
Step 5: Blend Like a Makeup Artist
Blending is where blush becomes skin.
Best techniques
- Tap or stipple (never swirl)
- Use a damp sponge for liquid blush
- Use a fluffy brush for powder
Check yourself:
- Step back from the mirror
- Look at your face as a whole
- Add more only if needed
Thin layers always win.
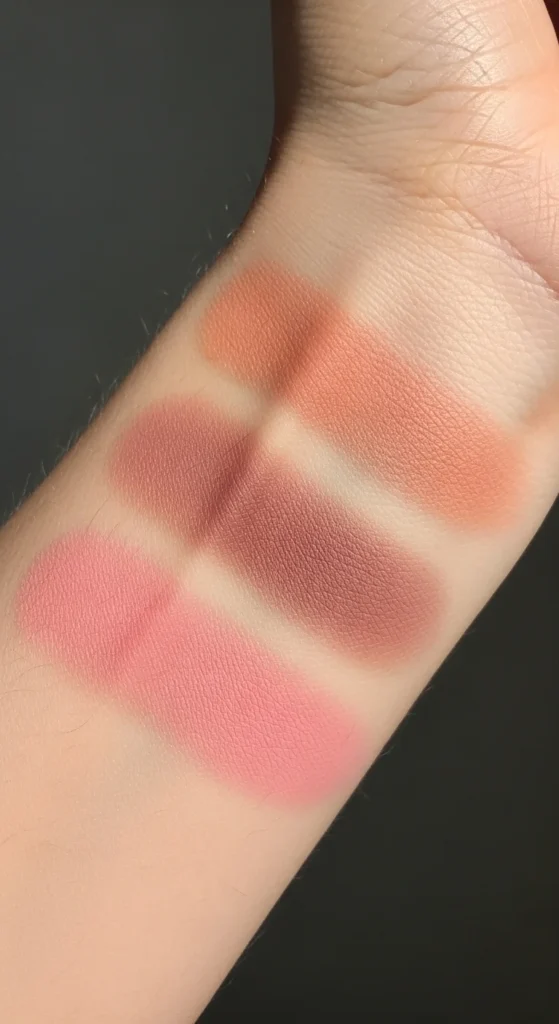
Step 6: Pick the Right Shade for Your Undertone
Color choice matters more than brand.
- Warm undertones → peach, coral, soft apricot
- Cool undertones → mauve, rose, berry
- Neutral undertones → dusty pinks, nude rose
Pro move: mix two shades on your hand to create a custom flush that looks uniquely you.
Step 7: Lock It In Without Killing the Glow
To keep blush looking fresh:
- Lightly set cheeks before powder blush
- Avoid heavy setting powders directly on blush
- Use a soft brush to diffuse edges
If you overdo it?
- Tap over blush with a clean sponge
- Or lightly buff with leftover foundation
Instant fix—no makeup remover needed.
Final Takeaway
Blush isn’t about following strict rules—it’s about enhancing your natural flush in a way that suits your face. Start light, blend upward, and let the color melt into your skin.
Once you master placement and blending, blush becomes the easiest step—and the most flattering one.
💡 Save this guide for later and try one new blush technique this week!

Leave a Reply