
White nail designs are popular because they look clean, polished, and easy to wear with anything. From milky sheers that look soft on the nail to crisp opaque whites inspired by Pantone’s airy “Cloud Dancer” vibe, white can be minimal, playful, or slightly glam with tiny accents. It also works for any season. It looks bright in summer, calm in winter, and polished for events like weddings or work meetings.
If you’ve tried white before and felt it looked too stark, the trick is choosing the right finish. Milky and sheer whites feel softer, while cool porcelain whites look crisp. Below are 23 clean white nail ideas you can recreate at home with simple tools and budget-friendly polish.
1. Milky White Sheer Glow
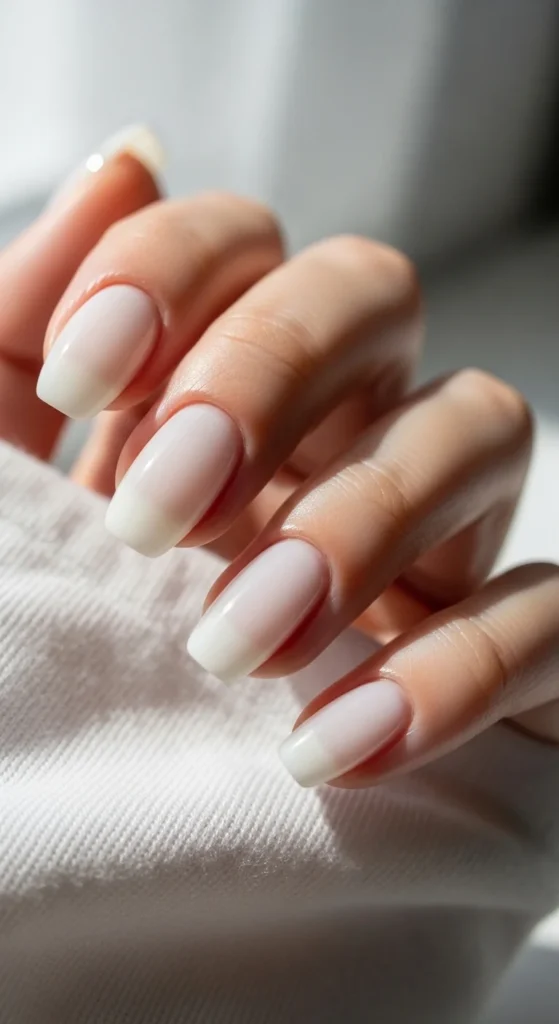
Milky sheer white is the easiest way to wear white nails without it looking too harsh. It has a soft, semi-transparent finish that makes nails look healthy and smooth.
Start with a clear base coat to prevent staining. Apply one thin coat of milky white. Let it dry, then add a second thin coat if you want more coverage. The goal is soft and cloudy, not fully opaque.
This look is forgiving. Small chips are hard to notice because the color is sheer. That makes it great for busy weeks.
Budget tip: if you don’t have a milky polish, mix one drop of white polish into clear top coat and test it on one nail. Adjust until it looks softly tinted.
Finish with glossy top coat and cuticle oil for that clean, “just done” look.
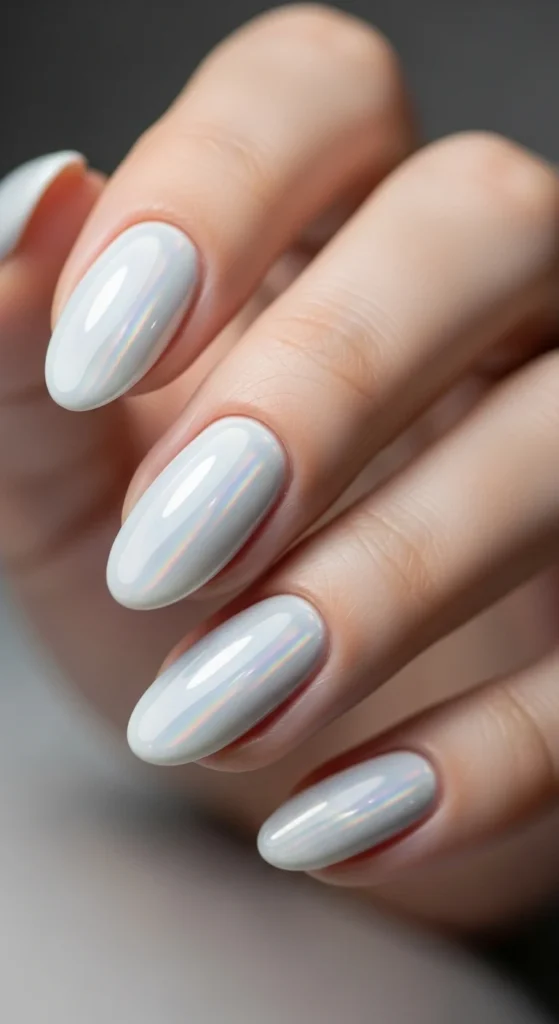
2. Cloud Dancer Opaque White
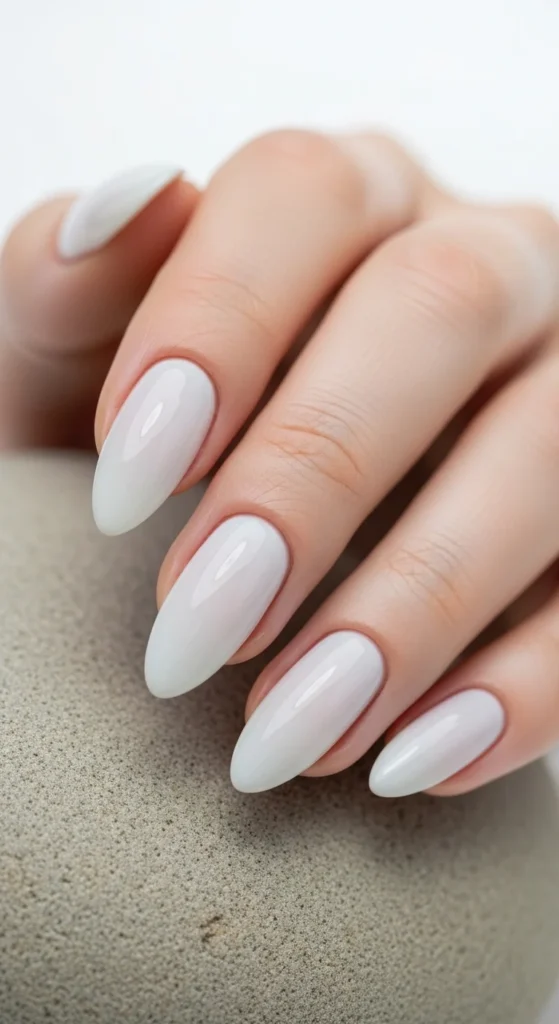
If you love a crisp white manicure but want it to feel softer than pure white, go for an airy, slightly grey-leaning white. It looks modern and calm, not harsh.
Prep matters here. White shows ridges, so lightly buff your nails and use a smoothing base coat. Apply two thin coats instead of one thick coat. Thick white can streak.
This style looks sharp on almond nails and also great on short squares.
Budget tip: if your white looks uneven, try a thin nude base coat first. It helps the white apply more smoothly.
Seal with a glossy top coat, and reapply top coat every few days to help prevent chips.
3. Micro French Milky Tips
Micro French tips are perfect when you want something clean but not plain. The thin white line adds structure while keeping the look light.
Use a sheer nude base and let it dry fully. Then paint a very thin milky-white line at the tip using a striping brush. Keep it soft and hazy, not bright chalk white.
If you’re a beginner, French tip guides help a lot and cost very little.
This style is great for short square nails because it feels practical and polished. It also grows out nicely, so you can wear it longer between touch-ups.
Finish with glossy top coat for a smooth surface.
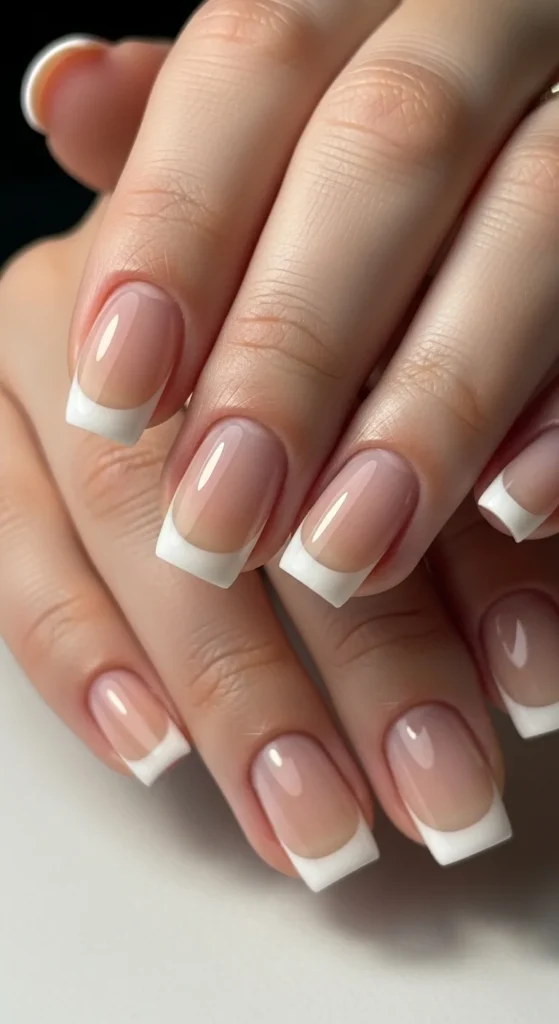
4. Classic Milky French Hybrid
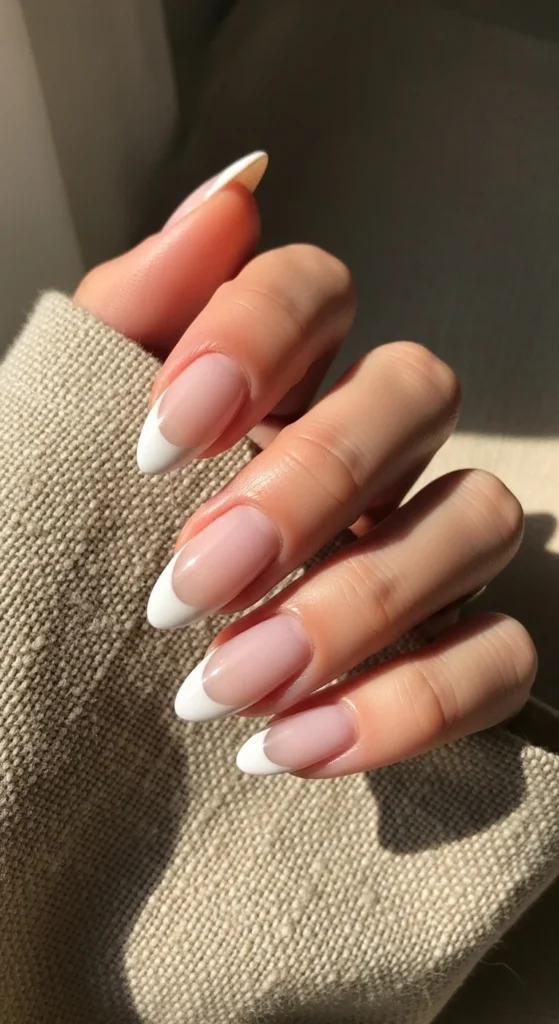
This is the French manicure made softer. The base is milky and sheer, while the tips are more opaque. It looks clean and timeless without being too sharp.
Apply a milky base first. Then use a thicker white polish on the tips. Almond nails make the curve look elegant, but you can also do it on short squoval nails.
Budget tip: if drawing tips is hard, use a makeup sponge to stamp white polish onto the tips, then clean edges with a small brush dipped in remover.
Seal with top coat. If you want it to last longer, add another top coat the next day.
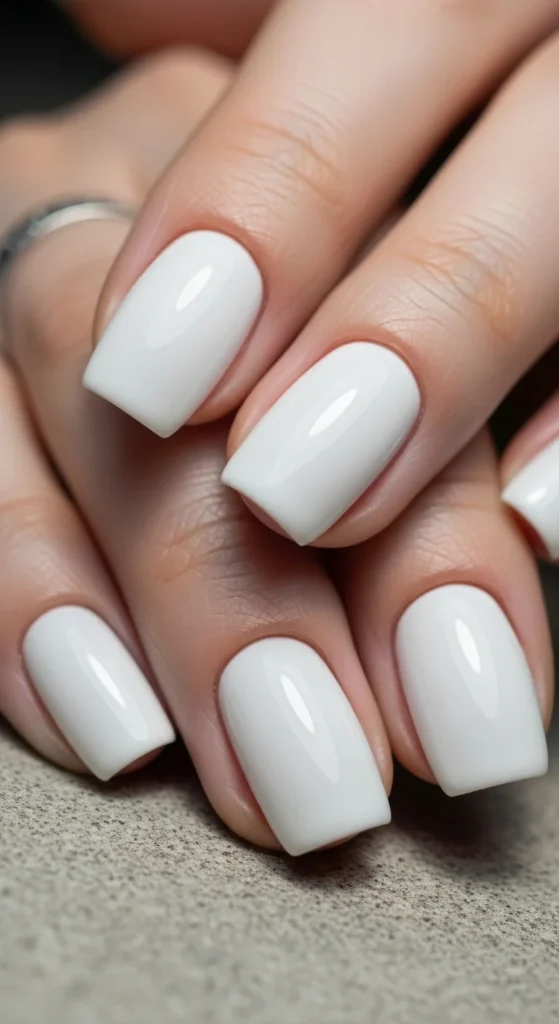
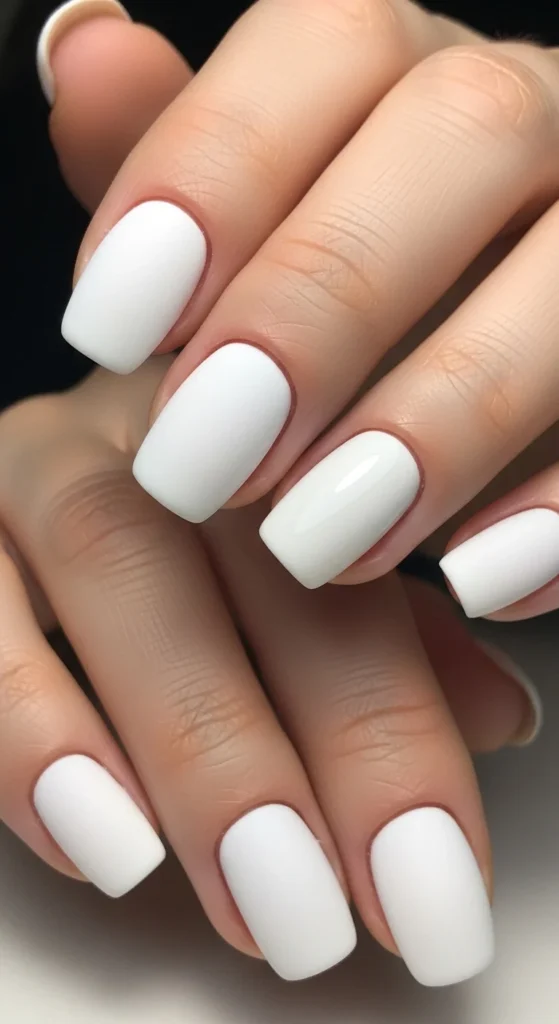
5. Short Square White Office Nails
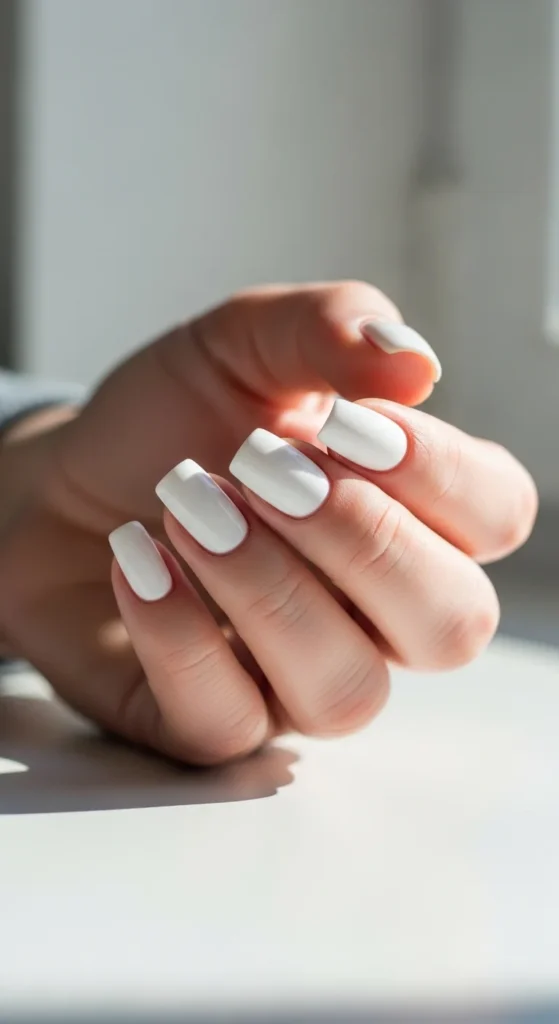
Short square white nails look neat and modern. They are easy to maintain and look polished in work settings.
Choose a soft opaque white rather than a bright, stark white. Apply two thin coats for smooth coverage.
White chips can show faster, so top coat matters. A thick glossy top coat helps protect the edges.
Budget tip: wrap the polish and top coat over the nail tips. That small step reduces chipping a lot.
Keep cuticles moisturized for a clean finish.
6. White Polka Dots on Nude Base

White polka dots are playful but still minimal when the dots are tiny. It’s also one of the easiest nail art designs for beginners.
Paint nails with a nude base. Once dry, use a dotting tool or toothpick to add small white dots. Keep dots unevenly spaced for a casual look, or evenly spaced for a neat look.
Limit dots to one or two nails if you want a cleaner style.
Budget tip: toothpicks work great for dotting. Just use very small amounts of polish so dots stay crisp.
Seal with glossy top coat to smooth everything out.
7. White Swirl Minimal Art
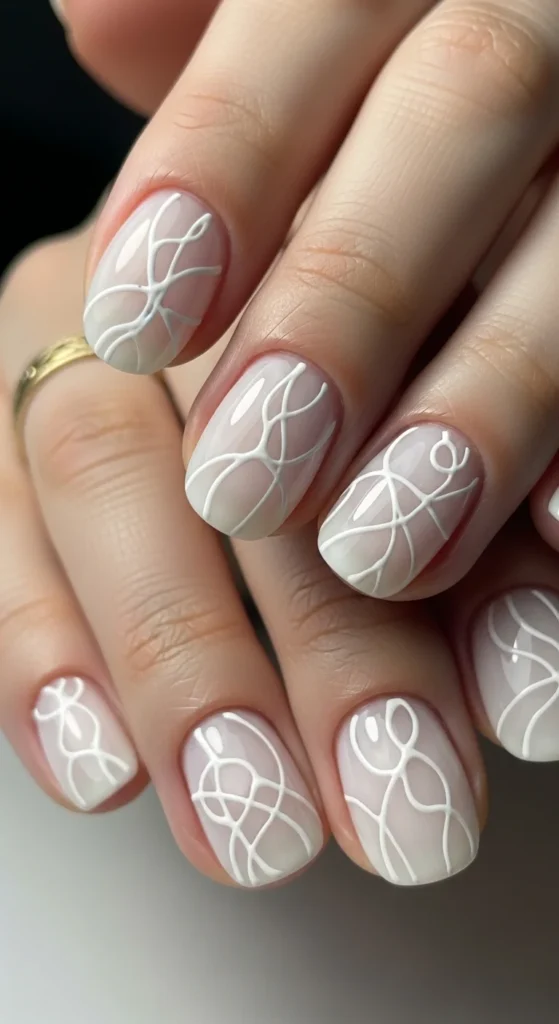
Swirls add movement while keeping the design simple. White-on-white swirls look subtle and modern.
Start with a milky white base. Use a thin brush to draw soft swirl lines in a slightly brighter white. Keep the lines light and wavy. They don’t need to match perfectly.
This looks great on round or almond nails.
Budget tip: use a nail art pen for better control if brushes feel hard.
Finish with glossy top coat so the swirls look smooth and sealed.
8. Frosty White Chrome Overlay
A sheer chrome overlay makes white nails look icy and modern. It’s perfect in cooler months but still wearable anytime.
Apply a milky base first. Then lightly add chrome powder for a soft sheen.
If you don’t have chrome powder, use a pearl shimmer top coat. It’s an affordable shortcut and still gives a frosty glow.
Keep the look light. Too much shimmer can look metallic instead of soft.
Seal with glossy top coat.
9. White Starry Accent Nails
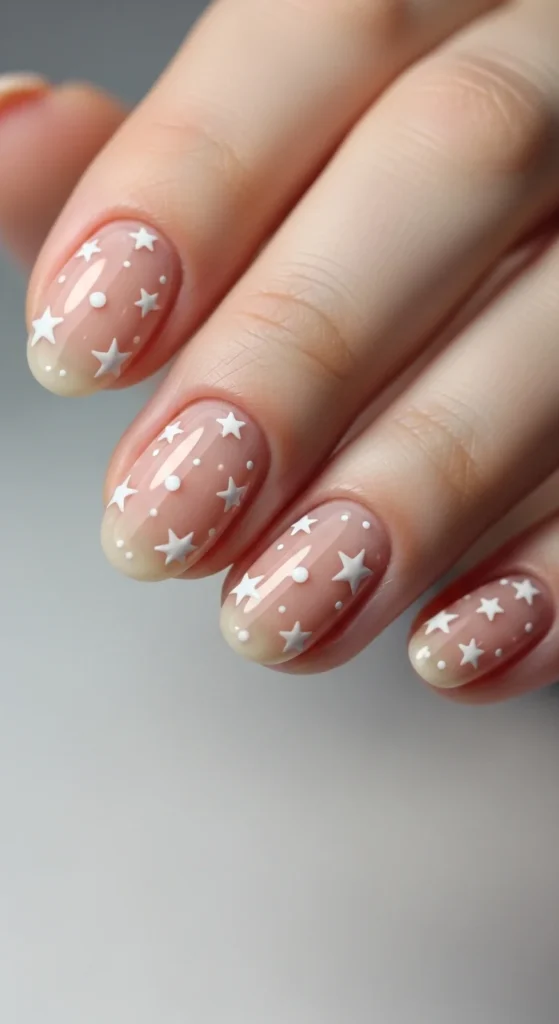
Tiny white stars look clean and cute without feeling too busy.
Use a nude base, then add small star decals or draw tiny stars with a dotting tool. Keep it to one or two nails for a minimal look.
Budget tip: sticker packs are cheap and make this design quick.
Seal well with top coat so decals lie flat.
10. Hourglass Negative Space Outline
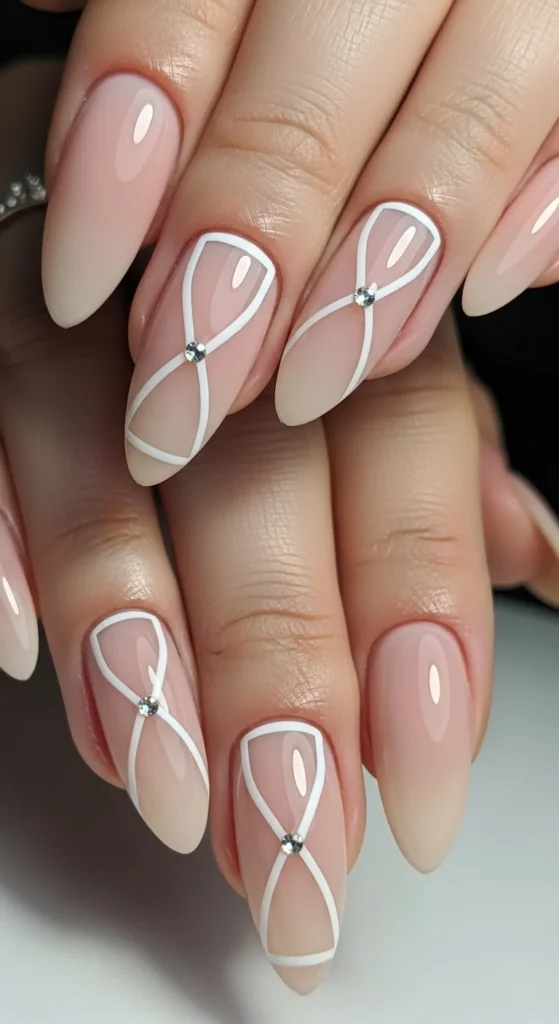
Hourglass outlines look sleek and modern because the natural nail shows through.
Start with a nude base. Use striping tape to guide the shape, then paint thin white lines around the outline. Add a tiny rhinestone near the cuticle if you want a little glam.
Budget tip: skip the rhinestones if you want it more minimal. The outline alone looks clean.
Seal with glossy top coat for smooth edges.
11. Porcelain Cool White
Porcelain white has a cooler undertone and looks crisp, especially on fair to neutral skin tones. It feels clean and modern.
Use a smoothing base coat, then apply two thin coats. Let each coat dry fully to avoid streaking.
Budget tip: if white polish is patchy, try three very thin coats instead of two thicker ones.
Finish with glossy top coat.
12. Creamy Milkshake Shine
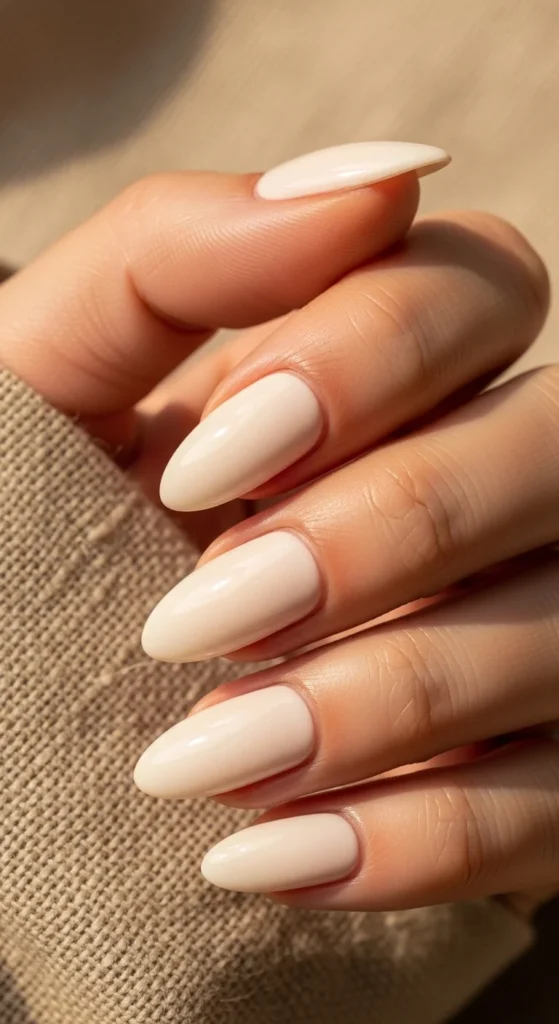
This off-white look feels softer than bright white. It’s perfect if you want a gentle neutral manicure.
Choose a creamy white that leans slightly warm. Apply two thin coats, then use a glossy top coat for a soft shine.
Budget tip: if you only have bright white, add a thin nude layer underneath to warm it up.
This style looks great on almond nails and short squares.
13. White Hearts on Sheer Base

Tiny white hearts look sweet and clean when kept minimal.
Apply a sheer milky base. Use a dotting tool to make two small dots and pull them into a heart shape.
If freehand is hard, use heart stickers.
Keep it to one or two nails so the design stays light.
Seal with glossy top coat to protect the hearts.
14. White Outline French Tips

An outline French tip gives a modern twist. Instead of a full white tip, you create a thin outline at the edge.
Use a nude base. Then draw a thin white line along the tip edge. Keep it crisp but delicate.
Budget tip: striping tape can help guide the line.
Finish with glossy top coat.
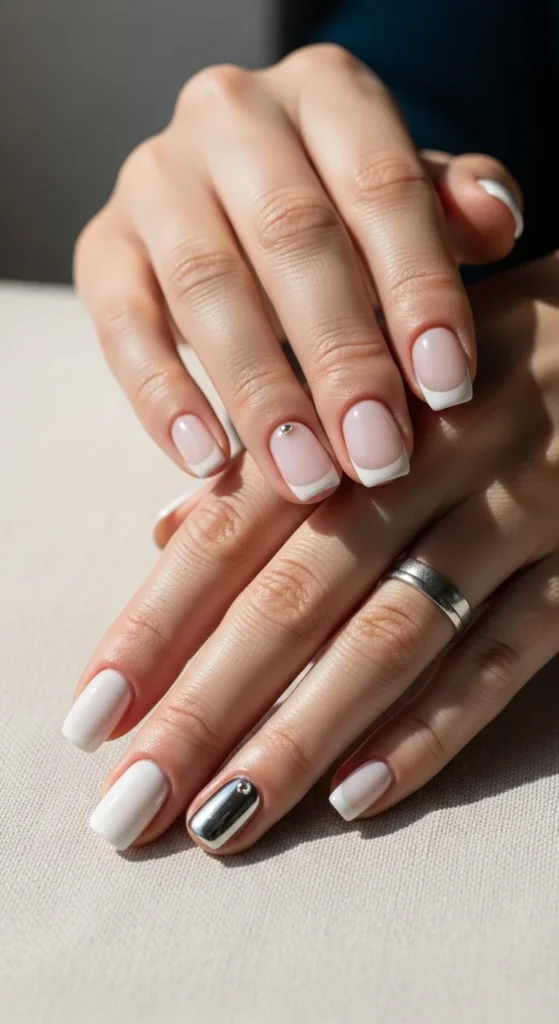
15. Metallic Dot “Simple Spark”
Tiny metallic dots add a little shine while keeping the manicure clean.
Paint nails milky white. Add four tiny silver dots near the cuticle area using a dotting tool.
This design looks great on short nails and is very beginner friendly.
Budget tip: use metallic nail art pen or a toothpick dipped in silver polish.
Seal with top coat so dots stay smooth.
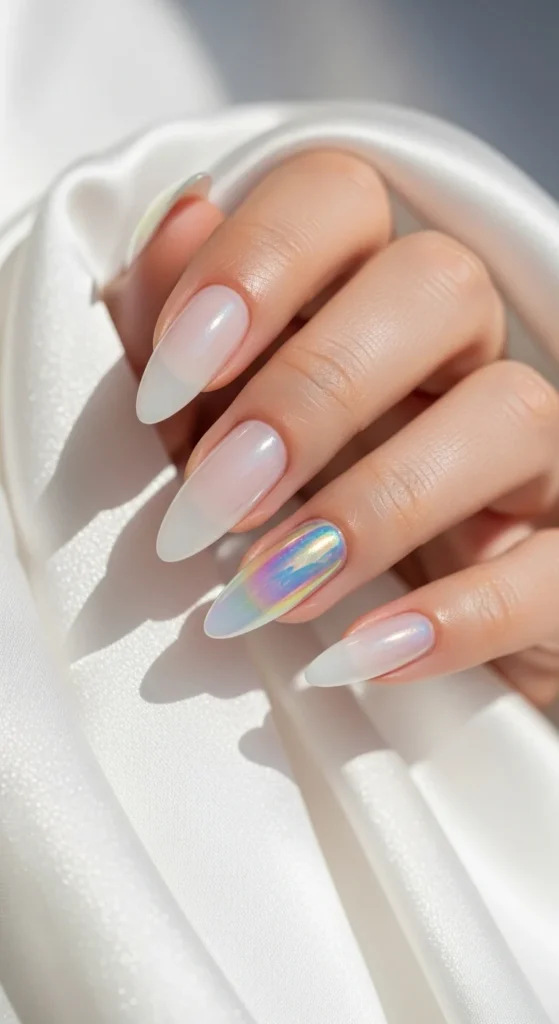
16. Iridescent White That Leans Silver
This look sits between white and silver. It’s subtle but catches the light beautifully.
Start with a milky base. Add a very light shimmer topper.
Keep coats thin so it doesn’t look metallic-heavy.
Budget tip: a single shimmer topper can work over many colors, so it’s a good low-cost add-on.
Seal with glossy top coat.
17. Almond Milky Ombre to Nude
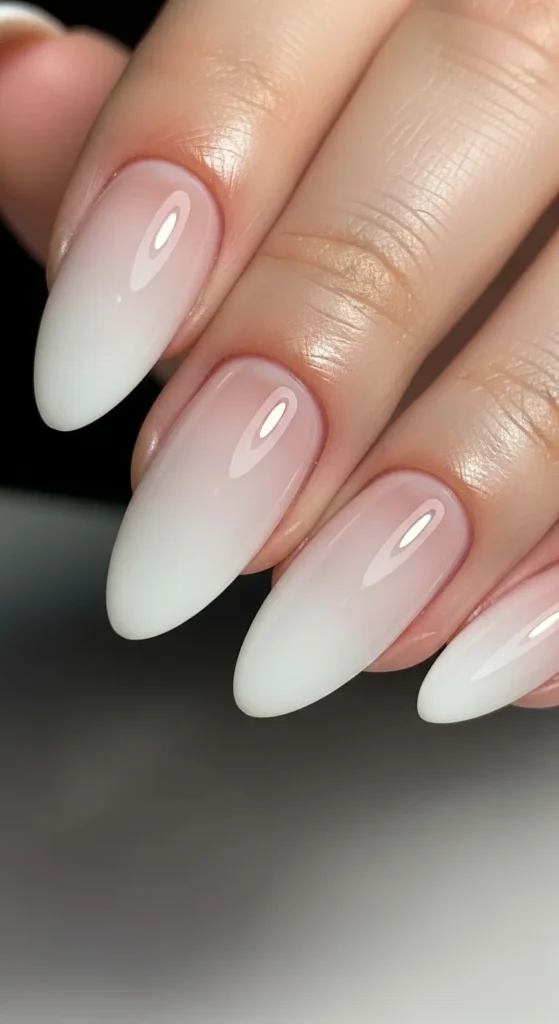
Milky ombre looks soft and elegant. It’s a great choice if you want a white manicure that feels gentle.
Apply nude base first. Use a sponge to dab milky white from the tip downward. Build slowly so the fade stays smooth.
Budget tip: use a small makeup sponge and tap lightly.
Seal with glossy top coat to smooth the sponge texture.
18. White Candy Swirl Border
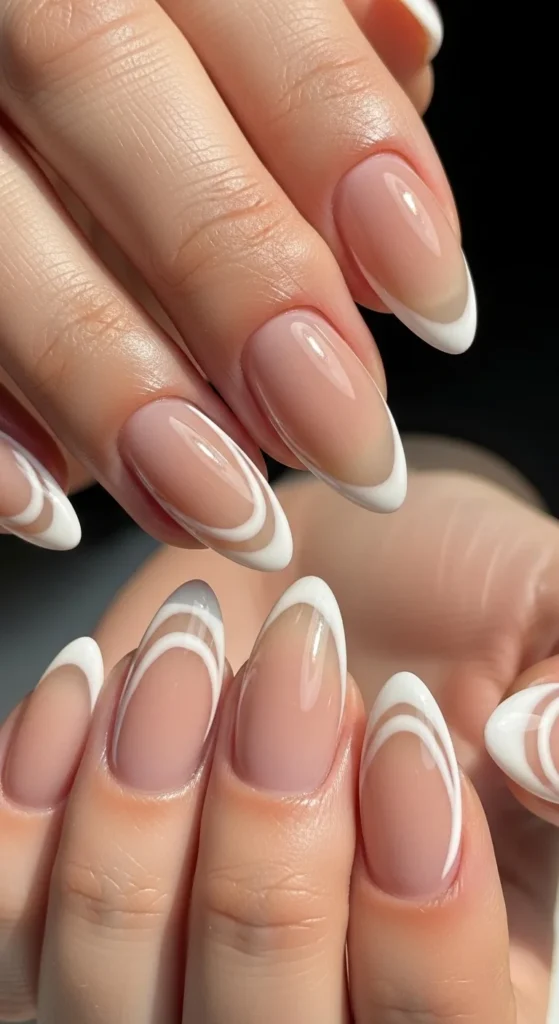
Border swirls look fun but still clean because the center stays nude.
Use a nude base. Then paint thin white swirls around the edges like a frame.
This looks best when the lines stay thin and airy.
Budget tip: practice on paper first to get comfortable with the brush.
Seal with top coat for a smooth finish.
19. White Swirls with a Pop of Green
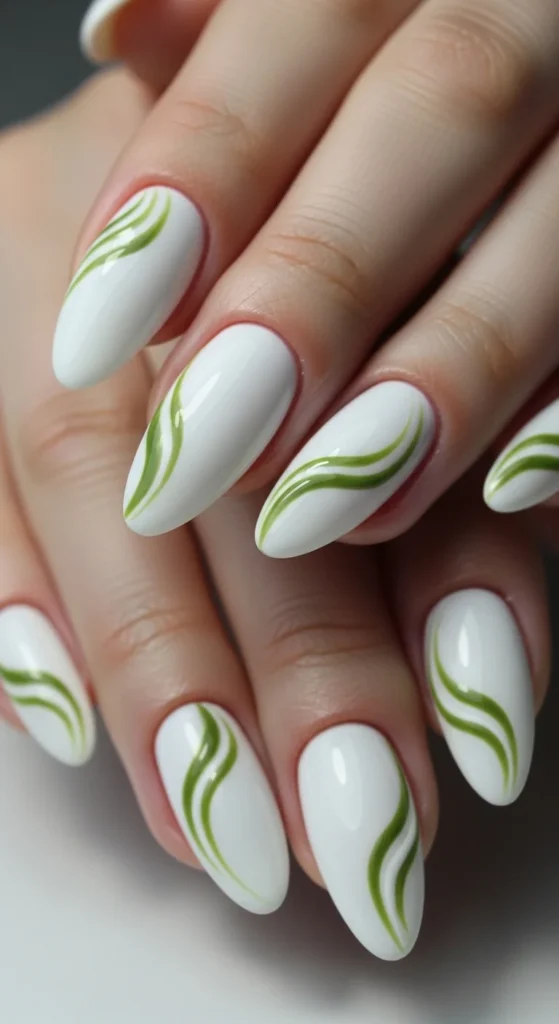
A small pop color makes white nails feel modern and fun. Green swirls on white are a clean contrast.
Paint nails white. Add a few thin green swirl lines on one or two nails.
Keep accents minimal so it doesn’t feel busy.
Budget tip: use a toothpick for thin lines if you don’t have a nail brush.
Seal with glossy top coat.
20. White Outline with Purple Tip Accent
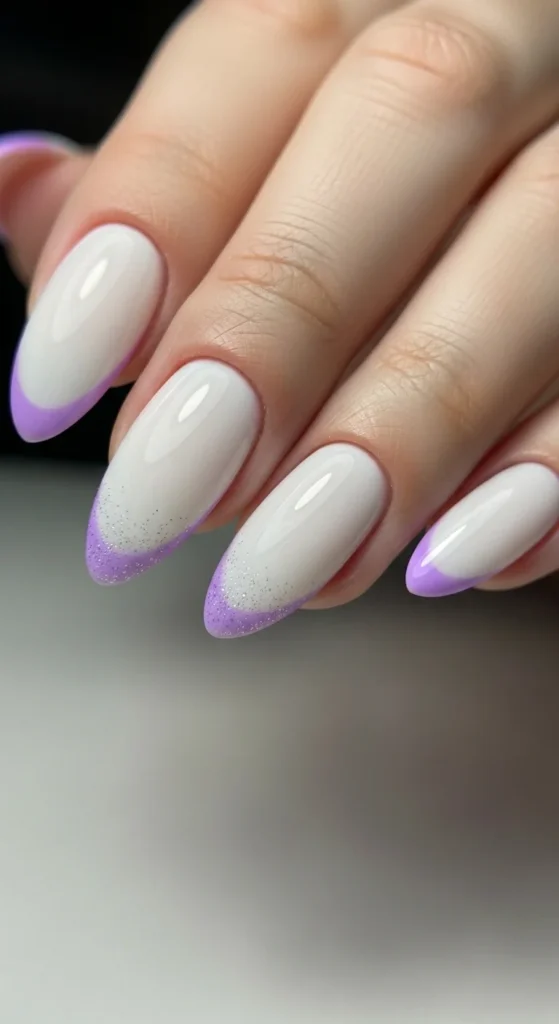
A colored outline tip adds a tiny twist while keeping the manicure mostly white.
Use a white base, then add a thin purple outline at the tip. Keep it very fine.
If you like sparkle, add a small glitter accent on one nail only.
Budget tip: nail art pens make fine outlines easier than brushes.
Seal with glossy top coat.
21. White and Black Star Contrast
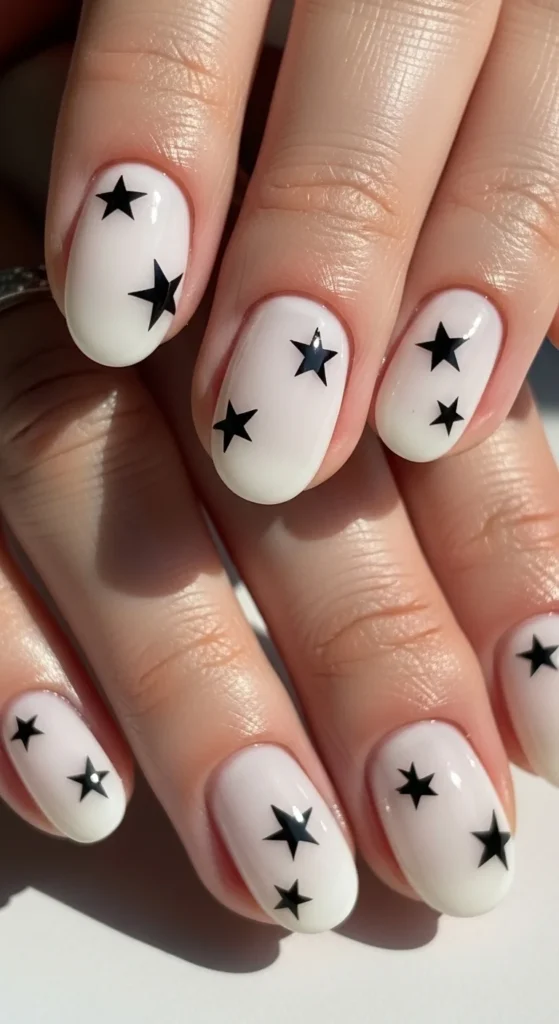
Black star accents on white feel a little edgy but still clean.
Use milky white base, then add tiny black star stickers or draw simple star shapes with a fine pen.
Keep stars small and limited to one or two nails.
Budget tip: use a dotting tool to create quick star-like shapes.
Seal with top coat so the stars sit flat.
22. White Glitter Halo Accent
A glitter halo near the cuticle adds sparkle without taking over the manicure. It’s a small detail that looks polished.
Paint nails milky white. On one accent nail, apply fine glitter in a half-moon shape near the cuticle.
Budget tip: use loose glitter pressed into tacky top coat, then seal.
Keep glitter fine so it feels smooth.
Seal with top coat to lock it in.
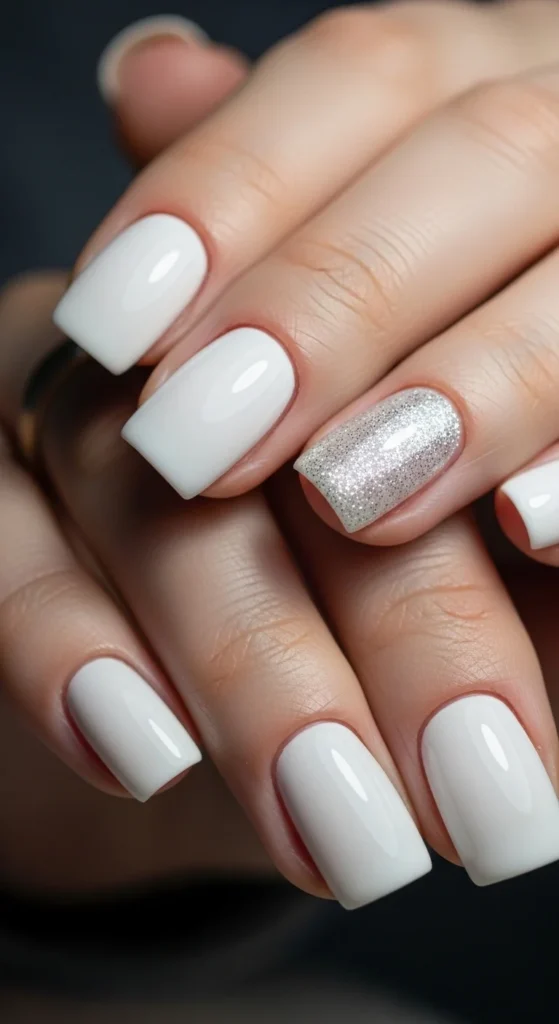
23. Dual Finish: Matte White + Glossy Accent
Mixing matte and glossy finishes keeps plain white from feeling boring. It’s simple but looks intentional.
Paint nails white. Apply matte top coat to most nails, and glossy top coat to one accent nail.
This works best when the nail shape is tidy, because matte highlights texture.
Budget tip: you only need one matte top coat to create many designs like this.
Keep cuticles moisturized for the cleanest look.
Conclusion
White nails look clean, modern, and easy to style for any season. If bright white feels too stark, start with milky sheers or creamy off-whites, then add small accents like micro tips, dots, or subtle shimmer. Keep coats thin, use a good base coat to prevent staining, and refresh top coat during the week to reduce chips. With a few affordable tools and a steady routine, these white nail designs are easy to recreate at home and always look polished.

Leave a Reply