
Powder contour gets a bad reputation for looking harsh—but when done right, it’s actually one of the cleanest, most flattering ways to sculpt the face, especially if you love a matte, polished finish. The trick isn’t packing on pigment; it’s sheer layers, smart placement, and the right brush.
If you want definition that looks natural in daylight, lasts all day on oily skin, and never turns orange or muddy, this guide is for you.
Why Choose Powder Contour?
Powder contour is all about control and longevity. Unlike creams, it stays put, absorbs excess oil, and gives crisp structure without shine.
It’s ideal if you:
- Have oily or combo skin
- Prefer a matte, clean finish
- Want buildable sculpting (from subtle to bold)
- Wear makeup for long hours
The secret? Applying it after your base is fully set so everything blends seamlessly.
Step 1: Prep the Base (Dry-on-Dry Rule)
Powder contour works best on a fully powdered base. This avoids patchiness, pilling, or muddy blending.
Best order
- Moisturizer + primer
- Foundation
- Concealer
- Set everything with translucent or foundation powder
- Powder contour
If your base still feels tacky, wait 30–60 seconds before contouring.
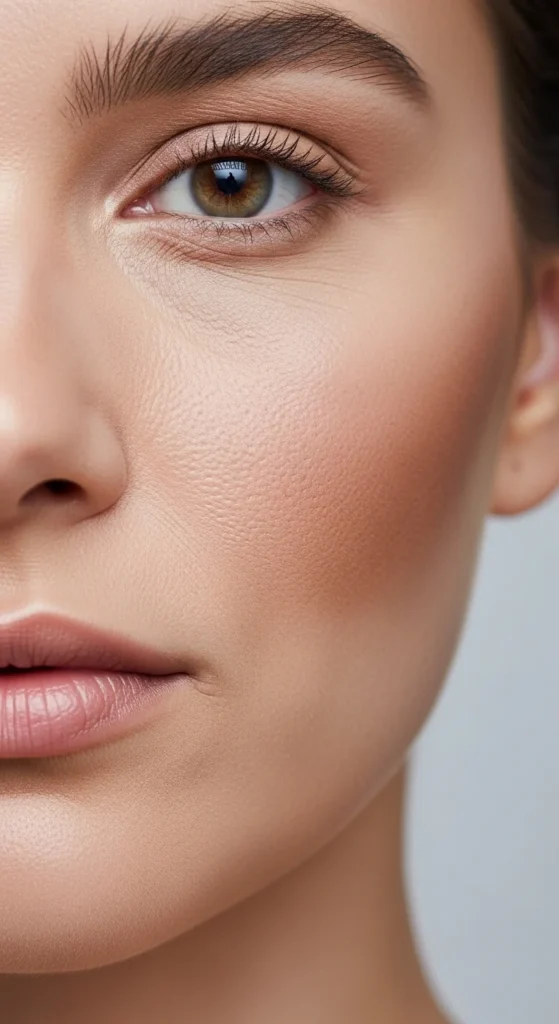
Step 2: Pick the Right Shade (Taupe Is Non-Negotiable)
Wrong shade = instant orange or gray mess.
Golden rules
- Choose 1–2 shades deeper than your skin tone
- Always go matte
- Look for taupe or neutral-cool undertones
Avoid:
- Bronzer shades
- Anything warm, golden, or shimmery
Shade guide:
- Fair skin → soft gray-taupe
- Medium skin → neutral taupe-brown
- Deep skin → deep neutral or cool espresso
When in doubt, test on your hand first—it should look like a shadow, not warmth.
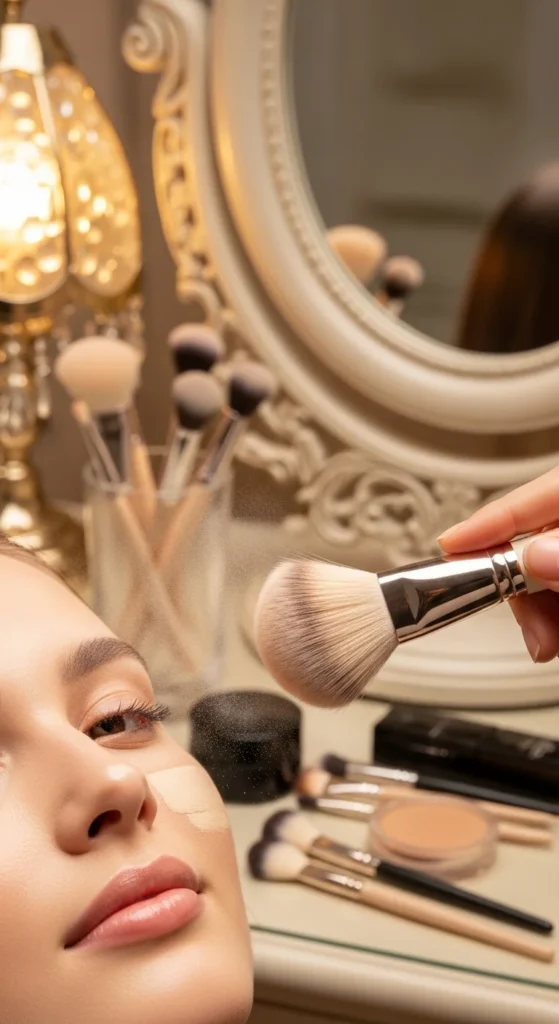
Step 3: Load the Brush the Smart Way (Zero Fallout Hack)
Fallout is the #1 powder contour fear—but it’s totally avoidable.
Do this every time
- Dip angled brush lightly into product
- Tap off excess hard
- Test on the back of your hand first
This gives you sheer payoff, which is exactly what subtle contour needs.

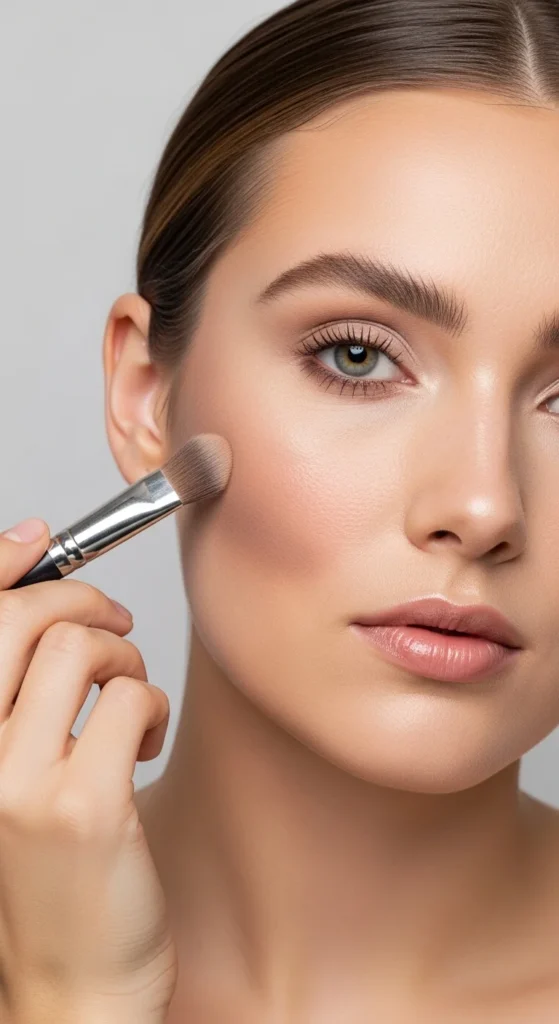
Step 4: Precision Placement (Where It Actually Goes)
Powder contour should live in true hollows and perimeter zones, not all over the face.
Cheeks
- Gently suck in cheeks to find the hollow
- Apply from mid-cheek toward the ear
- Stop before the mouth area
Forehead & Temples
- Lightly shade the sides of the forehead
- Blend into the hairline
Jawline
- Sweep from ear toward chin
- Diffuse heavily to avoid harsh lines
Nose (Optional)
- Use a small precision brush
- Two soft lines down the sides
- Blend gently
Think soft shadows, not stripes.
Step 5: Blend Like a Pro (Windshield-Wiper Finish)
Blending is what turns contour from makeup into structure.
Best technique
- Use a clean, fluffy brush
- Blend outward using gentle windshield-wiper motions
- Keep pressure light
Never dig into the skin. Let the brush do the work.
Pro tip: Always use a separate clean brush for final blending—this prevents muddy buildup.
Step 6: Build in Sheer Layers (The Sheer-to-Bold Ladder)
Subtle contour is all about patience.
Layering method
- First layer: barely visible
- Second layer: adds definition
- Third layer (optional): only where needed
Step back from the mirror between layers. What looks invisible up close often reads perfectly in real life.
Step 7: Customize for Face Shape
Powder contour shines when tailored.
- Round face: Focus on outer perimeter to slim
- Square face: Soften jaw angles, blend more
- Long face: Keep contour higher on cheeks
- Oval face: Minimal contour—less is more
There’s no one-size-fits-all sculpt.
Step 8: Lock It In (Optional but Powerful)
If you need extra wear:
- Lightly press translucent powder over contoured areas
- Avoid heavy baking
Want dimension?
- Add powder highlight after blending contour
- Keep highlight soft for contrast without harshness
Common Powder Contour Mistakes
Avoid these and your contour stays clean:
- Skipping tap-off (fallout disaster)
- Using bronzer instead of contour
- Applying on a tacky base
- Overloading the brush
- Not blending with a clean brush
If it ever looks too strong, blend over it with leftover face powder—instant soft-focus fix.
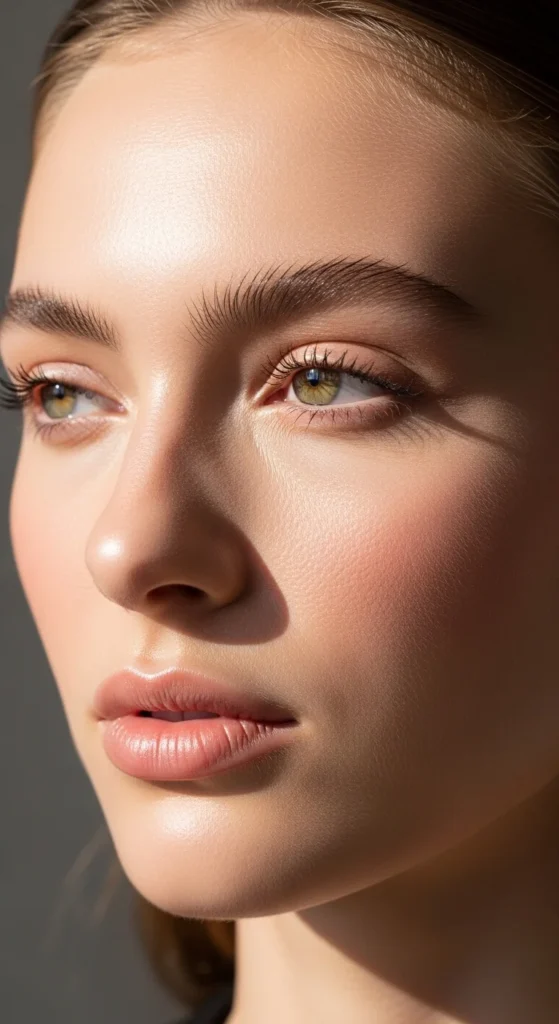
Final Takeaway
Powder contour doesn’t have to be bold or harsh. When applied in sheer layers, with the right taupe shade and proper blending, it creates subtle definition that lasts all day—especially on oily skin.
✨ Save this guide, grab your angled brush, and practice light layers. Soft sculpting always wins.

Leave a Reply