
A full face of makeup doesn’t mean heavy or complicated—it means intentional. Pros focus on skin prep, thin layers, and smart placement so makeup lasts, photographs well, and still looks like skin. The 2026 approach leans glowy at the base, cream products for blendability, and powder only where it really helps. Once you understand the order, the routine feels smooth instead of overwhelming.
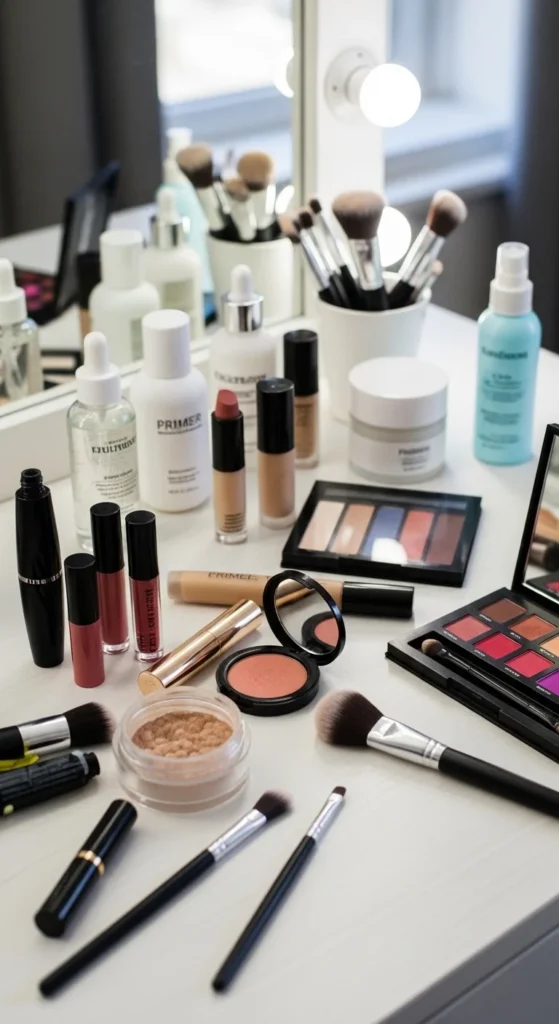
Prep the Skin Like a Makeup Artist
Professional makeup always starts with skin. Skipping prep is the fastest way to get patchy foundation or makeup that fades early.
Basic pro prep routine:
- Cleanse or tone to remove residue
- Moisturize evenly, pressing into skin
- Let skincare settle for 1–2 minutes
- Apply primer based on skin type
Primer tips:
- Dry skin: hydrating or glow primer
- Oily skin: mattifying primer on T-zone only
- Normal skin: lightweight smoothing primer
This step creates a smooth surface so foundation applies evenly instead of clinging to dry spots.
Correct Strategically Before Foundation
Color correcting is optional, but when used lightly, it reduces how much concealer you need later.
Where to correct:
- Under-eye darkness: tiny dots of peach corrector
- Redness: small amount only on areas that need it
Tap corrector in gently and keep it sheer. You should still see skin through it.
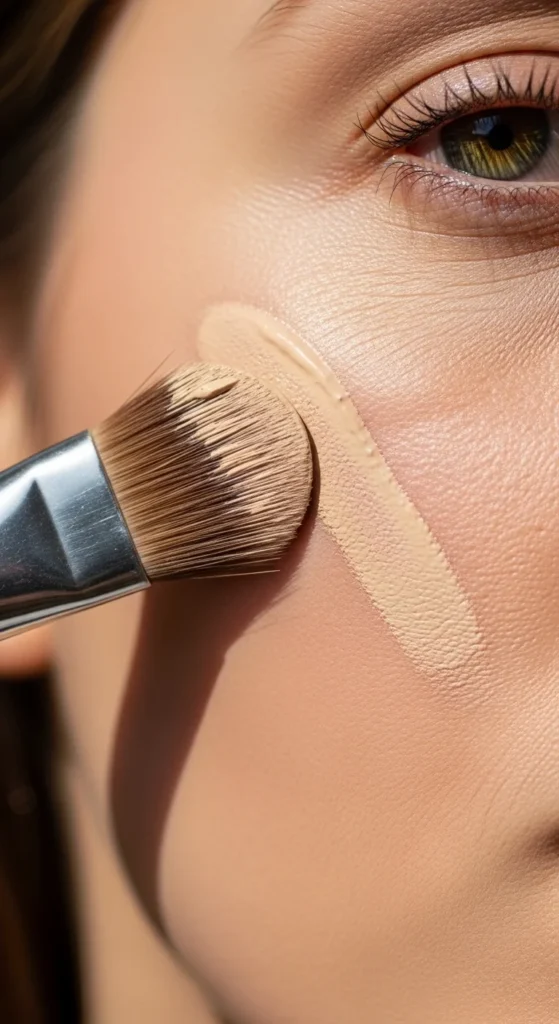
Apply Foundation in Thin, Controlled Layers
Pros never apply foundation all at once. They build coverage slowly, starting where it’s needed most.
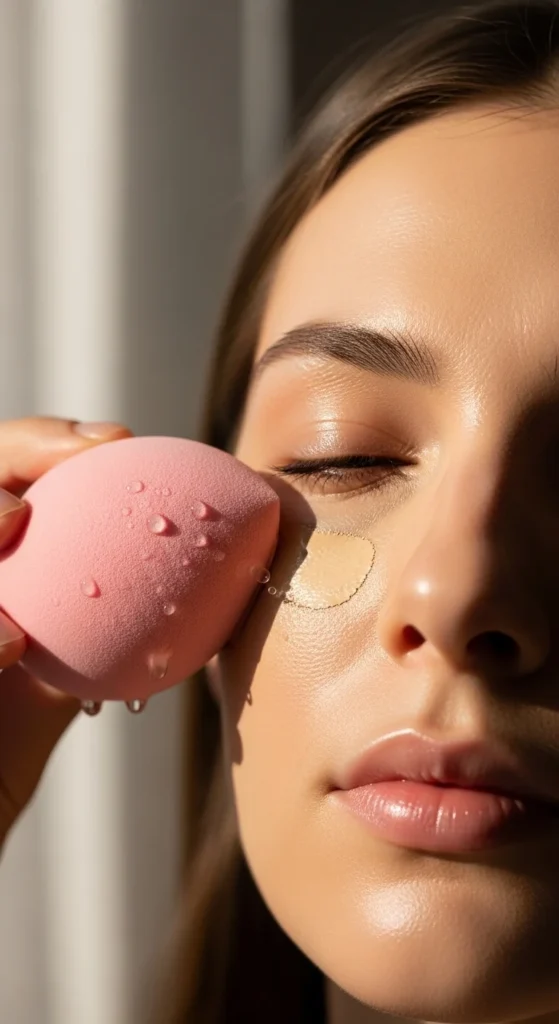
Pro foundation method:
- Start at the center of the face
- Blend outward toward hairline and jaw
- Use a damp sponge or dense brush
- Add a second layer only where needed
Key rule: If foundation looks heavy, stop and blend more instead of adding product.
Conceal After Foundation for a Clean Finish
Concealer works best once your base is evened out. This keeps it from looking thick.
Under-eye placement:
- Use the triangle shape under each eye
- Pat, don’t swipe, to keep coverage in place
Blemishes:
- One small dot directly on the spot
- Tap edges to blend into foundation
This method brightens without obvious layers.
Set the Base Without Losing Glow
Setting powder helps makeup last, but pros avoid over-powdering.
Where to powder:
- Sides of the nose
- Center forehead
- Chin
- Under eyes if you crease
Use a fluffy brush and press lightly instead of sweeping.
Sculpt With Cream Contour and Bronzer
Cream products blend into the base more naturally than powder alone.
Contour placement:
- Under cheekbones
- Along jawline lightly
- Sides of forehead if needed
Blend upward to avoid dragging the face down.
Bronzer tip: Sweep in a soft “C” shape from temples to cheeks for warmth.
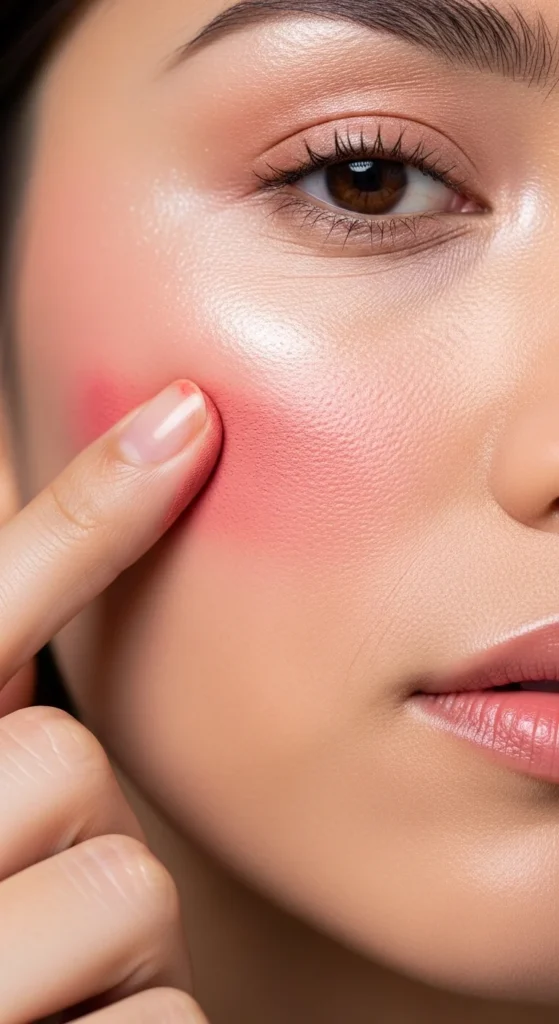
Add Blush and Highlighter in Layers
Blush brings life back to the face after foundation.
Blush technique:
- Cream blush on the apples of cheeks
- Blend upward toward temples
- Optional: light powder blush on top for longevity
Highlighter placement:
- Tops of cheekbones
- Cupid’s bow
- Very light touch on nose bridge
Keep highlighter minimal for a polished look.
Define the Eyes Step by Step
Eye makeup looks best when built in stages.
Simple pro eye order:
- Transition shade in crease
- Deeper shade to add shape
- Lid shade pressed on
- Tightline or soft liner
- Mascara
Mascara trick: Wiggle at the roots, then pull upward. Focus extra product on outer lashes for lift.
Shape Brows to Frame the Face
Brows pull the entire look together.
Pro brow routine:
- Brush brows upward
- Fill sparse areas with short strokes
- Blend with spoolie
- Set with brow gel
Brows should look groomed, not drawn on.
Finish Lips, Then Lock Everything In
Lip liner and lipstick should work together, not compete.
Lip steps:
- Line just slightly outside natural lip line
- Blend liner inward
- Apply lipstick or gloss
- Press lips together gently
Finish with setting spray.
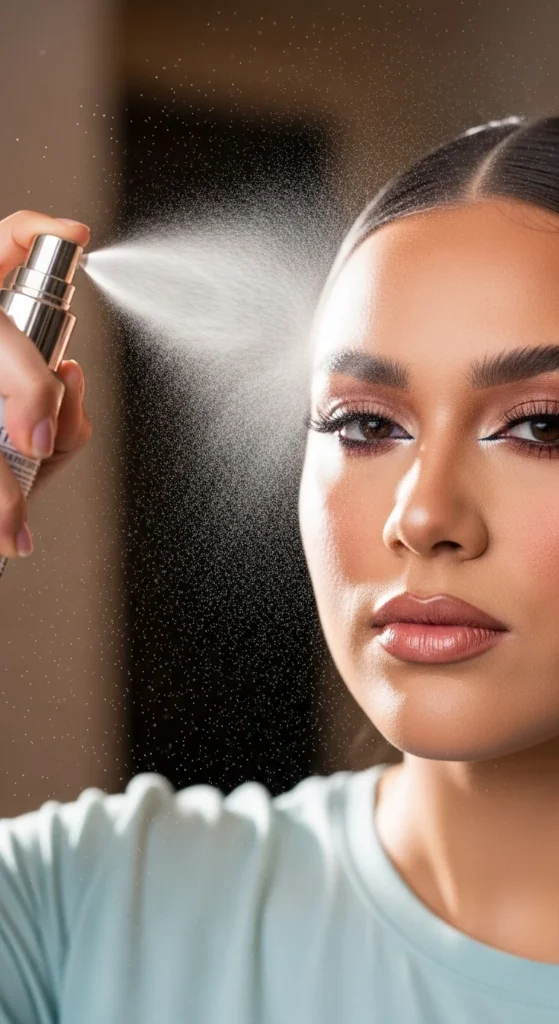
Hold the spray about 10 inches away and let it dry naturally.
Conclusion
Doing a full face of makeup like a pro comes down to order, restraint, and blending. Prep the skin well, apply products in thin layers, use cream formulas for softness, and powder only where it helps. With practice, this routine goes from 30 minutes to 20—and the results stay smooth, glowy, and long-wearing.
Save this guide and try it step by step the next time you want a polished, professional finish.

Leave a Reply