
Cream contour is the secret behind that effortless, skin-like sculpt you see everywhere in 2026. It looks natural, slightly dewy, and blends into the face instead of sitting on top like a stripe. But if you’ve ever tried it and ended up looking gray, orange, or just off, you’re not alone.
The fix isn’t using less contour—it’s using the right shade, smarter placement, and better blending. Let’s walk through it step by step so your cream contour looks softly defined, never muddy.
Why Cream Contour Looks More Natural Than Powder
Cream contour melts into the skin, especially when applied before powders. Instead of creating harsh shadows, it mimics natural depth.
Why beginners love it:
- Easier to blend and correct
- Looks more skin-like in daylight
- Works beautifully on dry and textured skin
The key is treating it gently—cream contour rewards patience.
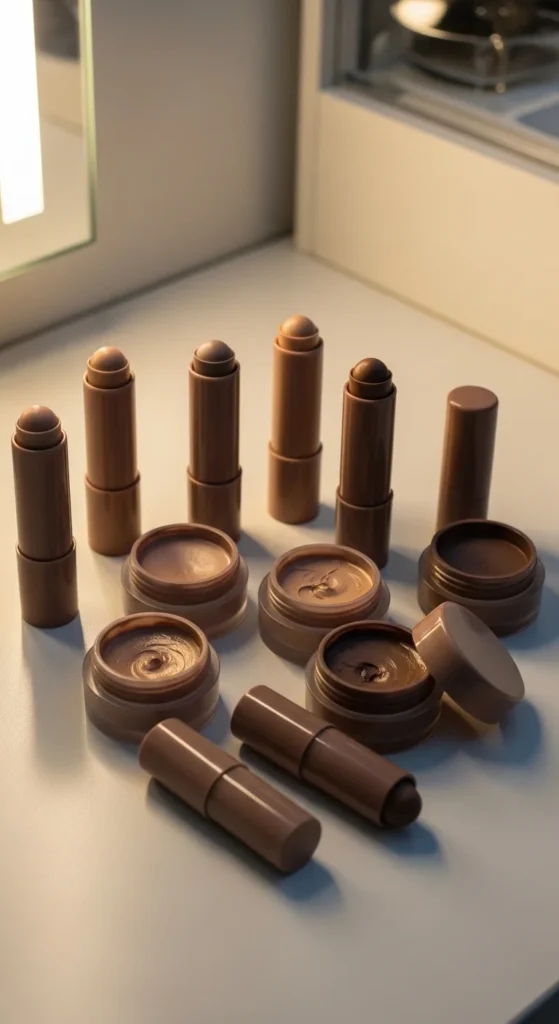
Step 1: Pick the Right Shade (This Prevents Muddy Tones)
Most muddy contour comes from wrong undertones, not bad technique.
The golden rule
- Choose a shade 2 shades deeper than your skin
- Always lean cool-toned or neutral taupe
Avoid:
- Orange bronzer shades
- Anything labeled “warm” or “golden” for contour
Quick guide:
- Fair to light skin → soft gray-taupe
- Medium skin → neutral-cool brown
- Deep skin → cool espresso or deep neutral brown
If your contour looks dirty, it’s usually too warm.
Step 2: Apply Cream Contour at the Right Time
Cream contour follows the wet-on-wet rule.
Best order:
- Moisturizer + primer
- Light foundation or skin tint
- Cream contour
- Concealer (if needed)
- Set lightly with powder
You can also contour before foundation for an ultra-natural “under-the-skin” effect—but beginners usually find over-foundation easier to control.
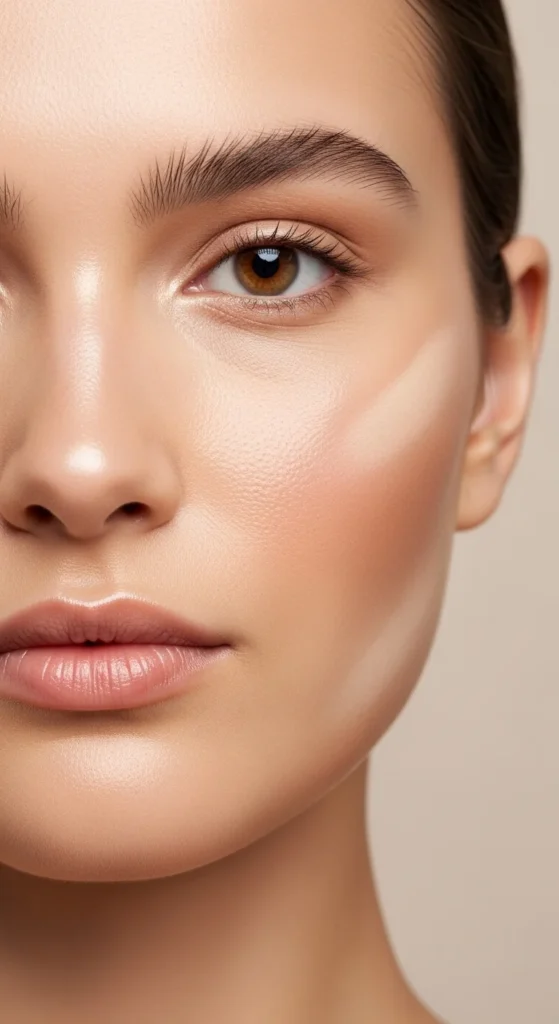
Step 3: Know Exactly Where to Place It
Cream contour works best when applied only to true hollows, not everywhere.
Cheeks
- Gently suck in your cheeks
- Find the hollow just under the cheekbone
- Draw a short line from mid-cheek toward the ear
- Stop before the corner of the mouth
Forehead & Temples
- Small strokes along the sides of the forehead
- Blend into the hairline for invisible edges
Jawline
- Apply lightly under the jaw
- Blend downward into the neck
Nose (Optional)
- Two thin lines down the sides
- Blend softly for a slimming effect
Less placement = more realistic results.
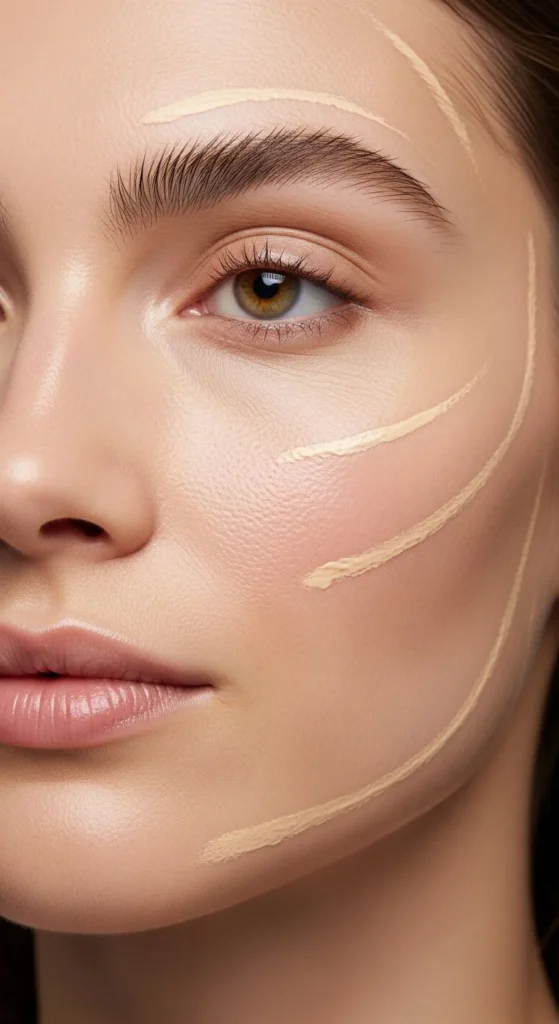
Step 4: Warm the Product First (Pro Control Trick)
Never apply cream contour straight from the stick if you want subtle results.
Instead:
- Dab product onto the back of your hand
- Warm it with your finger
- Pick it up gradually
This:
- Sheers out pigment
- Prevents harsh streaks
- Gives you way more control
Think buildable, not bold.
Step 5: Blend the Right Way (No Rubbing!)
Blending is where muddy contour is either fixed—or created.
Best blending tools:
- Clean fingers (especially ring finger)
- Damp Beauty Blender
- Small stippling brush
How to blend
- Use tapping or patting motions
- Blend upward and outward
- Never drag or rub
If you rub cream contour, it lifts your base and creates patchiness. Patience wins here.

Step 6: Adjust for Your Skin Type
Dry skin
- Choose hydrating cream formulas
- Blend with fingers for warmth
- Minimal powder setting
Oily skin
- Use matte-finish cream contours
- Set slightly heavier with translucent powder
- Avoid over-blending (can cause slipping)
Textured or mature skin
- Keep contour higher on the cheekbone
- Avoid deep hollows
- Use lighter pressure and thinner layers
Cream contour should enhance—not emphasize texture.
Step 7: Set Lightly (Don’t Kill the Glow)
You don’t need to bake cream contour.
Instead:
- Use a small fluffy brush
- Lightly press translucent powder over sculpted areas
- Skip heavy powders on cheeks if you want a dewy finish
Optional pro move:
- Layer a tiny bit of matching powder contour on top for longevity
Step 8: Common Mistakes That Cause Muddy Contour
Avoid these and you’re golden:
- Using bronzer instead of contour
- Applying too much product at once
- Blending downward instead of upward
- Choosing warm or orange shades
- Skipping neck and hairline blending
If it looks too strong, tap over it with leftover foundation on a sponge—instant softening.
Final Takeaway
Cream contour should look like natural shadow, not makeup. When you choose a cool-toned shade, place it precisely, and blend with tapping motions, you get soft definition that moves with your skin.
Once you master cream contour, it becomes one of the most flattering steps in your routine.
✨ Save this guide and practice one contour area at a time—you’ll be blending like a pro in no time.

Leave a Reply