
Makeup can feel confusing at first—so many products, so many “rules,” and somehow your foundation still looks different in daylight. The secret is simple: a beginner routine works best when it’s structured, lightweight, and done in thin layers. Once you follow the same order a few times, you’ll get faster, and your makeup will start looking more natural.
1) Start With Skin Prep (This Is Where Good Makeup Begins)
If your skin feels dry, oily, or rough, makeup shows it. Prep helps your base go on smoothly and last longer.
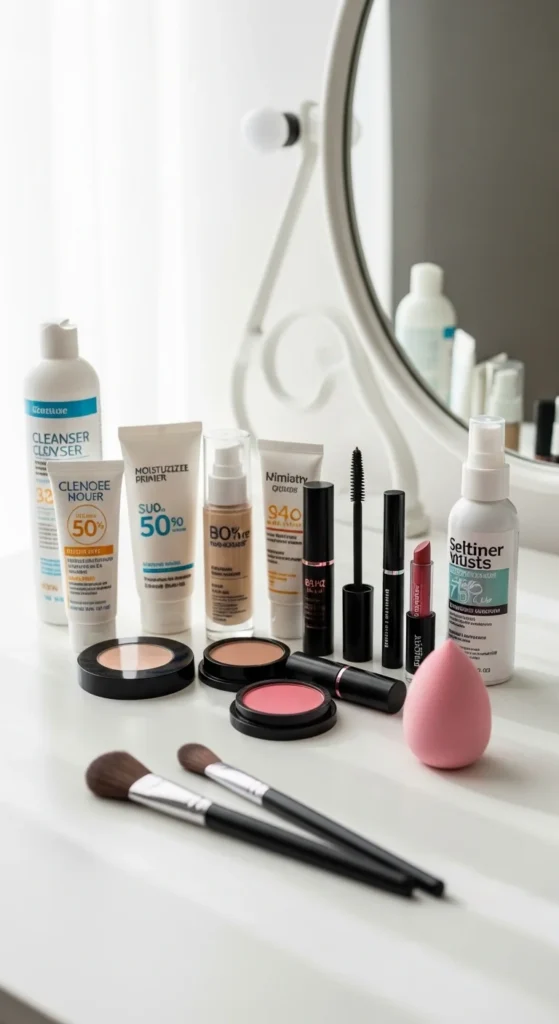
Quick skin prep routine:
- Cleanse (gentle wash, then pat dry)
- Moisturize (thin layer, let it sit 1–2 minutes)
- Sunscreen (daytime only, give it time to settle)
Beginner tip: If makeup pills (rolls up), you may be applying too much skincare or not letting layers settle.
Budget-friendly move: One basic moisturizer + one sunscreen you actually like is better than five fancy products you don’t use consistently.
2) Prime Where You Get Shiny (Not Always All Over)
Primer can help makeup stay in place, but beginners often apply too much. Instead, target the areas that break down first.
Where to put primer:
- Oily skin: forehead, nose, chin (T-zone)
- Normal skin: nose + around nose
- Dry skin: skip primer or use a hydrating one lightly on cheeks
Tip: Use a pea-sized amount. More primer doesn’t mean more wear time.
3) Even Out Color Before Foundation (Small Dots Only)
If you have dark circles or uneven tone, a little color corrector can help you use less concealer later.
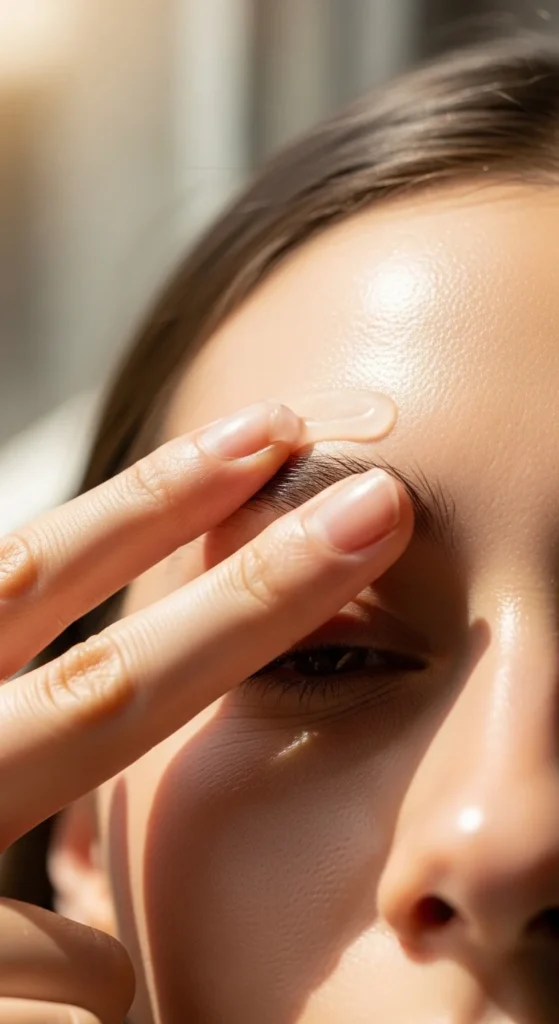
Beginner-friendly color correcting:
- Under-eye darkness: tiny dots of peach corrector
- Redness: a light touch of green corrector only where needed
How to apply: Tap with your fingertip, keep it thin, and avoid spreading it too far.
4) Foundation: Thin Layers = Real Skin Look
Most “cakey” makeup comes from too much product, too fast. Go slow and build only where you want more coverage.
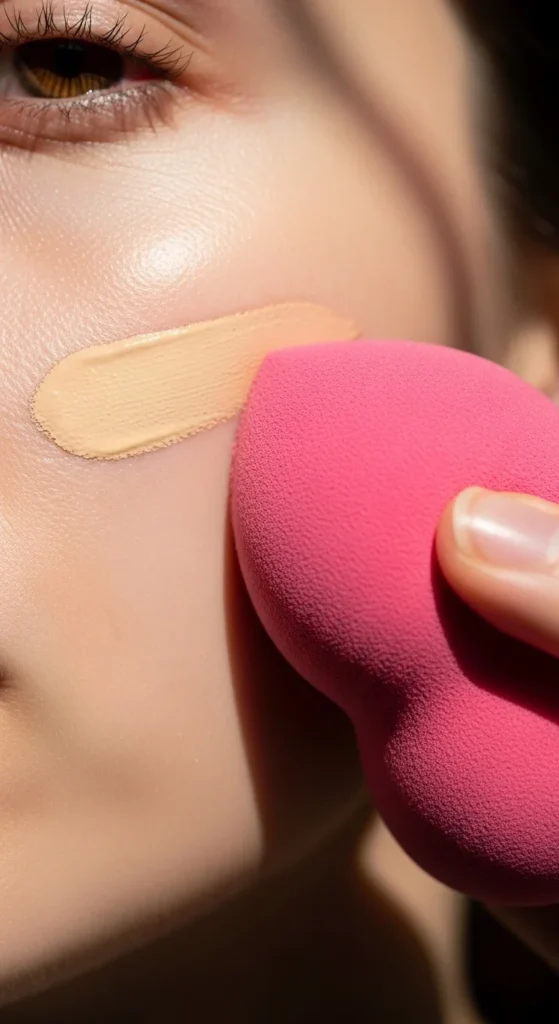
Easy foundation method:
- Dot foundation on the center of your face (cheeks, nose, forehead)
- Use a damp sponge to press it in
- Add a second thin layer only on areas that still need coverage
Shade tip: Check your foundation along the jawline in daylight. If it disappears into your neck, it’s close.
Budget-friendly move: Mix a drop of foundation with moisturizer for a lighter everyday base.
5) Concealer After Foundation (Less Product, Better Finish)
Once your foundation is on, you’ll usually need much less concealer.
Where to conceal:
- Under eyes: 1–2 small dots near the inner corner + a tiny dot toward outer corner
- Blemishes: one tiny dot directly on the spot, then tap edges
Beginner tip: Don’t swipe concealer. Tap it in so coverage stays where you place it.
6) Set Strategically (Powder Only in “Crease Zones”)
Powder helps makeup last, but too much can make skin look dry—especially if you like a dewy finish.
Powder zones that help most:
- Sides of the nose
- Center forehead
- Chin
- Under eyes only if you crease
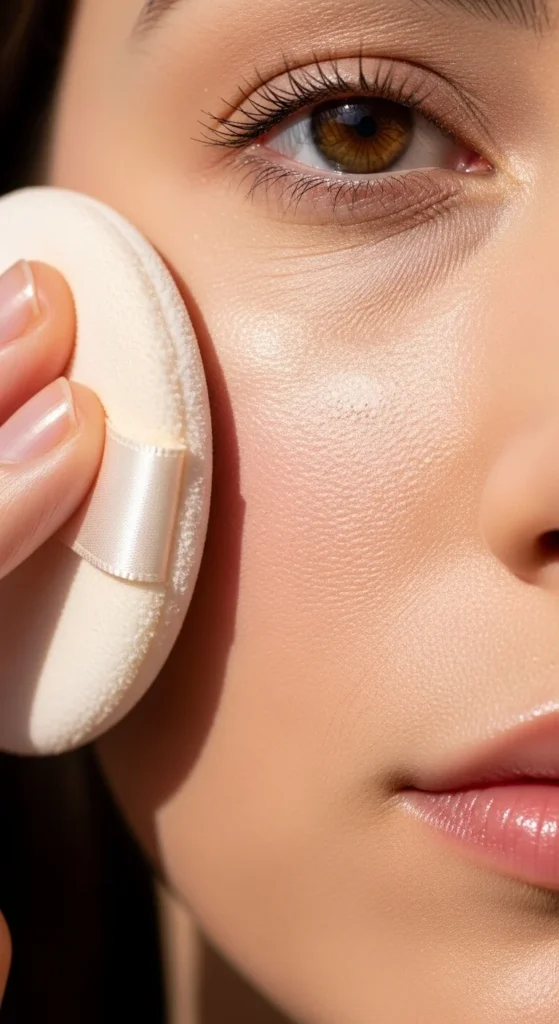
Tip: Press powder in lightly, don’t dust it everywhere.
7) Add Shape With Blush (The Fastest “Wake Up” Step)
Blush makes a bigger difference than most beginners expect.
Placement that works for most faces:
- Tap onto the apples of your cheeks
- Blend slightly upward toward the temples for a lifted look
Cream vs. powder: Cream blush looks very natural on dewy skin. Powder blush works well if your skin gets oily.
Budget-friendly move: A lip tint can double as blush if it blends smoothly.
8) Simple Eyes + Brows (You Don’t Need 10 Products)
Keep it easy while you’re learning.
Beginner eye routine:
- One neutral shadow all over lid
- A slightly deeper shade in the crease
- Mascara on upper lashes
Mascara trick: Wiggle the wand at the roots, then sweep up. Keep lower lashes minimal for a clean look.
Brows: Fill sparse areas with light strokes, then set with gel for a natural frame.
9) Lips + Setting Spray (The “Polished” Finish)
A lip tint or tinted balm is perfect for beginners because it still looks good if you apply it quickly.
Easy lip tint method:
- Dab color in the center
- Press lips together
- Add a second layer if you want more color
Finish with setting spray to bring everything together.

Conclusion
You don’t need a huge makeup kit to look put-together. Start with clean skin, use thin layers, and focus on the steps that make the biggest difference: a smooth base, a little concealer, strategic powderpk, blush, and mascara. Try this routine a few times, and you’ll naturally get faster and more confident.
Save this guide for later, and practice one step at a time until it feels easy!

Leave a Reply