

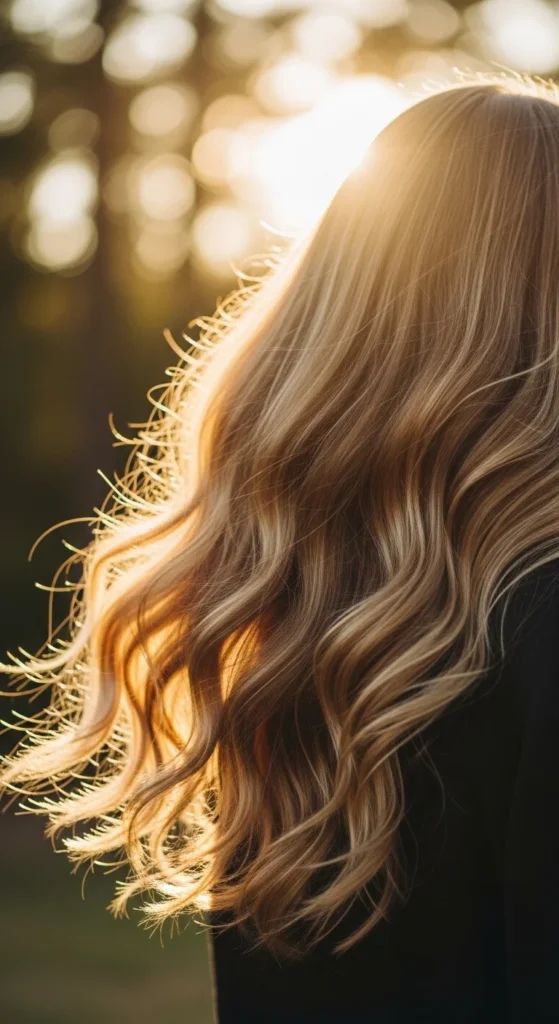
Beach wave hair is popular for one simple reason: it looks cool without looking overdone. The texture feels lived-in. The movement looks natural. And you can get that “just got back from the coast” vibe with tools or totally heat-free tricks.
This list gives you beach wave hairstyles for every length, plus easy DIY steps you can do at home. Expect quick braids, flat-iron twists, loose wand waves, and simple add-ons like salt spray and dry shampoo. Most ideas use cheap, everyday products and take under 15 minutes once you get the hang of it.
1. Classic Loose Beach Waves (5-Minute Wand Method)
If you want beach waves that work on almost everyone, start here. Use a 1-inch curling wand. Curl medium sections, but leave the last inch of the ends out. That little straight tip is what makes it look beachy, not formal.
Switch directions as you go. One section away from your face, the next toward your face. This creates that windswept feel.
After you curl, let the hair cool for a minute. Then break it up with your fingers. Skip the brush. If it gets too fluffy, smooth the top with your palms.
Budget-friendly tip: If you don’t have a wand, a basic curling iron works. Just keep the clamp loose and don’t squeeze hard.
Finish with a light mist of salt spray on mid-lengths only. Scrunch once. Stop there. Too much product can feel stiff.
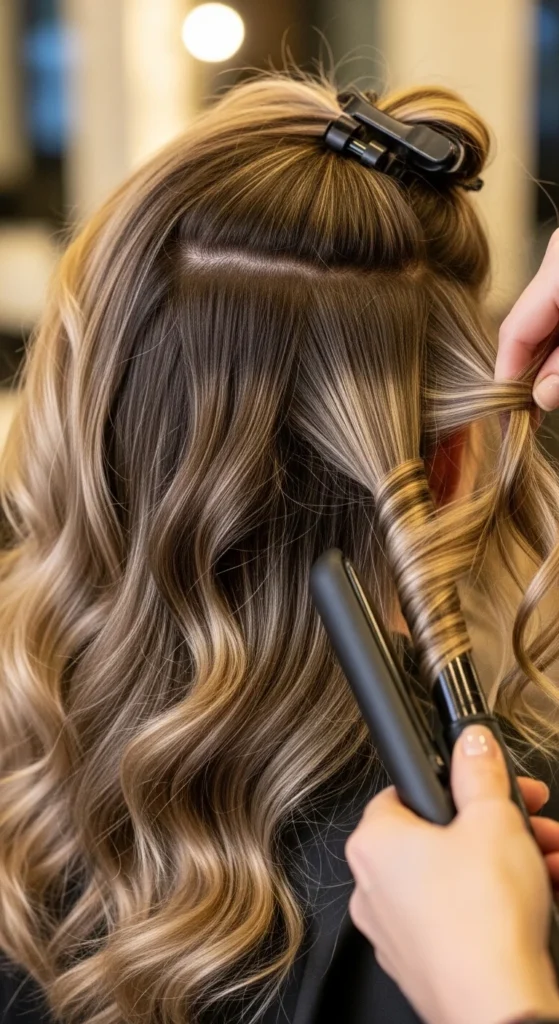
2. Flat Iron Twist Waves for a Windswept Look
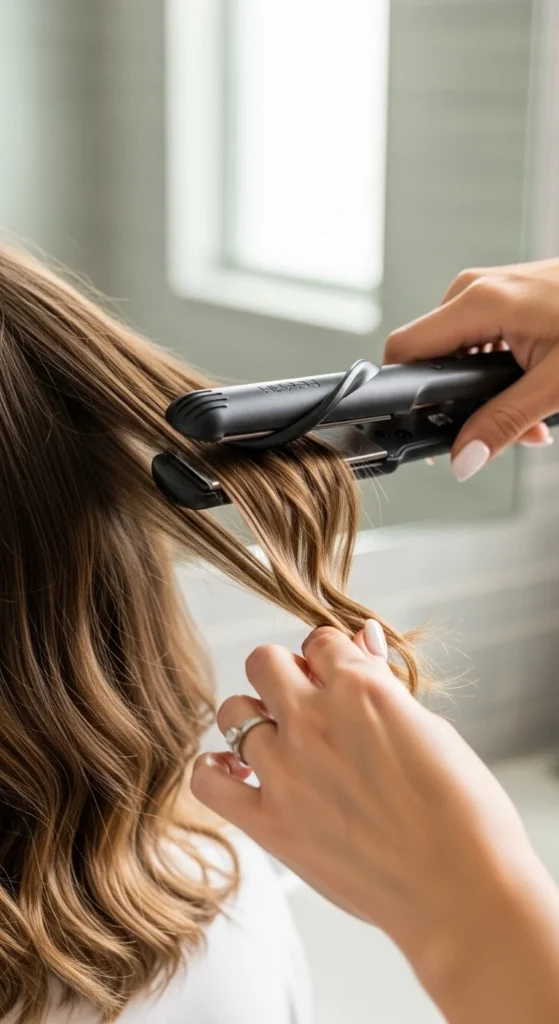
Flat iron waves look modern and slightly messy. Start with dry hair. Take a 1-inch section. Clamp near the root, twist the iron half a turn, then glide slowly down.
Go a little faster on the ends so they stay straighter. That keeps it casual.
Alternate the twist direction every other section. If everything goes the same way, it can look too “set.”
DIY shortcut: Do only the top layer if you’re short on time. The under layer can stay natural.
Budget tip: Use a heat protectant you already own. Even a basic spray from the drugstore is fine.
If your waves look too perfect, rough them up. Flip your head forward and shake the roots with your fingertips. Add a tiny bit of dry shampoo at the crown for grip.
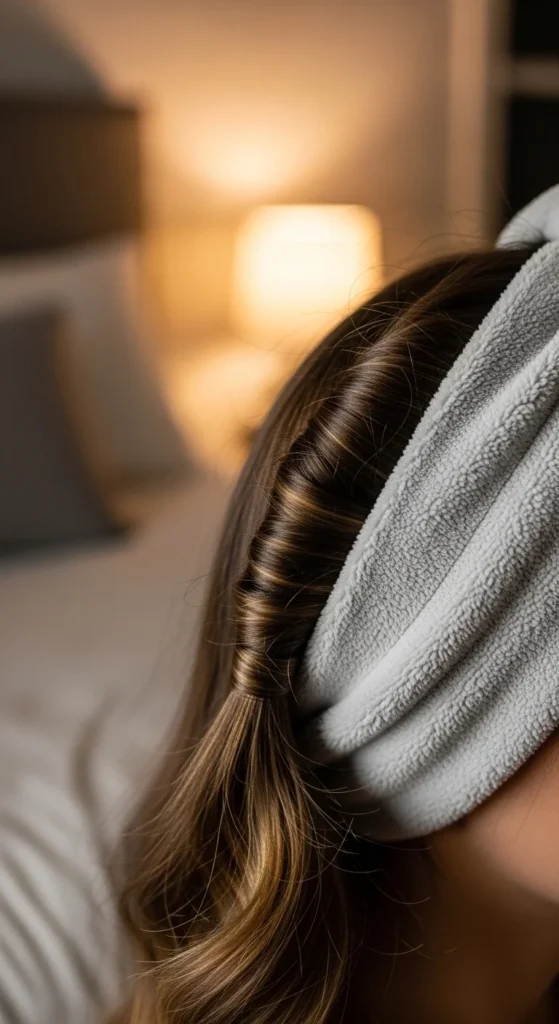
3. Overnight Two-Braid Beach Waves (No Heat)
This is the easiest heat-free method. On slightly damp hair, part down the middle. Make two braids. Secure with soft hair ties.
Sleep on it. In the morning, undo the braids and separate with your fingers. Don’t comb.
For softer waves, braid loosely. For stronger texture, braid tighter.
DIY tip: If your hair is thick, do four braids instead of two. That helps it dry faster overnight.
Budget-friendly tip: Use a cotton T-shirt to squeeze out water before braiding. It helps reduce frizz and costs nothing.
To finish, rub one drop of lightweight oil between your hands and smooth the ends. Keep oil away from your roots.
If the waves look too “braid-shaped,” twist a few front pieces around your finger for 10 seconds. It softens the pattern fast.
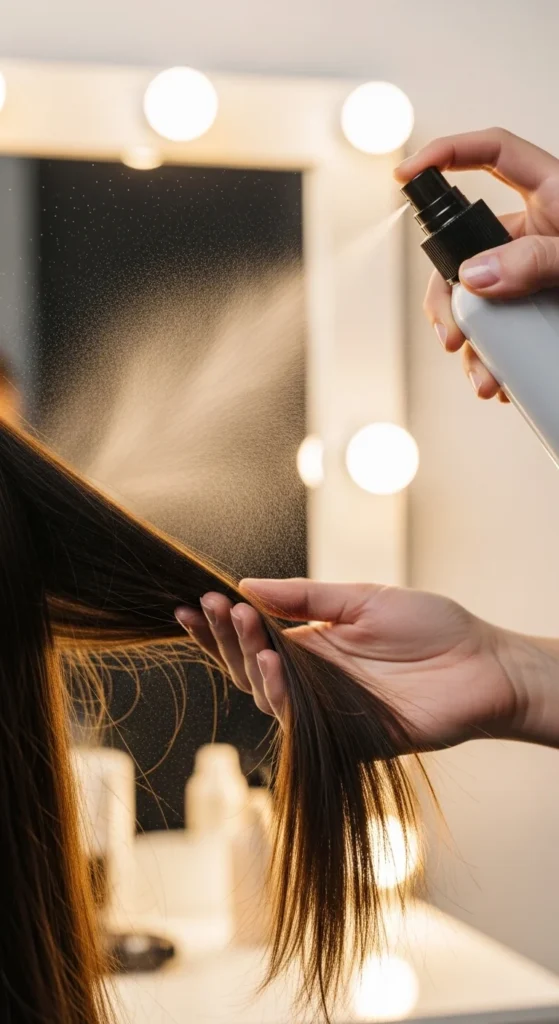
4. Salt Spray + Scrunch Air-Dry Waves
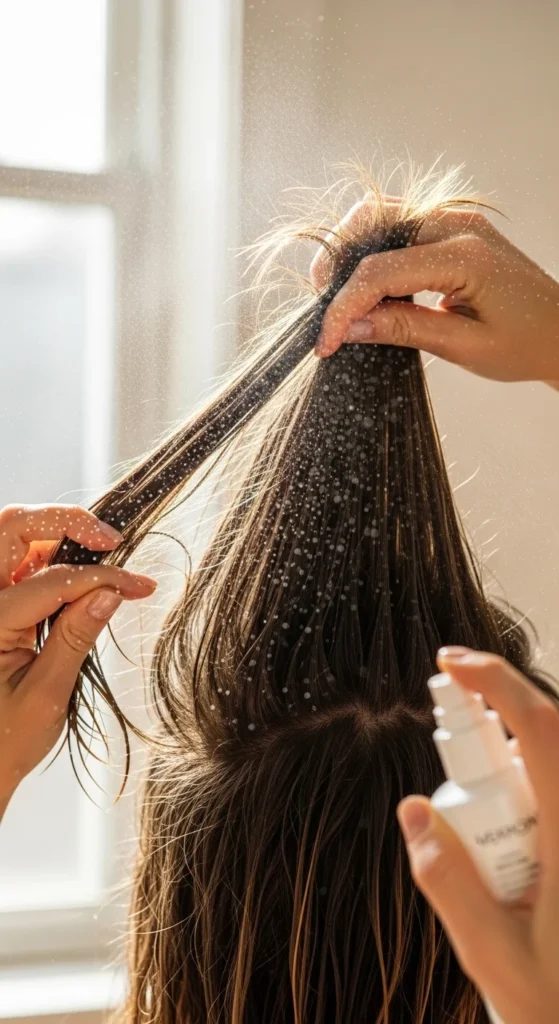
If you have natural wave, this method is gold. Start with damp hair. Spray salt spray on mid-lengths and ends. Scrunch upward.
Then do nothing. Let it air-dry.
For extra shape, clip your roots up with two small claw clips while it dries. That creates lift without teasing.
Budget tip: Salt spray can feel drying. Mix it with a cheap curl cream. Put curl cream on first, then a few spritzes of salt spray on top. You get texture without the crunchy feel.
When dry, scrunch once more to soften the cast. If frizz pops up, smooth it with a tiny bit of hand lotion on your palms. Use barely any.
This look is perfect for hot days and quick errands. It feels relaxed and still looks styled.
5. Beachy Bob Waves (Short Hair Hack)
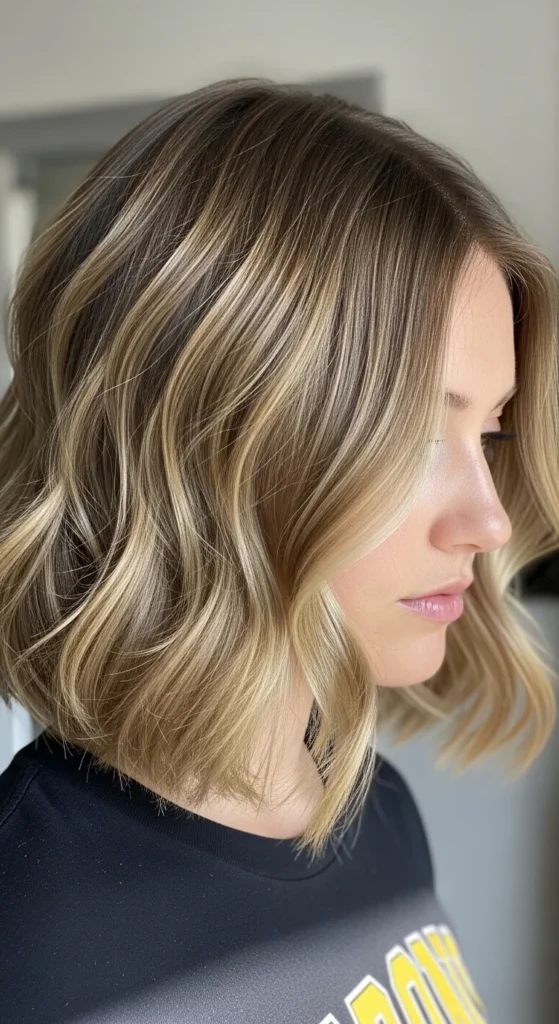
Short hair can do beach waves too. The trick is using smaller sections and keeping the ends straighter.
Use a flat iron or a small curling iron. Curl only from mid-shaft down. Leave the last half inch out.
Then mess it up on purpose. Pinch the ends between your fingers and twist a few pieces in different directions.
Budget tip: Dry shampoo is your best friend with a bob. Spray lightly at the roots, then rub in. It adds grip so waves stay longer.
If your bob flips out, smooth the very top with a pea-size amount of styling cream. Keep the ends textured.
This style looks great with a deep side part or tucked behind one ear. It’s easy, cute, and fast.
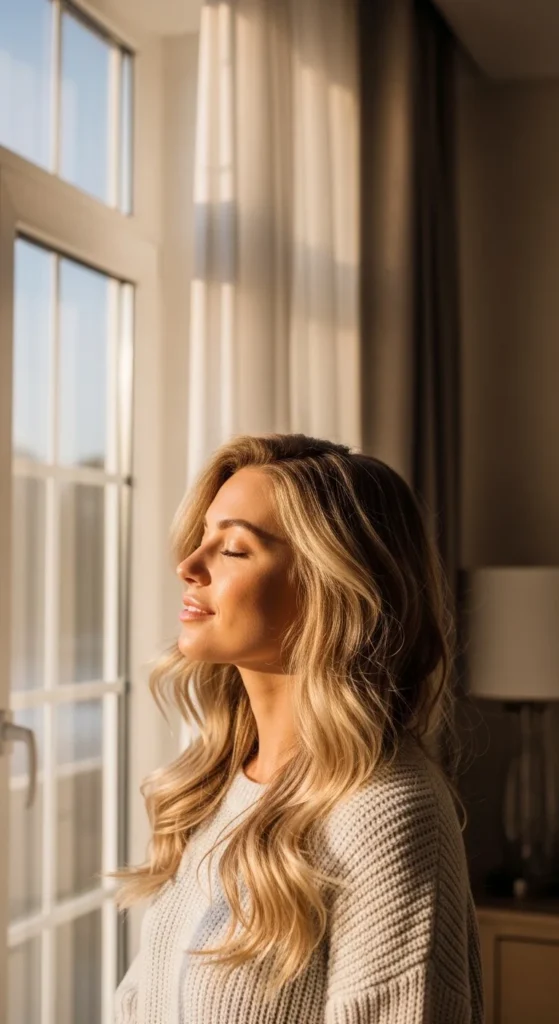
6. Side-Part Beach Waves That Look Casual and Clean
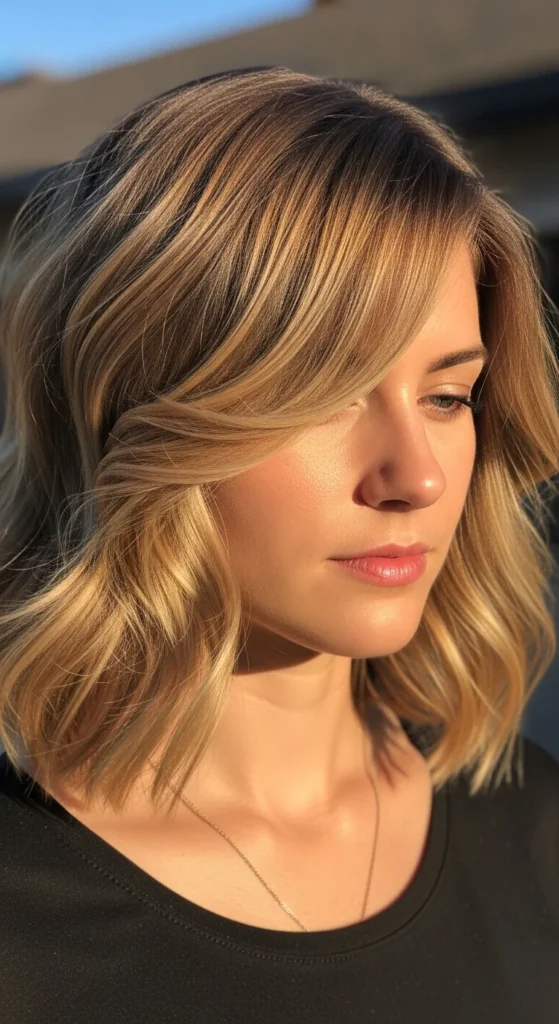
A side part changes everything. It makes waves look more relaxed and frames your face.
Start by parting your hair deeper than usual. Then wave just the front pieces on the heavier side. The rest can stay simple.
DIY shortcut: If you already have day-old waves, re-wave only the top layer and the two face pieces.
Budget tip: Use a cheap rat-tail comb to get a crisp part. It instantly makes the look feel more intentional.
Finish with a tiny bit of hairspray on your fingertips. Tap it on the flyaways instead of spraying your whole head.
This one works for short, medium, and long hair. It’s also a good “office-to-evening” style without extra effort.
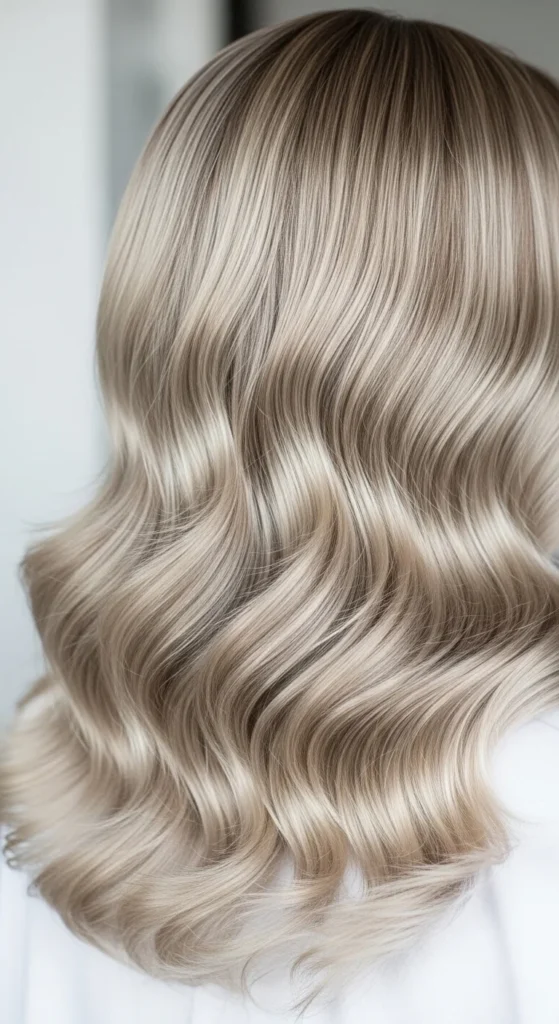
7. Mermaid-Length Beach Waves (Loose and Glossy)
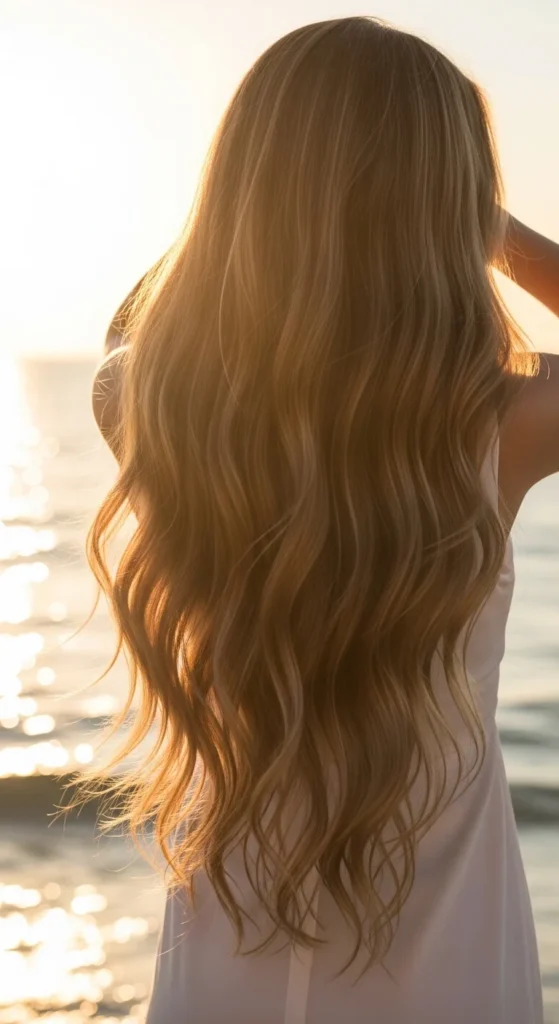
Long hair can handle bigger waves. Use a 1.25-inch curling iron or wand. Curl large sections and keep it loose.
Don’t curl all the way to the root. Stop a few inches down. That keeps the top flatter and the ends bouncy.
Budget tip: If your hair is heavy, do a half-up section first. Clip the top away. Curl the bottom. Then curl the top. It takes a little longer, but the waves hold better.
Finish with a light oil on the ends for shine. Use one drop, not a full pump.
If your waves fall fast, twist each curled section into a loose pin and let it cool for five minutes. Cooling helps set the shape without extra product.
8. Day-2 “Refresh Waves” with Dry Shampoo + Water Mist
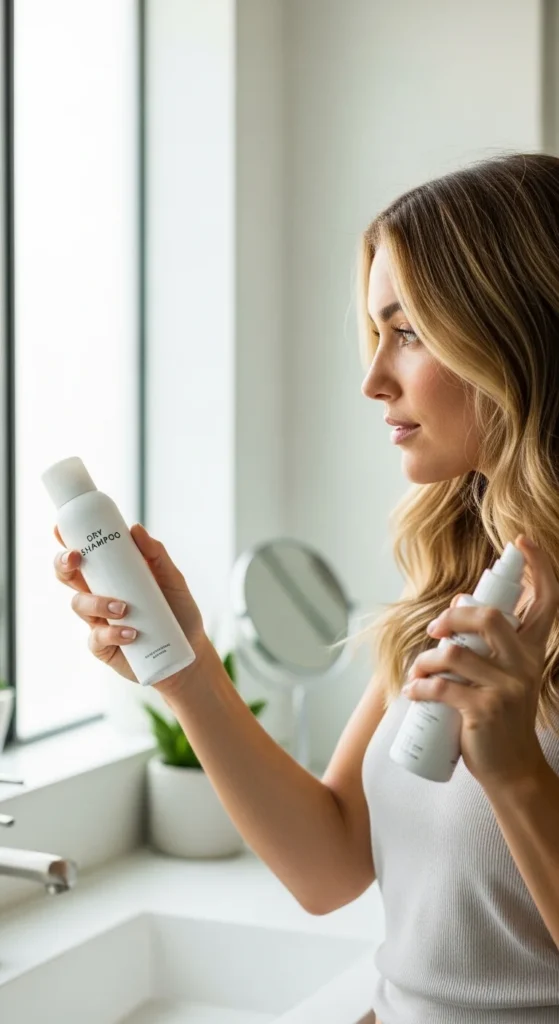
Day-two waves can look even better than day one. Start by misting your mid-lengths lightly with water. Just a few sprays.
Scrunch with your hands. Then hit the roots with dry shampoo for volume and grip.
DIY tip: If your ends look flat, twist two sections into mini buns for 10 minutes while you get dressed. Let them out and shake.
Budget tip: If you don’t have a mist bottle, wet your hands and lightly “press” water into the mid-lengths.
To finish, smooth frizz with a tiny bit of leave-in conditioner on your palms. Keep it light.
This method keeps texture without restarting your whole routine. It’s ideal when you want that lived-in look and you’re short on time.
9. High Ponytail with Tousled Wavy Ends
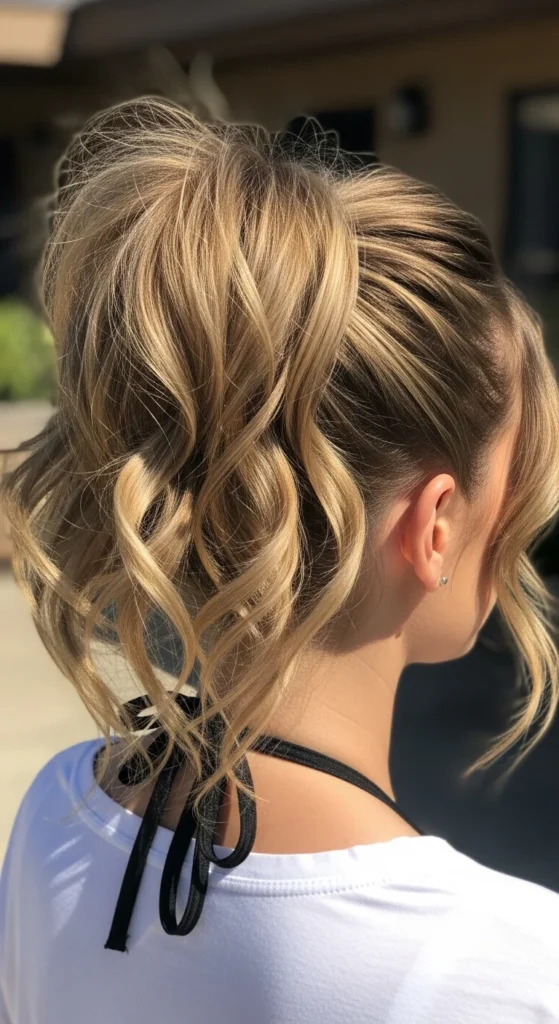
This is beachy and practical. Make a high ponytail first. Then wave the ponytail length with a wand or flat iron twist.
Leave a few pieces out around your face. Those pieces make it feel softer.
Budget tip: Wrap a small section of hair around the hair tie to hide it. Secure with a bobby pin.
If your ponytail looks too tight, gently pull at the crown with your fingertips to loosen it.
Finish with salt spray on the ponytail only. Scrunch once.
This style works great on medium and long hair, and it’s perfect for hot weather when you still want texture.
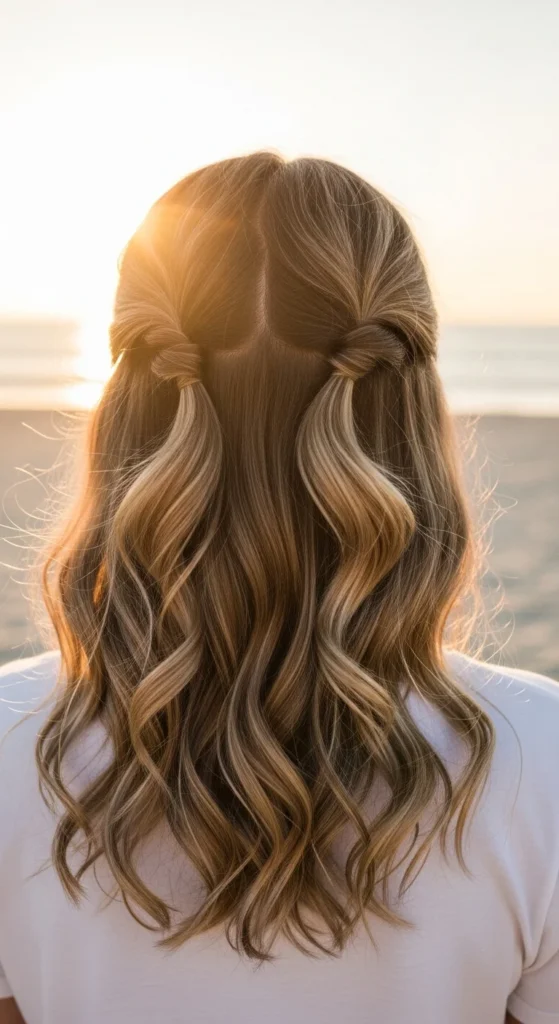
10. Half-Up Beach Waves with Volume at the Crown
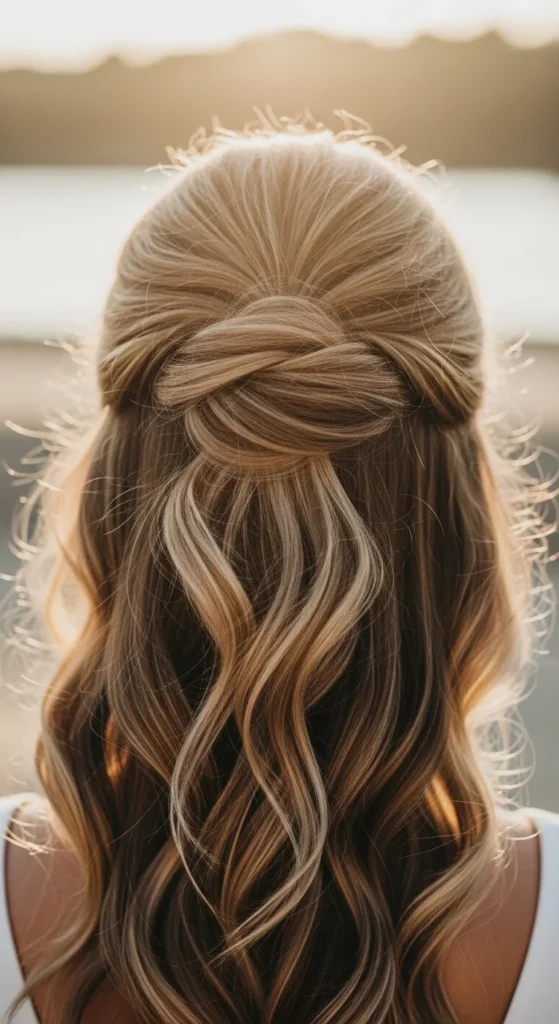
Half-up styles show off waves while keeping hair out of your face. Tease lightly at the crown with your fingers, not a comb.
Clip the top section back with a small claw clip or a cute barrette.
DIY tip: If you don’t want teasing, flip the top section forward and blast it with a hair dryer for 10 seconds at the roots. Then flip back. Instant lift.
Budget tip: Use a drugstore texturizing spray or dry shampoo for grip before clipping.
Keep waves loose and imperfect. If one side looks flatter, re-wave only two or three pieces.
This style looks good on straight hair turned wavy, natural waves, and everything in between.
11. French Braid Accent + Loose Beach Waves
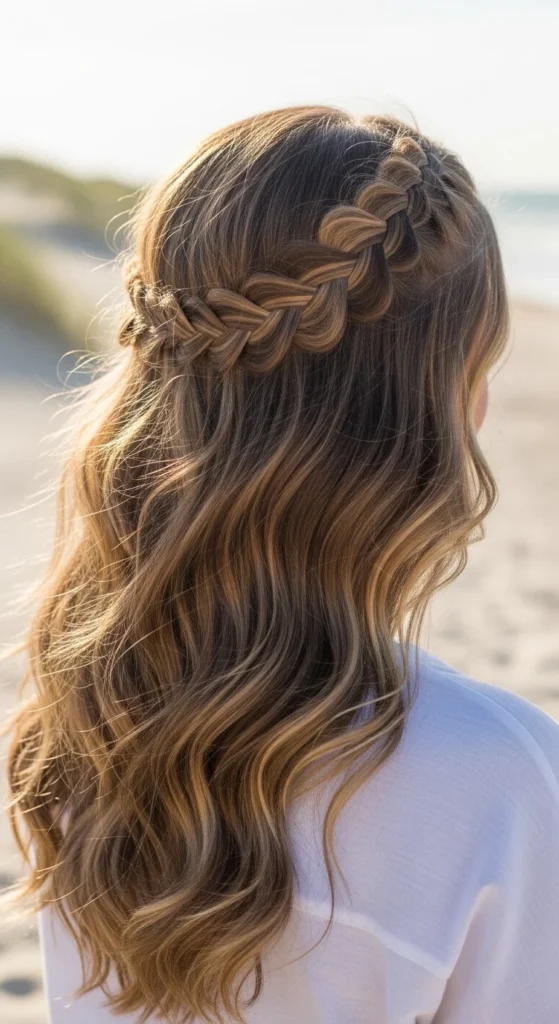
A small braid makes beach waves feel styled without much work. Create your waves first.
Then take a small section near your temple and do a slim French braid back toward your ear. Pin it behind your hair so it disappears.
Budget tip: Use two bobby pins crossed in an X. It holds better than one.
If you want a softer look, gently pull the braid edges to loosen it a bit.
This works on short and long hair. It also helps keep one side controlled on windy days.
12. Twist-Into-Buns Waves (No Heat, Fast)
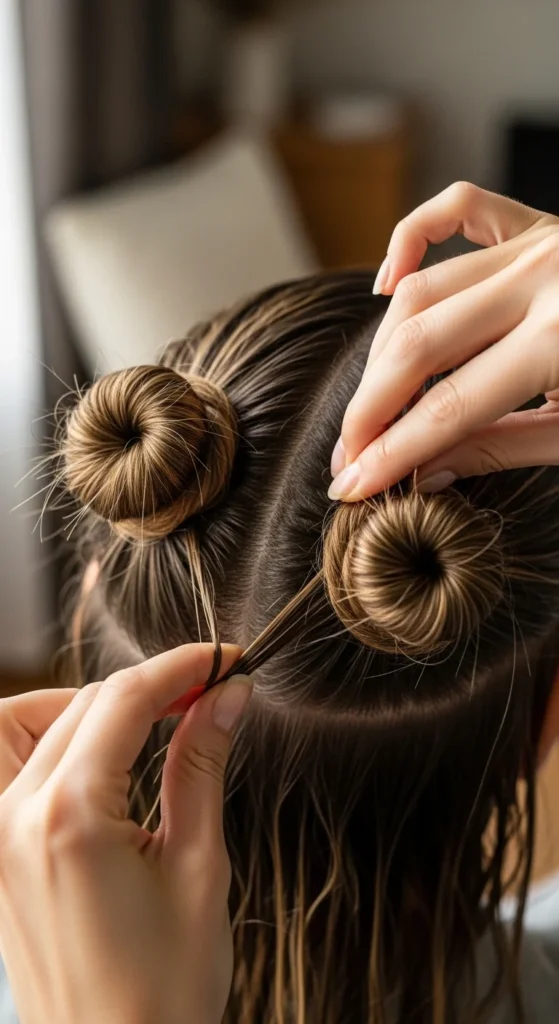
For heat-free waves that look random and natural, twist damp hair into two buns. Secure with soft ties.
Leave them for 1–3 hours. Then release and separate with your fingers.
DIY tip: For tighter texture, do four buns instead of two.
Budget tip: Use old scrunchies. They crease less than thin elastic ties.
Finish with a tiny bit of salt spray, then scrunch. If it feels dry, add a small amount of curl cream first.
This method is great for travel and busy days. It’s also gentle on hair that feels fragile.
13. Soft “Surfer” Waves with Mousse + Diffuser
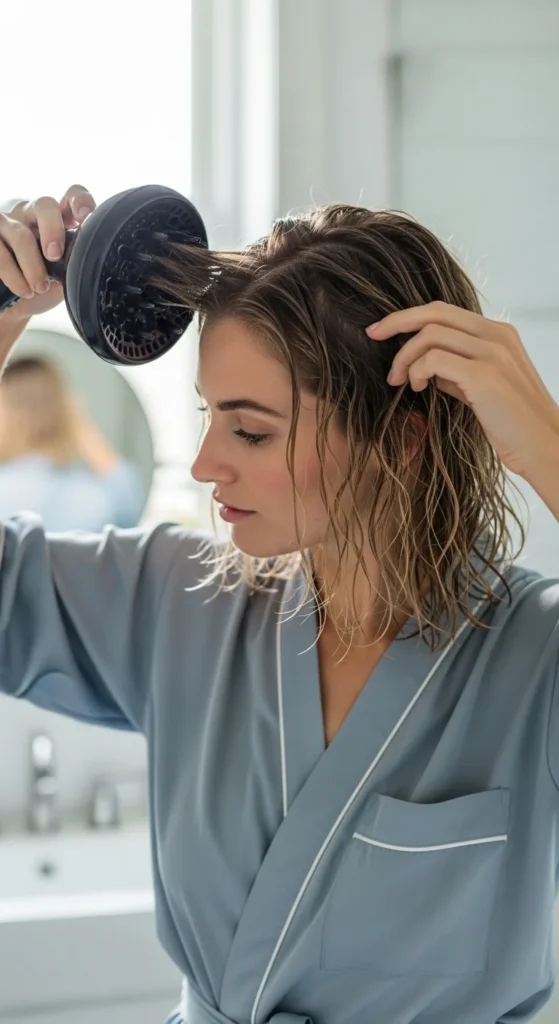
Apply mousse to damp hair. Scrunch upward. Then diffuse on low heat and low speed.
Keep the diffuser close to your scalp for root lift. Then cup the ends for definition.
Budget tip: If you don’t have a diffuser, use a T-shirt plop method for 10–15 minutes. It helps waves form before air-drying.
Once dry, flip your head forward and shake your roots. Don’t rake through too much.
This creates airy texture that looks beachy, not stiff. It’s a strong option for fine hair that falls flat.
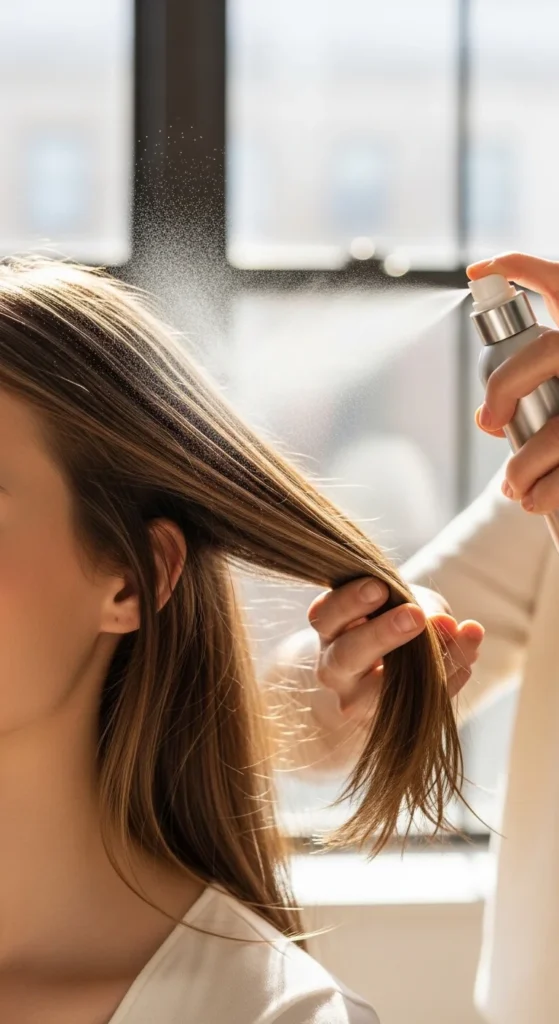
14. Straight-to-Beachy Waves (Prep Trick for Slippery Hair)
If your hair is naturally straight, waves can slip out. The trick is adding grip before you curl.
Spray a light texturizing spray or dry shampoo on clean, dry hair. Focus on mid-lengths.
Then use a wand and curl in alternating directions. Leave the ends out.
Let curls cool fully. Then break them up.
Budget tip: Dry shampoo works as a cheap grip spray. Use a small amount so it doesn’t look dull.
Finish with hairspray just on the mid-lengths. Avoid spraying the top too much.
This method makes straight hair hold that beachy shape longer.
15. Messy Layered Beach Waves (Best for Long Layers)
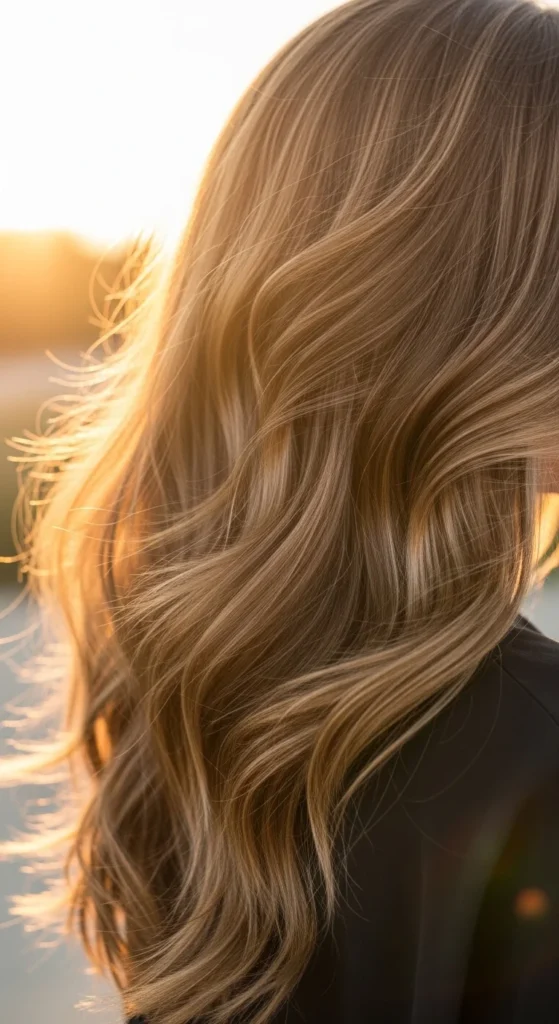
Layers and beach waves are a perfect pair. The layers show off texture and keep hair from feeling heavy.
Wave the ends first. Then wave a few pieces higher up around your face and crown.
DIY tip: Don’t curl every piece. Leave some sections natural. That’s what makes it look real.
Budget tip: Use a wide-tooth comb only at the very ends if you want softer separation.
If your layers frizz, smooth them with a pea-size amount of leave-in conditioner. Focus on the outer layer only.
This style looks great with highlights too, because waves show dimension.
16. “Just-Out-of-the-Water” Beach Waves (Controlled and Sleek)
This is the sleeker beach wave look. Start with damp hair. Work in gel lightly from mid-lengths to ends.
Twist a few sections and let them air-dry. Once dry, scrunch the hair to soften the gel cast.
Budget tip: A basic drugstore gel works. Use a small amount so hair stays touchable.
Add one drop of oil to the ends at the end for shine.
This style is great in humidity because it keeps frizz under control while still showing wave shape.
17. Tucked-Behind-One-Ear Beach Waves
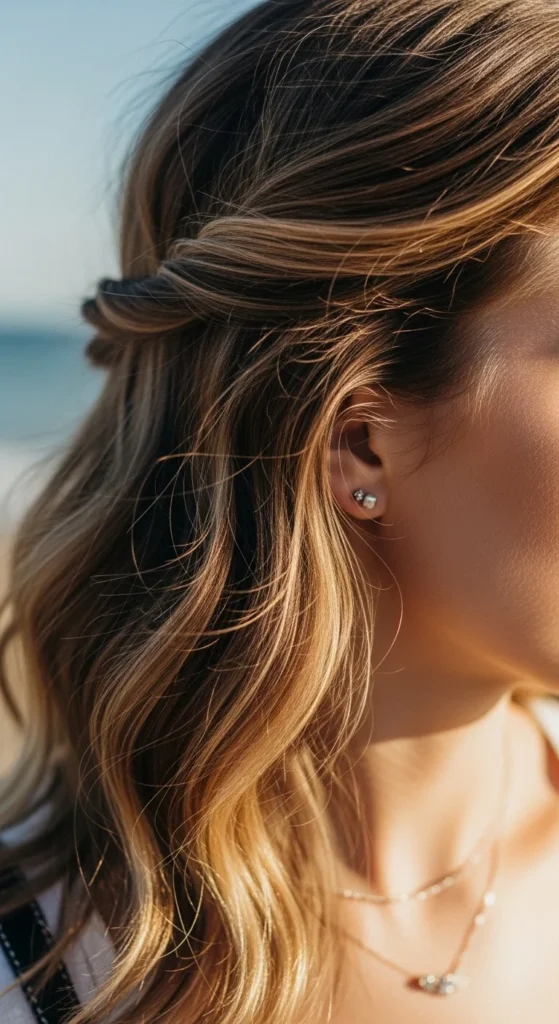
Take your normal beach waves and tuck one side behind your ear. That’s it. The shape changes instantly.
DIY tip: Add one bobby pin above the ear if it slips. Hide it under the top layer.
Budget tip: A tiny bit of hairspray on the pin helps it grip.
This look is great for medium hair, and it shows off earrings while keeping the vibe relaxed.
18. Beach Waves with Soft Curtain Bangs
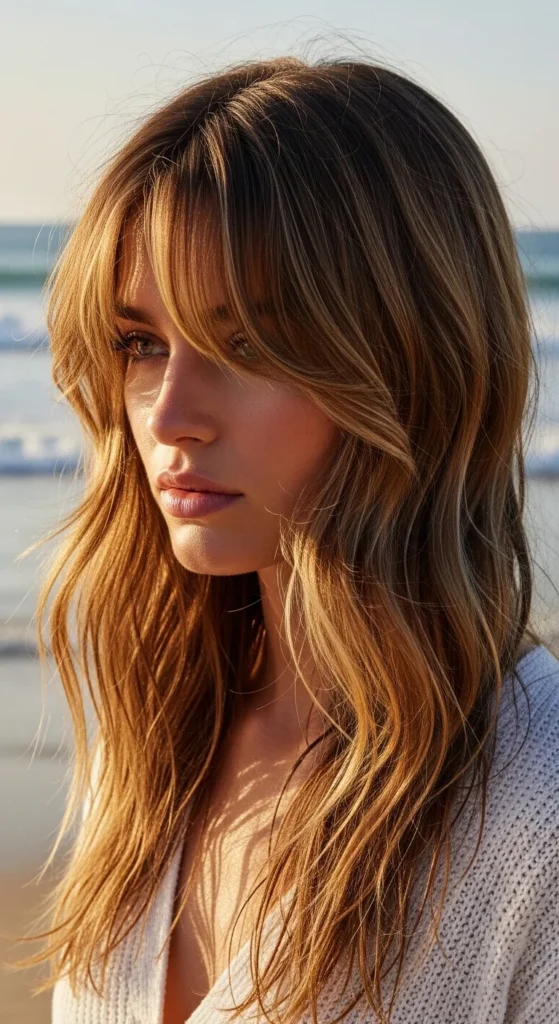
Curtain bangs look great with beach waves because they match the relaxed texture.
Wave the bangs away from your face with a large barrel. Keep it light. One quick pass.
Then wave the rest of your hair loosely. Let the bangs stay airy, not stiff.
Budget tip: If you don’t own a big barrel tool, roll bangs around a Velcro roller for 10 minutes.
This style frames the face and looks good even when the rest of your waves are a little messy.
19. Beach Wave Lob with a Center Part
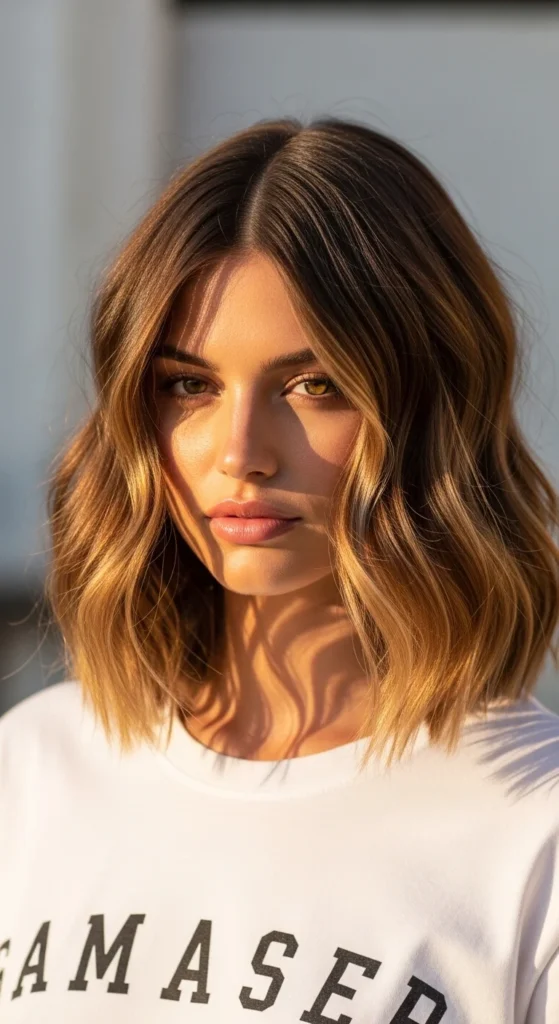
A lob (long bob) is perfect for beach waves. It’s long enough to wave, short enough to feel light.
Create waves from the mid-length down. Leave the ends straight.
Budget tip: Curl fewer sections than you think. A lob can look overdone if every piece is curled.
Finish with salt spray and a quick scrunch.
This style works for casual days, travel, and simple photos.
20. Beach Waves + Tiny Front Twists (Quick Face Frame)
Do your waves. Then take two thin pieces near your temples and twist them back. Pin behind your head.
It gives a soft frame and keeps hair out of your eyes.
Budget tip: Use mini claw clips instead of pins. They’re cheap and easy.
If your hair is fine, spray the twist lightly with dry shampoo before pinning so it holds.
This is perfect when you want a small detail without a full braid.
21. Beach Waves with “Piecey” Ends (Pinch + Twist Trick)
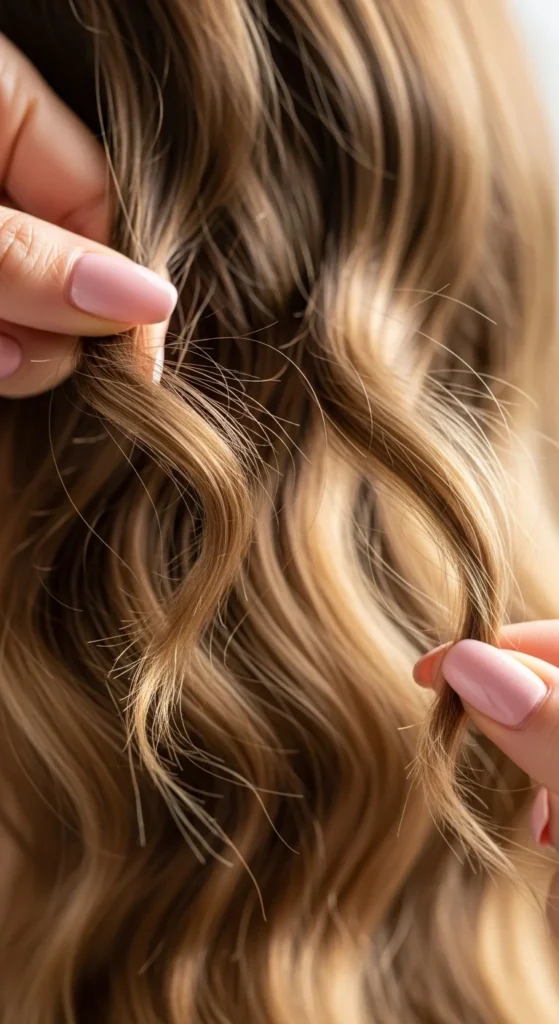
Piecey ends make waves look more beachy. After styling, pinch small sections of ends and twist them.
Use a tiny bit of styling cream on your fingertips for control.
Budget tip: Even a small dab of hand lotion can work in a pinch. Use very little.
Don’t do this all over. Just 8–10 pieces around the outside layer.
It adds texture without adding more heat.
22. “Lazy Girl” Beach Waves (Only Wave the Top Layer)

If you want beach waves fast, wave only the top layer. Clip the bottom half down and leave it natural.
Curl the outer pieces and the front sections. Keep it loose.
Budget tip: This saves product too, since you style less hair.
When you release, shake it out so the styled top blends with the natural bottom.
This is a great method for thick hair or for days you want texture without spending 30 minutes.
23. Beach Waves for Thick Hair (Big Sections + Cool Down)
Thick hair can look amazing with beach waves, but it can also feel heavy.
Use larger sections and a bigger barrel tool. Curl away from your face on the top pieces.
Let curls cool fully before touching. Cooling matters a lot for thick hair.
Budget tip: Clip each curl up to cool for five minutes. It helps hold shape with less hairspray.
Finish with salt spray on the ends only.
24. Beach Waves for Fine Hair (Grip First, Then Soft Waves)
Fine hair can fall flat fast. Start with dry shampoo at the roots and a light texture spray through the mid-lengths.
Then wave with a wand, but keep curls loose.
Don’t use heavy oils. Use a tiny amount of lightweight serum only on the ends.
Budget tip: Backcomb just one small section at the crown with your fingers for lift, then smooth over it.
Finish with a light hairspray mist from far away.
The goal is airy texture, not heavy product.
25. Beach Waves + Headband (Heat-Free Shape While You Sleep)
This is an easy overnight trick. Put on a soft headband like a halo. Wrap sections of damp hair around it.
Sleep on it. In the morning, unwrap and finger-comb gently.
Budget tip: A cheap stretchy headband works. Softer fabric reduces creases.
If the waves are too tight, separate sections more and shake them out.
Finish with salt spray or a light mousse scrunch.
It’s a great option if you want beach waves without heat tools.
26. Post-Beach “Refresh Waves” (Salt Spray + Light Oil Finish)
Sometimes your waves look good but feel dry. This refresh method keeps texture while adding softness.
Mist a little salt spray on mid-lengths. Scrunch once.
Then rub one drop of light oil between your hands and smooth only the ends. Keep oil away from the crown.
Budget tip: If you don’t have hair oil, a tiny amount of leave-in conditioner can work on the ends.
If roots look flat, add dry shampoo at the crown and lift with your fingertips.
This keeps your waves beachy, touchable, and easy for day two or day three hair.
Conclusion
Beach waves are popular because they’re easy to wear and easy to DIY. You can get them with a wand, a flat iron twist, or heat-free tricks like braids, buns, and headbands. Small product swaps also help—salt spray for texture, dry shampoo for grip, and a tiny bit of oil for soft ends.
Pick one method from this list and try it once. Then adjust it for your hair length and texture. After a couple tries, you’ll have a go-to beach wave routine that looks relaxed and put together without taking over your day.

Leave a Reply