
Red nails are a classic for a reason. They look confident, polished, and instantly put-together, whether you go bright cherry or deep burgundy. Today’s red manicures also come with fun updates like micro French tips, velvet textures, chrome finishes, and playful patterns like plaid or animal prints.
If you want a manicure that feels bold without being hard to recreate, red is a great choice. Many of these looks can be done at home with affordable polish, basic tools, and a little patience. Below are 26 red nail designs you can try for holidays, evenings out, or everyday power style.
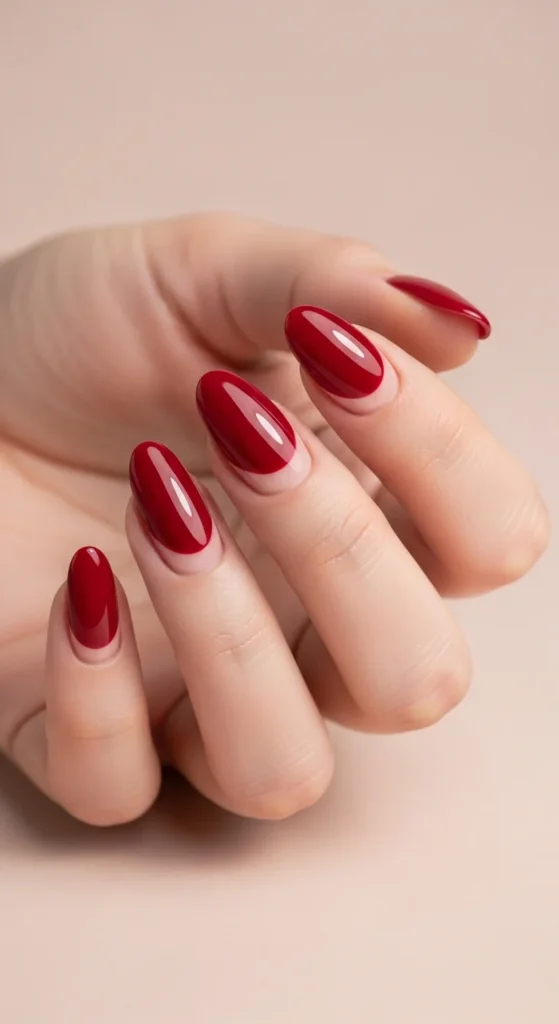
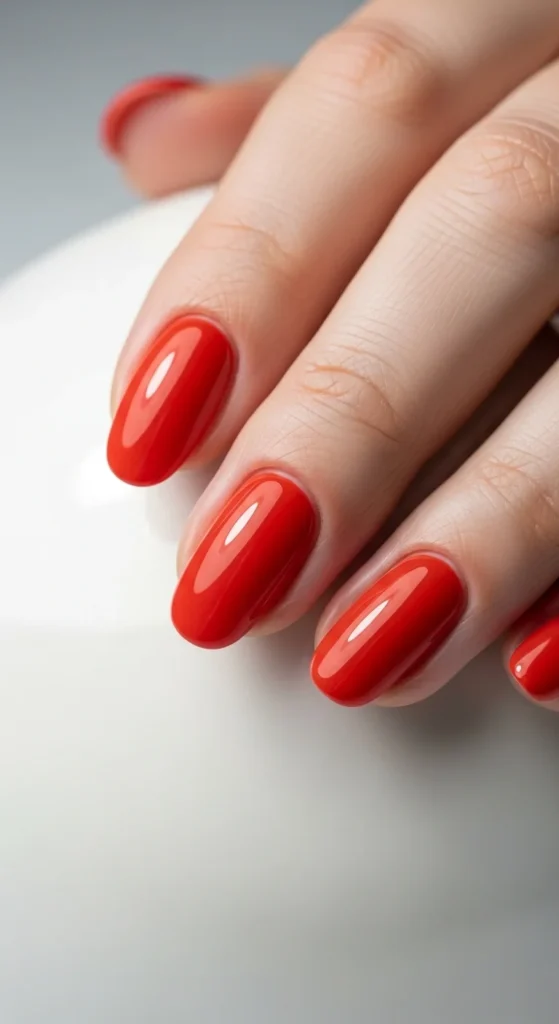
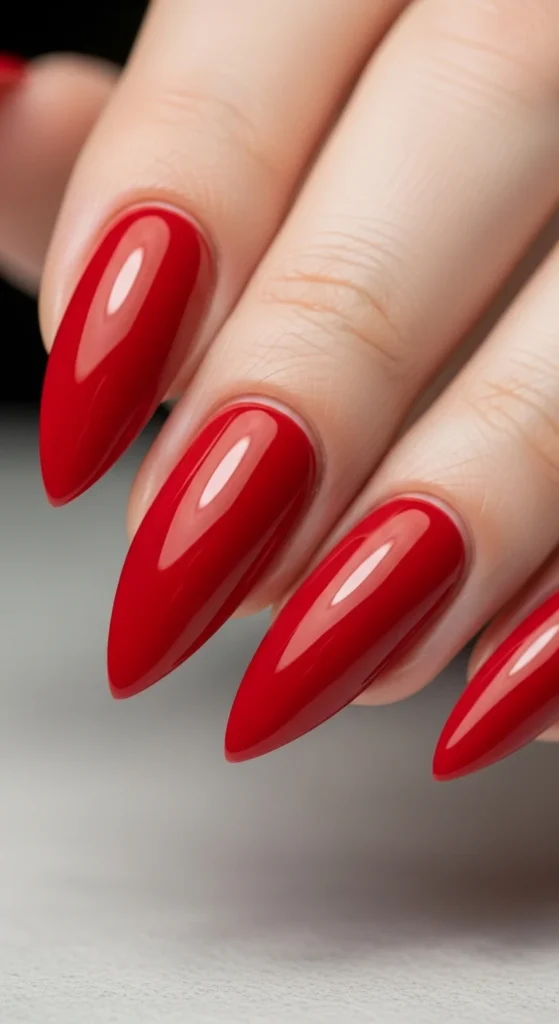
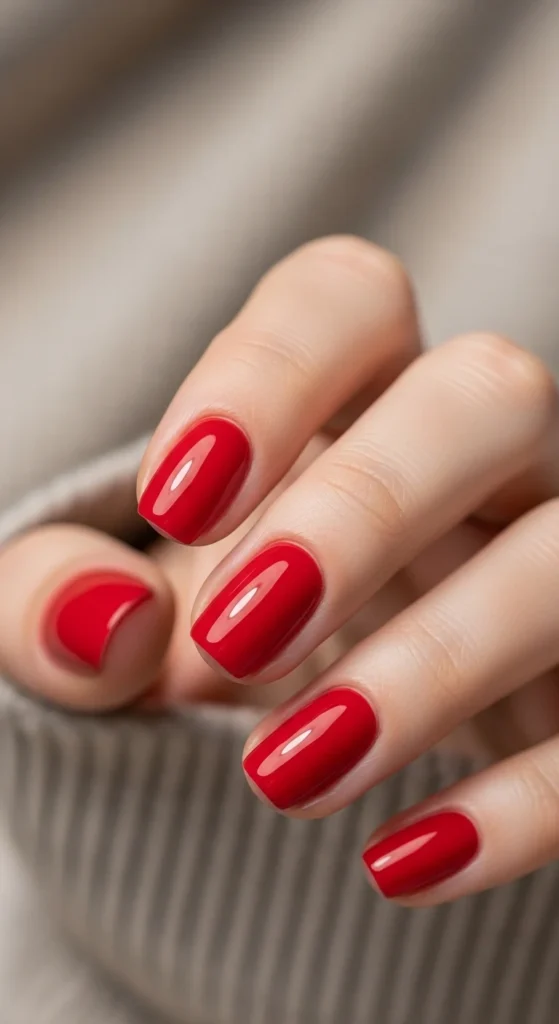
1. Candy-Apple Glossy Red

Candy-apple red is the bright, shiny red that always looks clean and bold. It works for any season and looks great on both short and long nails.
To recreate it at home, focus on prep first. Lightly buff the nail surface and use a sticky base coat so the polish grips well. Apply two thin coats of cherry or candy red. Thin layers dry faster and look smoother.
A glossy top coat is what makes this style stand out. Use a plumping top coat if you want that gel-like shine without a lamp.
Budget tip: if your red polish streaks, apply a sheer pink layer first. It helps the red look more even.
Finish with cuticle oil. Red looks sharper when the nail edges look neat.
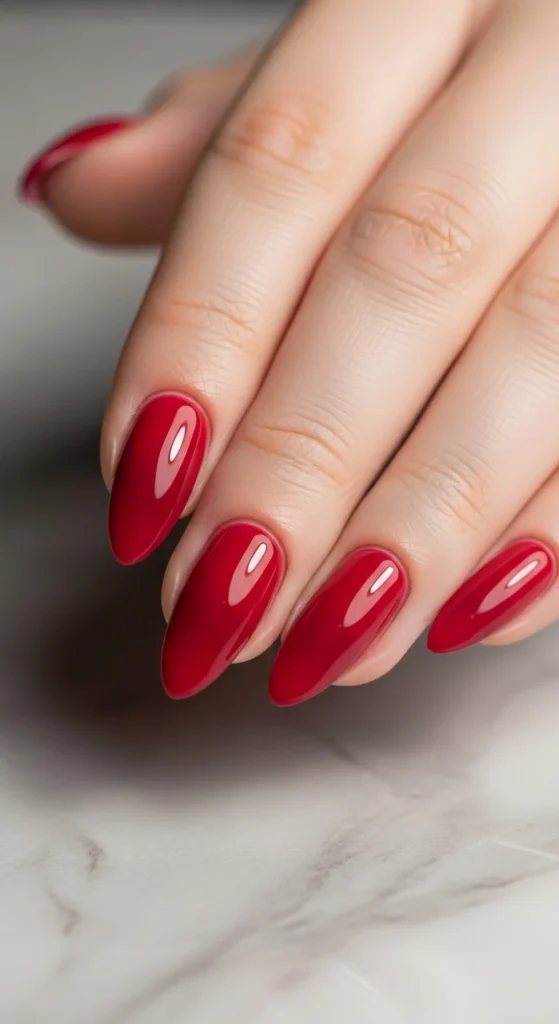
2. Cherry Red Short Squoval
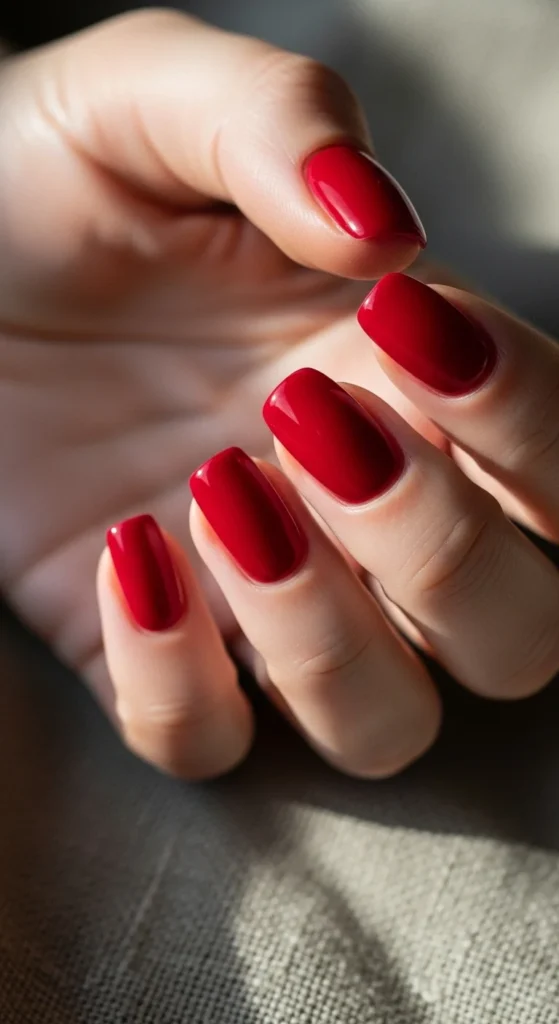
Short cherry red nails look bold but practical. The squoval shape is great for daily wear because it avoids sharp corners that snag.
Choose a bright cherry red for a playful feel. Apply two thin coats and let each layer dry.
If you worry about chips, wrap the polish over the nail tip. It helps the color stay longer.
This is also a great style for press-ons if you want a quick result. Many affordable sets come in short squoval shapes that look natural.
Keep your hands moisturized. Dry cuticles can make even a perfect red manicure look messy.
3. Red Micro French Tips
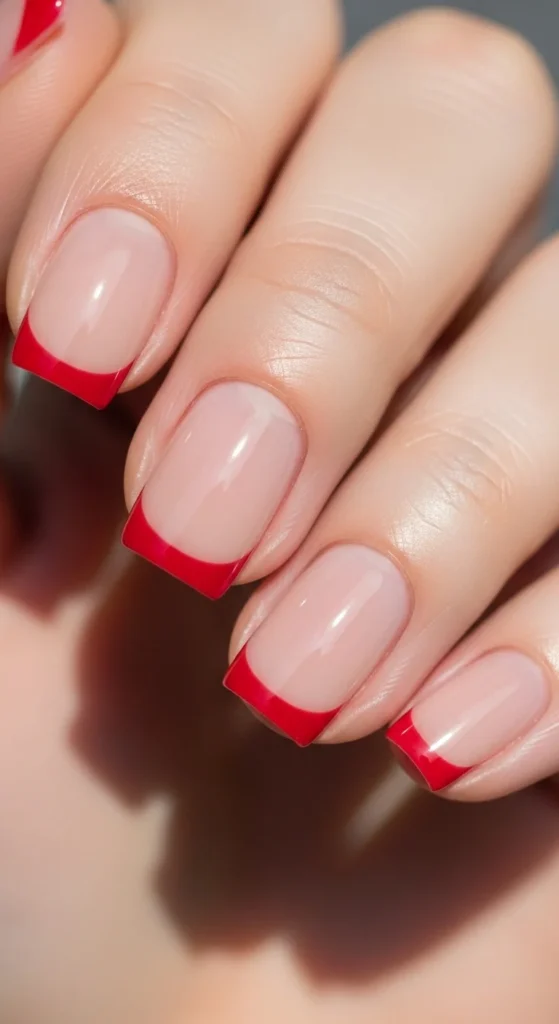
Micro French tips are perfect if you want red in a softer way. Instead of full red nails, you get a thin line at the tip that still feels bold.
Use a sheer nude or pale pink base. Then paint a very thin red line across the tip using a striping brush.
If you are a beginner, French tip stickers can help you keep the line even.
This style works well on short nails and grows out nicely. That makes it budget friendly between touch-ups.
Seal with glossy top coat to lock everything in and keep the tip line crisp.
4. Classic Red French Tips
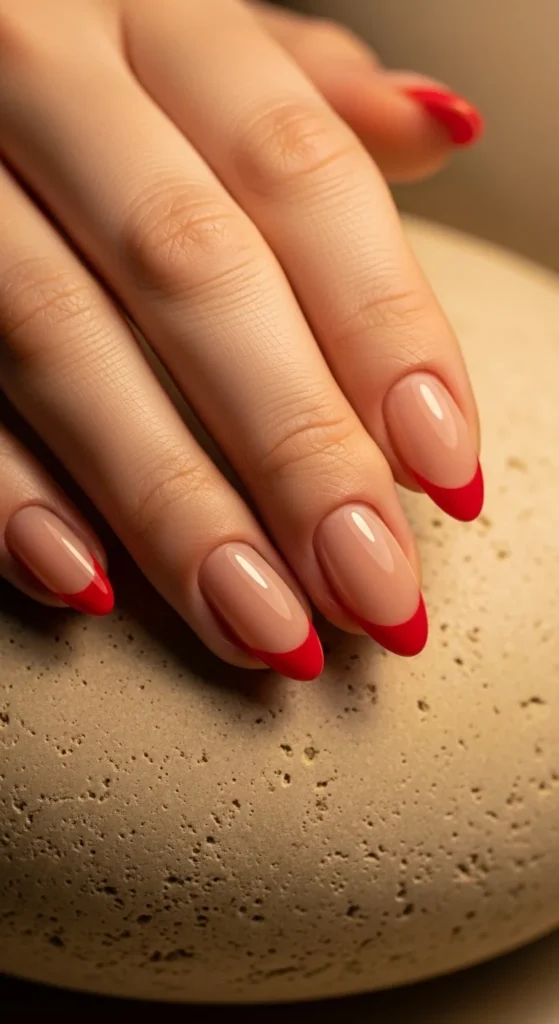
Red French tips look chic and bold without covering the entire nail. They feel polished for events and still work for daily wear.
Start with a nude base coat that matches your skin tone. Let it dry fully. Paint the red tip using a curved brush stroke.
A medium almond shape is ideal because it makes the tip curve look natural.
Budget tip: use a makeup sponge to softly press red polish onto the tips if you struggle with clean lines.
Finish with top coat. If you want extra shine, apply another top coat the next day.
5. Reverse French Red Base
Reverse French flips the classic look. The red covers most of the nail, while a nude crescent near the cuticle stays visible. It feels modern and clean.
Use a nail sticker or reinforcement ring near the cuticle to block off the crescent area. Paint the red over the rest of the nail. Remove the sticker carefully.
This look grows out nicely because the cuticle area stays nude. That means fewer touch-ups.
Pick a glossy finish for a sharper look.
If you want it softer, choose a deep cherry instead of a bright red.
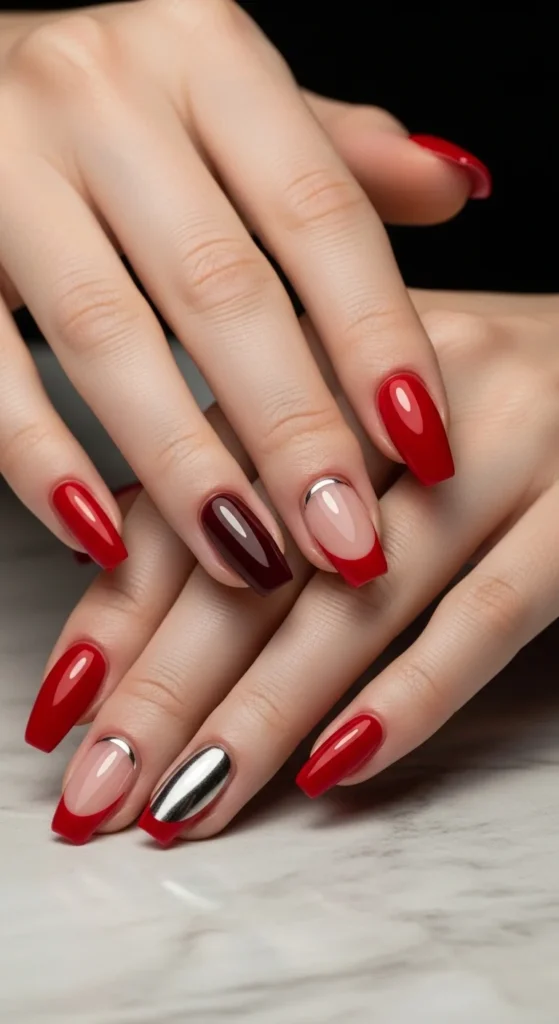
6. Ruby Red Chrome Mirror
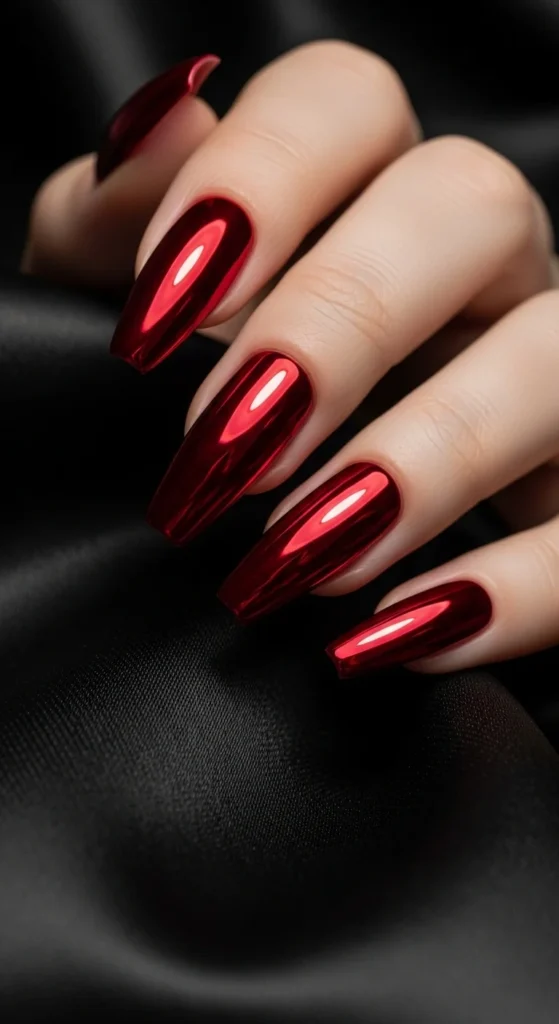
Chrome red is bold and eye-catching. It looks like glossy metal and works best for nights out and special occasions.
Apply a ruby red gel base first. After curing top coat, rub chrome powder lightly over the nail.
For a lower-cost version, use chrome-effect polish or a metallic red shimmer top coat. It won’t be full mirror, but it still looks striking.
Coffin and almond shapes show chrome reflections best.
Seal with top coat and avoid thick layers so the reflection stays clear.
7. Velvet Burgundy Texture

Velvet nails add a soft, light-catching texture that looks rich and cozy. Burgundy velvet is especially popular in autumn and winter.
Use a magnetic velvet polish in burgundy. Paint one nail at a time, then hold the magnet close to create the velvet stripe effect.
This manicure looks best on medium to long almond nails. Short nails can still work if you keep the effect centered.
Budget tip: magnetic polish sets are often cheaper than salon visits and last for many manicures.
Finish with glossy top coat to protect the effect and keep it smooth.
8. Ombre Red Gradient
A red ombre adds depth and drama without extra nail art. It looks like a custom manicure but is doable at home.
Use a makeup sponge to dab two red shades together. Try cherry near the cuticle and deeper crimson toward the tip. Tap lightly and build slowly.
Thin layers prevent patchiness.
This style hides chips well because the color variation distracts the eye.
Seal with a glossy top coat to smooth the sponge texture.
9. Red Glitter Fade Tips
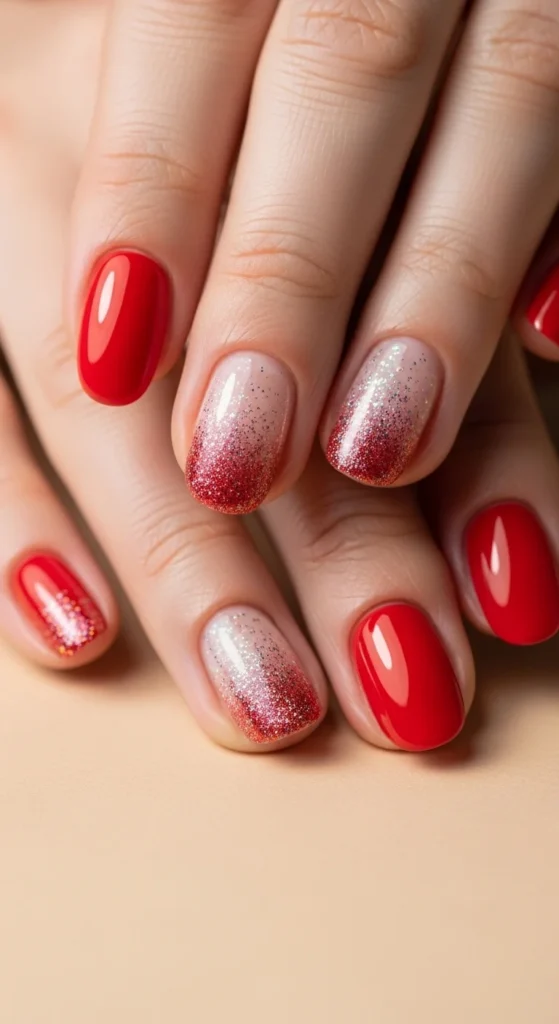
Glitter fades add party sparkle without covering the whole nail in glitter. It is festive for holidays and events.
Start with a red base. While it is still slightly tacky, dab glitter polish at the tips and gently pull it downward.
Use fine glitter for a smoother look. Chunky glitter can feel rough.
Budget tip: a small glitter topper can be layered over any red you already own.
Seal with two top coats so the surface feels smooth.
10. Red Hearts Accent Nails
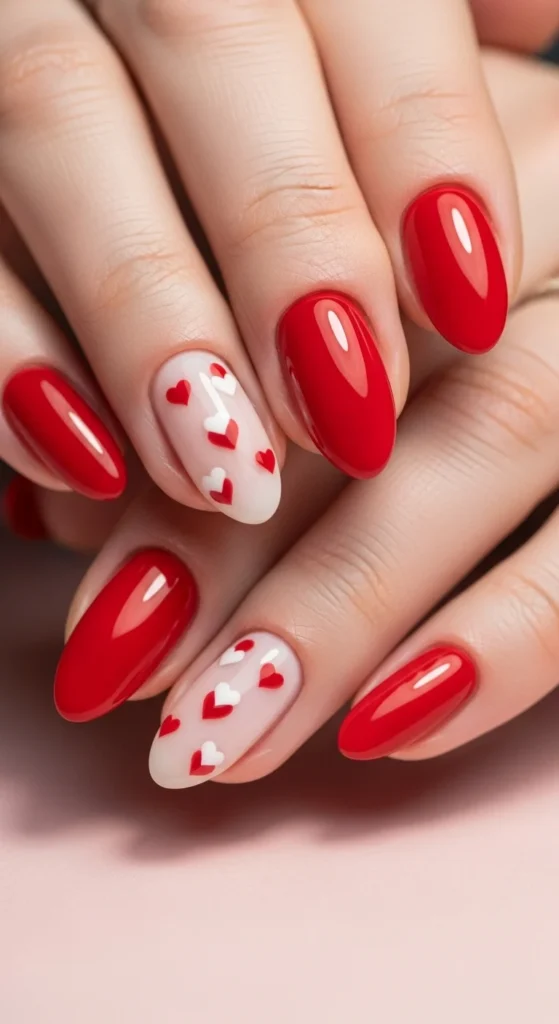
Heart accents make red nails feel romantic without being childish. This works well for Valentine themes or anytime you want a sweet detail.
Paint most nails red. On one accent nail, use a nude or pale pink base and add tiny red hearts with a dotting tool.
Keep hearts small and spaced out.
If you want a simpler DIY, use heart nail stickers and seal them with top coat.
This style looks best with glossy finish so the hearts look crisp.
11. Flame Tip Red Nails
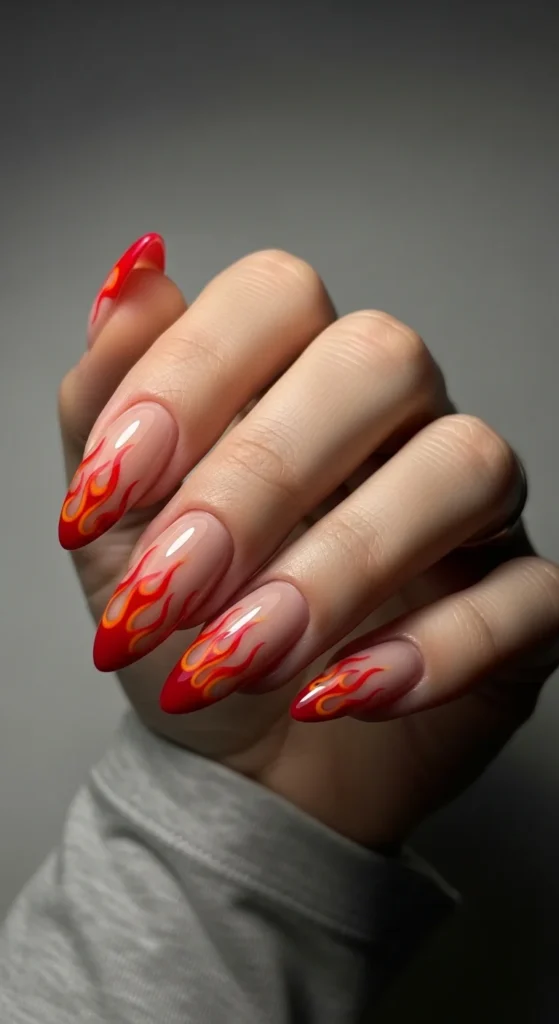
Flame nails are edgy but still wearable when the base stays nude. The red-orange flames give a fiery look that stands out.
Use a thin brush to paint flame shapes starting from the tip area. Keep the flames uneven and organic. Perfect symmetry can look stiff.
Beginners can use flame stickers instead. That keeps cost low and saves time.
This design works best on almond or stiletto shapes because the length gives room for the flames.
Seal with glossy top coat so the lines stay smooth.
12. Red Plaid Cozy Nails
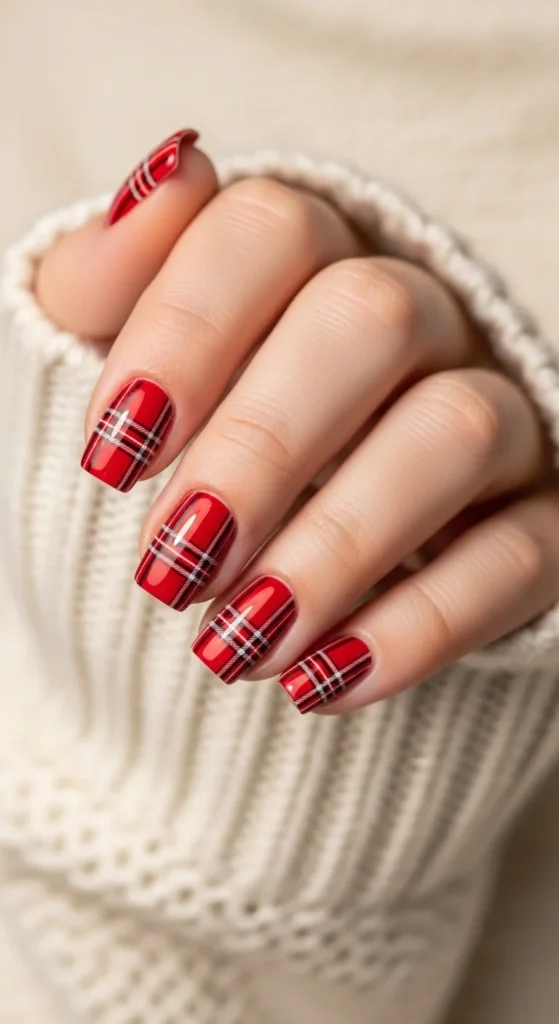
Plaid nails feel cozy and seasonal, especially around winter holidays. They look detailed but can be simplified for DIY.
Start with a red base. Use a striping brush or nail tape to add thin black and white lines.
Keep the pattern on one or two nails only if you want it easier.
Budget tip: nail striping tape is cheap and makes straight lines much easier.
Finish with top coat to smooth out any raised lines.
13. Leopard Print Red Accent

Leopard print adds a fierce vibe while still feeling stylish. Using it as an accent keeps it wearable.
Paint most nails solid red. On one nail, use a nude base and add irregular black spots, then outline parts with deep brown.
If hand painting is hard, leopard nail stickers are a cheap shortcut.
This design looks great on coffin nails, but it also works on short squares.
Seal well with top coat so the print stays smooth.
14. Abstract Red Brush Strokes
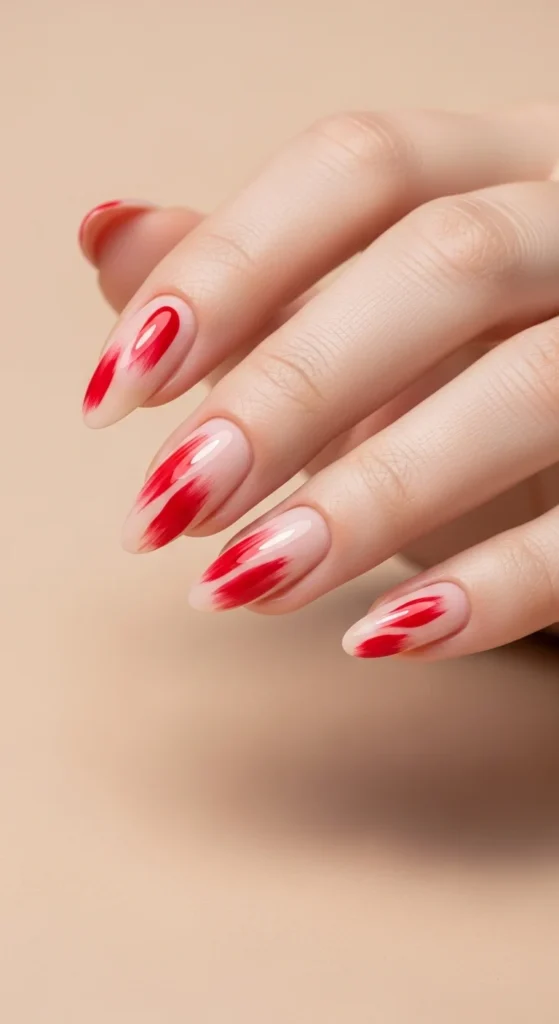
Abstract strokes give a modern artsy look without strict precision. That makes it great for DIY.
Start with a nude base. Use a small brush to swipe red polish in random strokes across the nail. Add a few thin lines for contrast.
Keep the design on one or two nails. Too many accents can feel busy.
Budget tip: use toothpicks for thin line details if you don’t have nail brushes.
Finish with glossy top coat for a smooth surface.
15. Tomato Red Warm Tone Nails
Tomato red leans slightly orange and can look amazing on warm and medium skin tones. It feels bright and sunny.
Apply two thin coats and let them dry well. Warm reds can sometimes show streaks, so thin layers are key.
This shade looks great on short oval nails for daily wear.
Budget tip: if your polish is sheer, use a white base coat to make the color pop.
Finish with glossy top coat and wrap the tips to reduce chips.
16. Deep Burgundy Matte Nails

Matte burgundy looks rich and powerful without sparkle. It is great for colder seasons and formal events.
Apply burgundy polish first. Then add matte top coat once fully dry.
Matte can show wear faster, so keep a clear top coat handy for touch-ups. You can also add matte top coat again midweek.
For an easy accent, keep one nail glossy burgundy while the rest are matte. It adds contrast with almost no effort.
Moisturize hands often because matte finishes highlight dry skin.
17. Red Rhinestone Cuticle Line
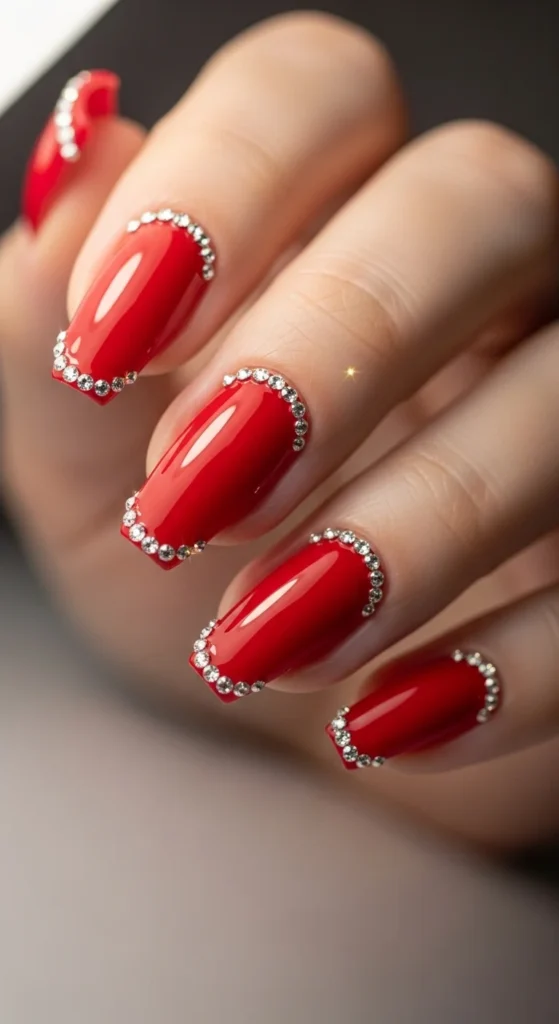
Rhinestones add glam fast. A cuticle line looks fancy but is easy when you keep gems small.
Paint nails red and let them dry. Place tiny rhinestones near the cuticle using nail glue or a sticky top coat.
Keep gems to one or two nails for a cleaner look.
Budget tip: buy mixed-size gem wheels so you can choose tiny stones that sit flat.
Seal around the gems carefully with top coat to help them last longer.
18. Red Polka Dot Retro Nails
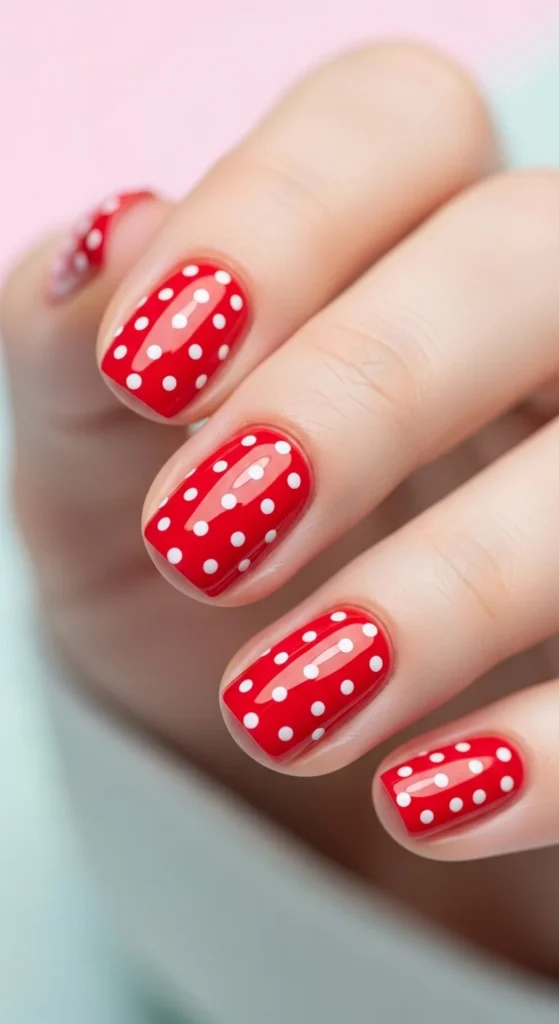
Polka dots are a fun retro look and very beginner-friendly.
Paint nails red first. Use a dotting tool or toothpick dipped in white polish to add evenly spaced dots.
For a softer vibe, use tiny dots instead of large ones.
This is an affordable design because it uses only two colors and no special tools.
Seal with glossy top coat so dots stay smooth and bright.
19. Red Swirl Mix of Shades
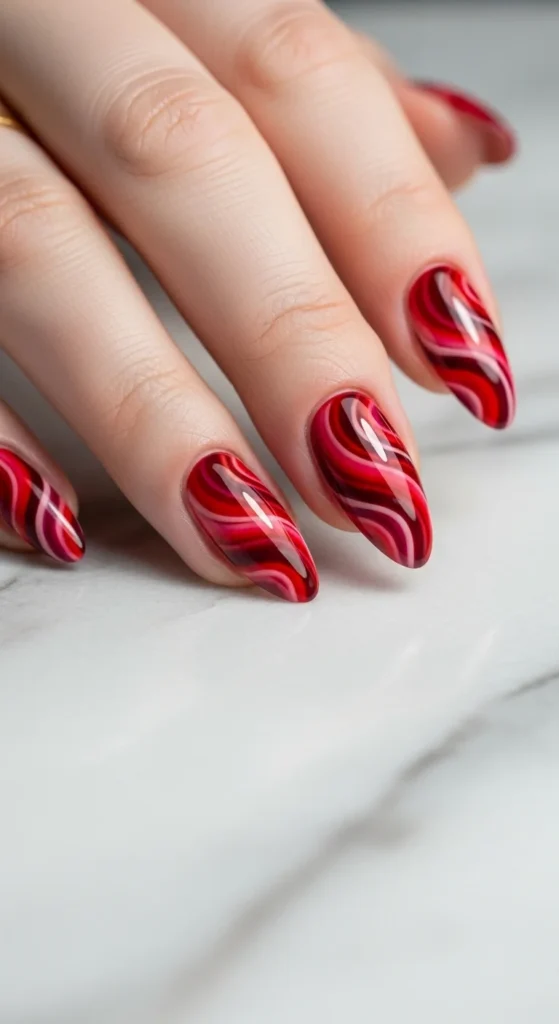
Swirls in multiple red tones create movement and depth. It looks custom but is doable at home.
Use a pale nude or sheer pink base. Then paint swirls using two or three reds.
Keep the lines thin and wavy. They don’t have to match on every nail.
Budget tip: use reds you already own and mix a drop of white or black to create extra shades.
Seal with glossy top coat for smooth shine.
20. Coffin Red Power Nails

Long coffin red nails are a statement look. They feel bold and confident.
If you don’t want salon acrylics, try long coffin press-ons. Many sets look realistic and are cheaper.
For polish, pick a deep cherry or ruby red. Glossy top coat makes the shape look sharper.
Keep nails filed evenly so the coffin shape looks clean.
Carry a small nail glue for quick fixes if you use press-ons.
21. Stiletto Red Drama Nails
Stiletto nails look dramatic and bold, especially in glossy red. They are best for events or nights out.
If you want this shape without committing, press-ons are the easiest way.
Choose a rich red shade and apply thin coats so the finish stays smooth.
Keep one or two accent nails simple, like a micro French line or small gem, so the look stays stylish rather than chaotic.
Hydrate hands well. Long shapes draw attention to your fingers.
22. Gemstone 3D Red Accent
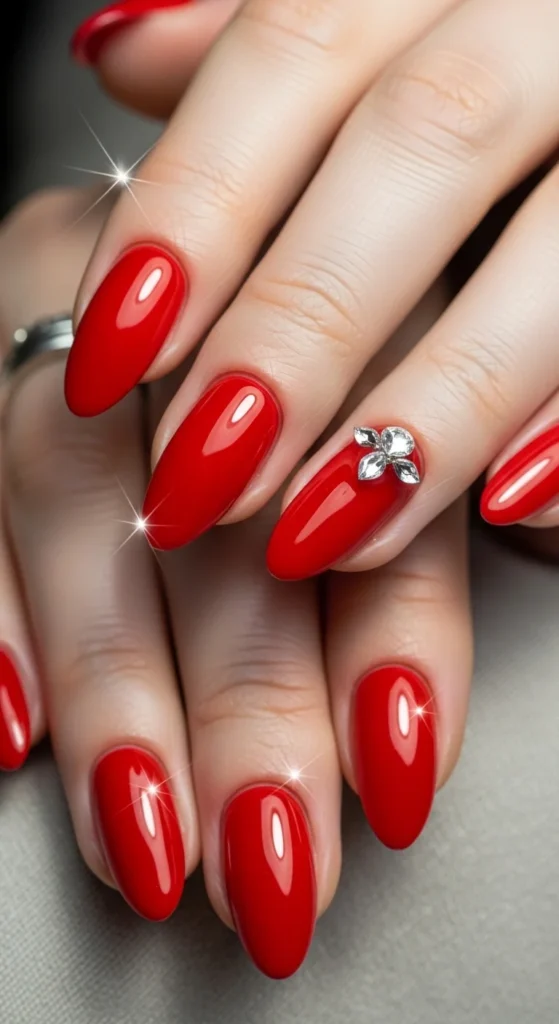
A single gemstone accent can make red nails look glamorous fast.
Keep the gem small and flat so it doesn’t snag. Apply it on one nail only, like the ring finger.
Use nail glue and press firmly.
Budget tip: flat-back craft gems work well if they are small. Just pick sizes that fit your nail.
Seal around the gem with top coat to help it hold longer.
23. Red and Nude Half-Moon Nails

Half-moon nails give a retro look that feels modern again. The nude crescent near the cuticle keeps the design lighter.
Use reinforcement stickers to block off the half-moon area. Paint the rest red.
This style grows out nicely because the cuticle area stays nude.
Choose glossy red for a crisp finish.
If you want extra detail, add a thin gold line along the half-moon edge.
24. Red Tortoiseshell Accent
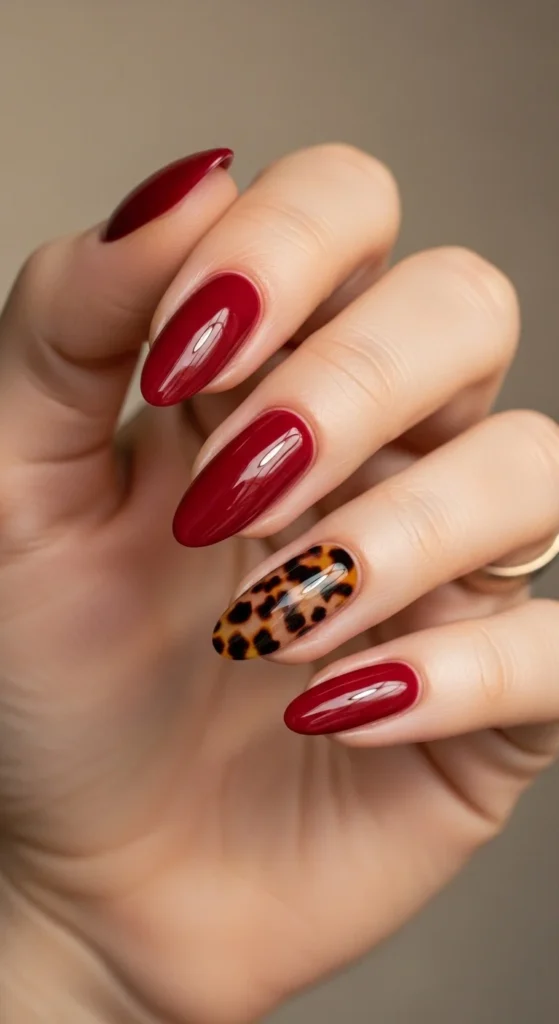
Tortoiseshell adds warmth and texture, especially in winter. It looks great as an accent with red.
Paint most nails red. For the accent nail, use amber-brown sheer layers with small black patches.
If that feels hard, use tortoiseshell nail stickers. They look clean and save time.
This design pairs nicely with burgundy reds and gold rings.
Seal with glossy top coat for that smooth, glassy finish.
25. Red Aura Glow Nails
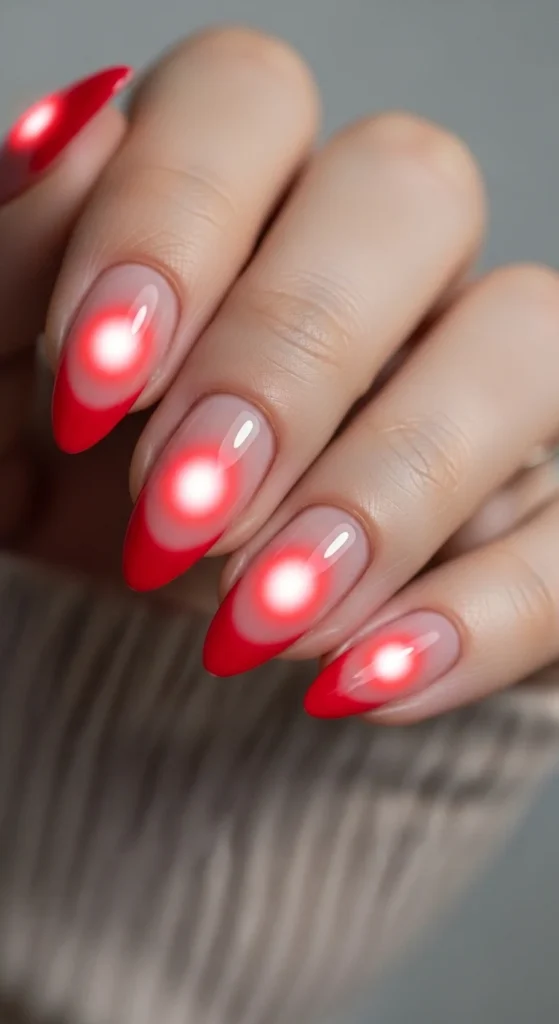
Aura nails in red feel bold but still soft. The center glow adds depth and makes nails look artistic.
Start with a pale nude base. Use a sponge to dab red in the center area, leaving edges lighter.
Build slowly so the glow looks hazy, not harsh.
This design is forgiving and great for DIY practice.
Seal with glossy top coat to smooth everything.
26. Classic Red Press-On Perfection
Press-on red nails are perfect for quick glam at home. Modern sets look realistic and can be reused.
Choose a short oval or squoval shape for the most natural look. Buff your natural nails lightly before applying.
Use glue tabs for short wear or nail glue for longer hold. Press firmly for 20 seconds per nail.
Budget tip: keep extra adhesive tabs in your bag for quick fixes.
Finish by applying a thin top coat over press-ons if allowed by the set material. It can help add shine and make them feel more secure.
Conclusion
Red nails are bold, timeless, and easy to personalize. Whether you prefer glossy cherry, deep burgundy, or modern textures like chrome and velvet, there is a red manicure style that fits your mood. Start with a simple solid red, then try French variations, gradients, or one accent nail when you want something new. With affordable polish and a few basic tools, these red nail designs are completely doable at home.

Leave a Reply