
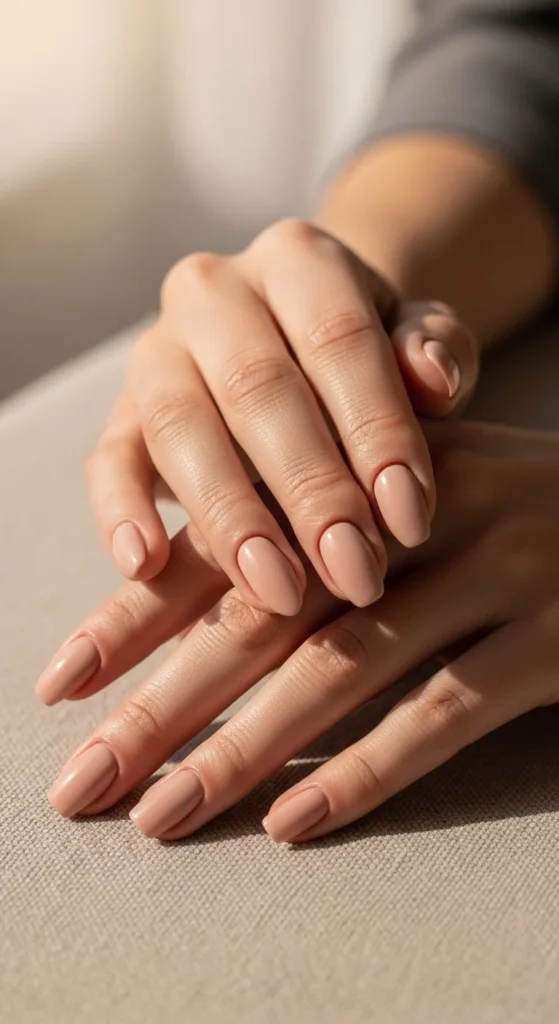
Nude nail designs remain a go-to choice because they look clean, polished, and easy to wear every day. The modern take goes far beyond plain beige. Today’s styles include glazed finishes, micro-French tips, soft ombré fades, and subtle metallic accents that keep the look interesting without feeling loud.
If you want a manicure that works for workdays, events, and casual weekends, nude nails are a smart pick. They are also budget-friendly and beginner-friendly. Many of these looks can be done at home with simple tools and drugstore polish. Below are 25 elegant nude nail ideas you can actually recreate.
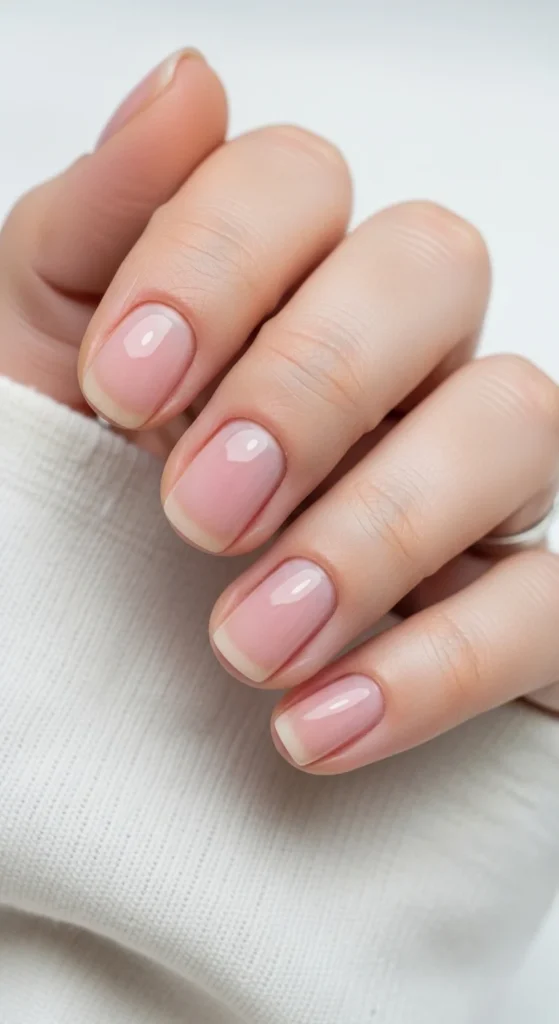
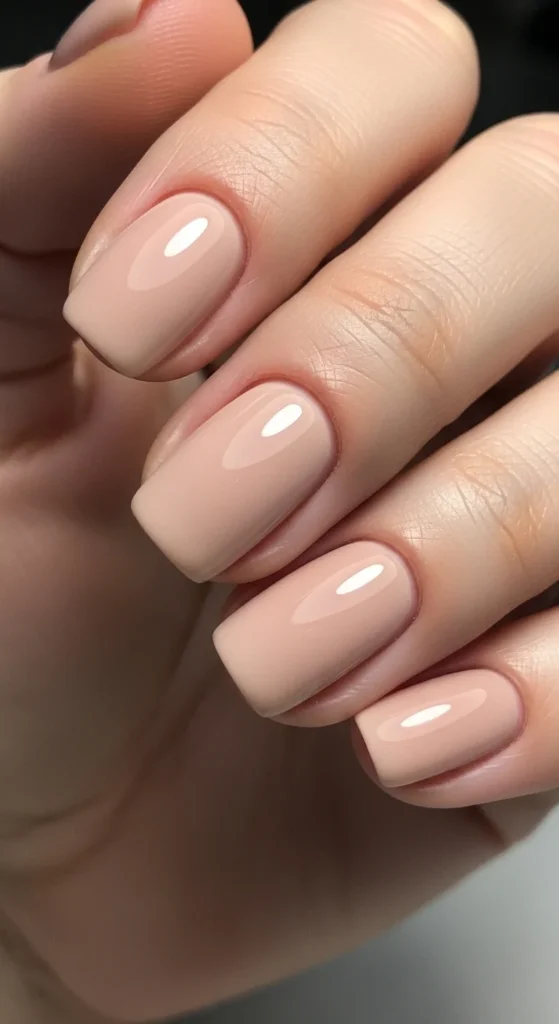
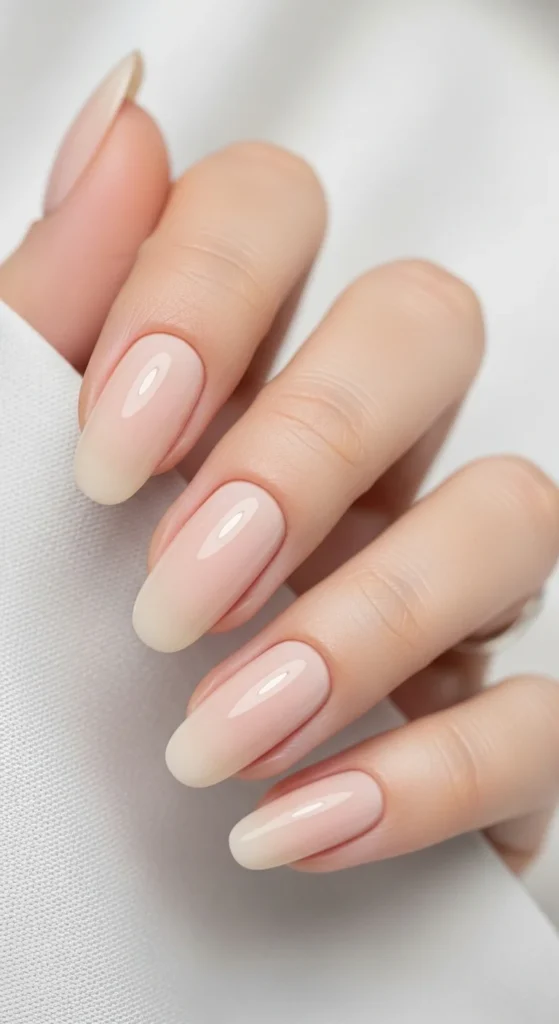
1. Glazed Donut Nude Shine
This look gives nude nails a soft glow that catches the light beautifully. It is inspired by the famous glazed manicure trend and works on almost any nail length.
Start with a sheer nude base that matches your skin tone. After your gel top coat cures, lightly rub chrome powder over the surface. The key is using very little powder. Too much can look frosty instead of glossy.
For a budget version, try a pearl-effect top coat from the drugstore. It will not be identical, but it still gives that luminous finish.
Keep nails in an almond or oval shape for the most flattering result. Short square nails also work if you prefer low maintenance.
Finish with cuticle oil. This small step makes the whole manicure look more expensive.
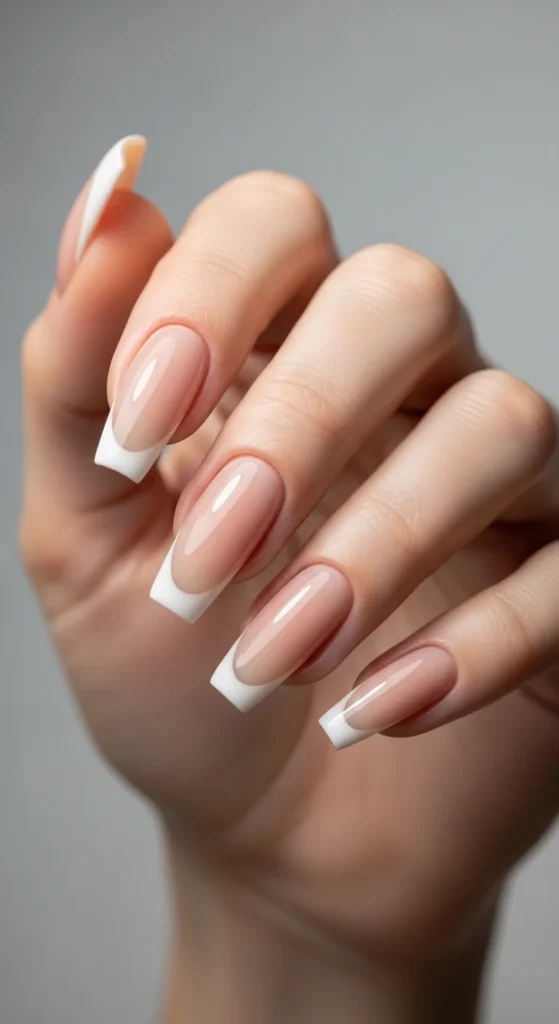
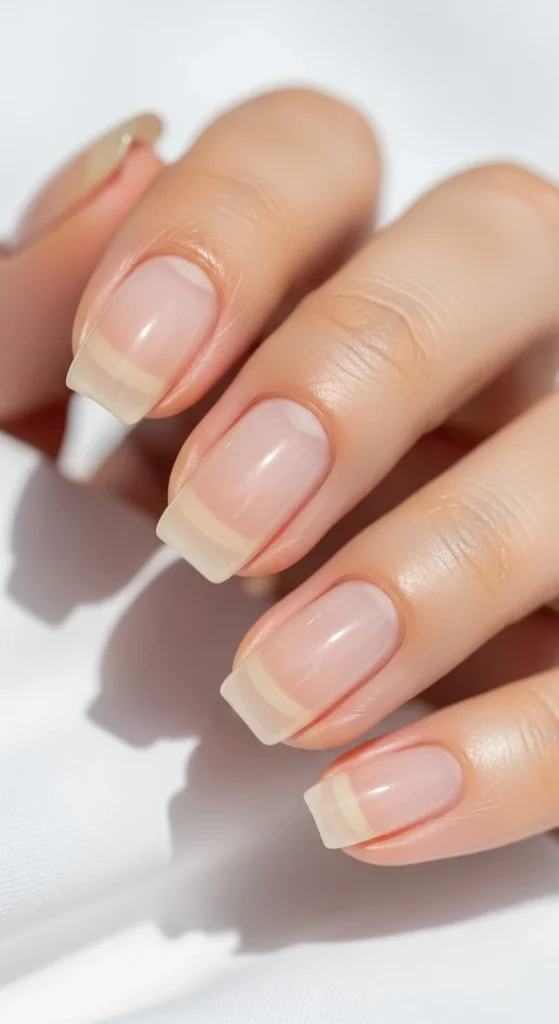
2. Soft Micro French Tips
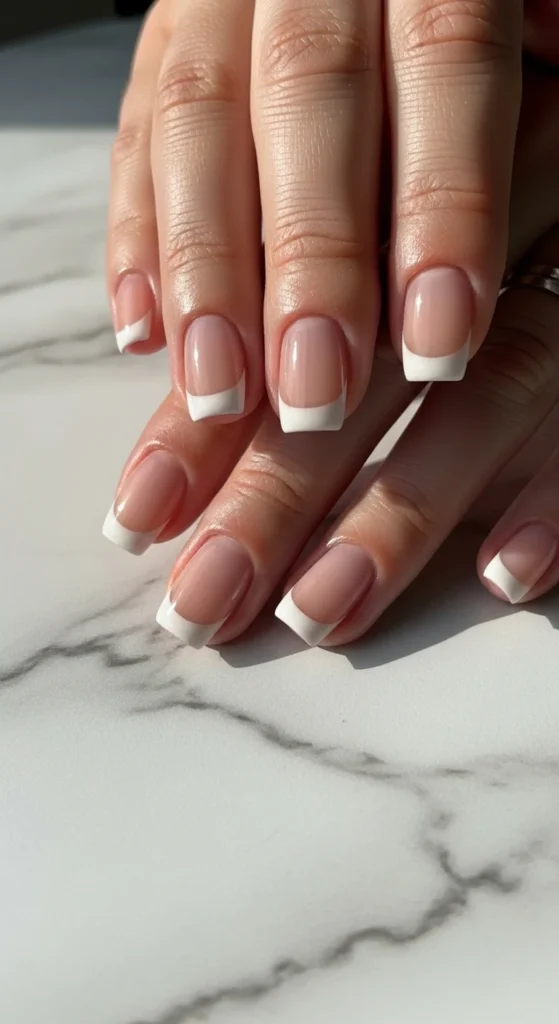
The micro French is perfect if you want something neat but not boring. The thin white line adds just enough detail without overpowering the nude base.
Use striping tape or a fine nail brush for control. The line should be very thin and crisp. Thick tips lose the soft effect.
This style works great for office settings. It looks polished but still simple.
If white feels too stark, try soft cream or pale taupe for a warmer feel. Beginners can also use French tip stickers to save time.
Seal with a glossy top coat for that salon-like finish.
3. Almond Nude Ombré Fade
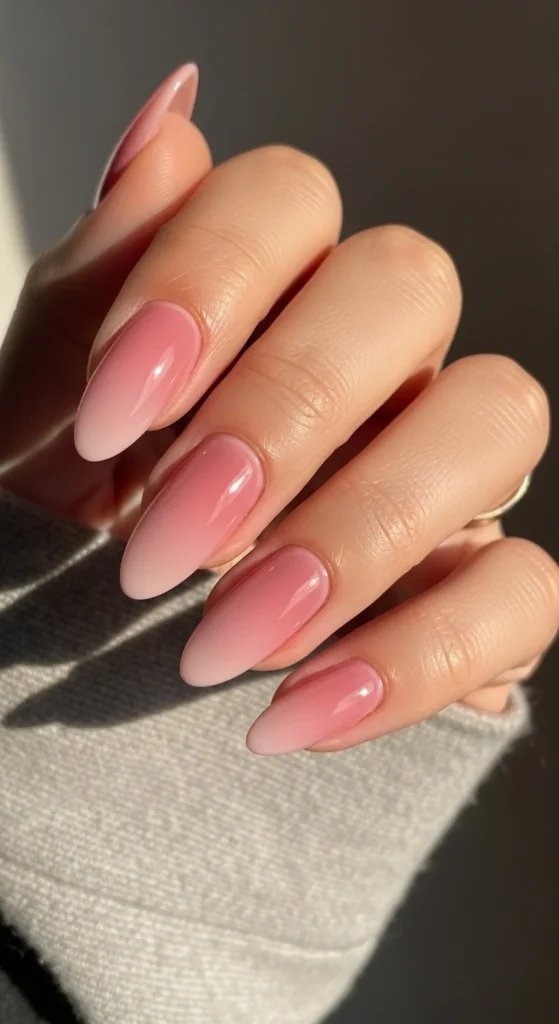
The nude ombré gives your nails a smooth gradient that looks expensive but is surprisingly easy.
Use a makeup sponge to dab two shades together. Start with pale pink near the cuticle and blend into a warmer nude at the tip. Light tapping creates the soft fade.
Keep layers thin and build slowly. Thick polish makes the gradient patchy.
This style flatters longer nails the most, especially almond shapes. It visually lengthens fingers.
For a quick DIY version, many press-on sets already come in baby boomer fades and cost far less than salon visits.
4. Your-Nails-But-Better Sheer Wash
Sometimes the simplest look wins. This sheer wash makes nails look healthy and tidy without obvious color.
Choose a jelly pink or milky nude. Apply one thin coat only. The natural nail should still peek through.
This is perfect if you want low upkeep. Chips are far less noticeable than with opaque polish.
It also works well for people growing out damaged nails. The soft tint evens tone while nails recover.
Pair with regular cuticle oil for the cleanest appearance.
5. Nude Nails with Gold Foil Accents
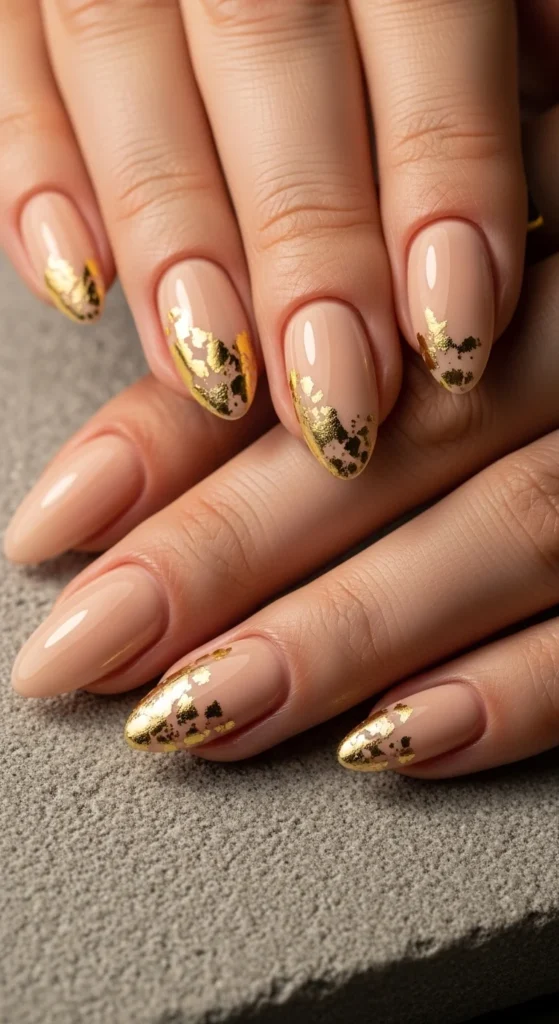
Gold foil adds a jewelry-like detail without making nails loud. It is ideal for special events or dinners.
Apply foil only to one or two nails. Too much can look messy. Press tiny flakes into tacky polish, then seal with two top coats.
Warm nude shades pair best with gold. Think peachy or caramel tones.
Budget tip: craft foil sheets work just as well as salon versions. Cut them into very small pieces.
This design looks especially nice on almond or oval shapes.
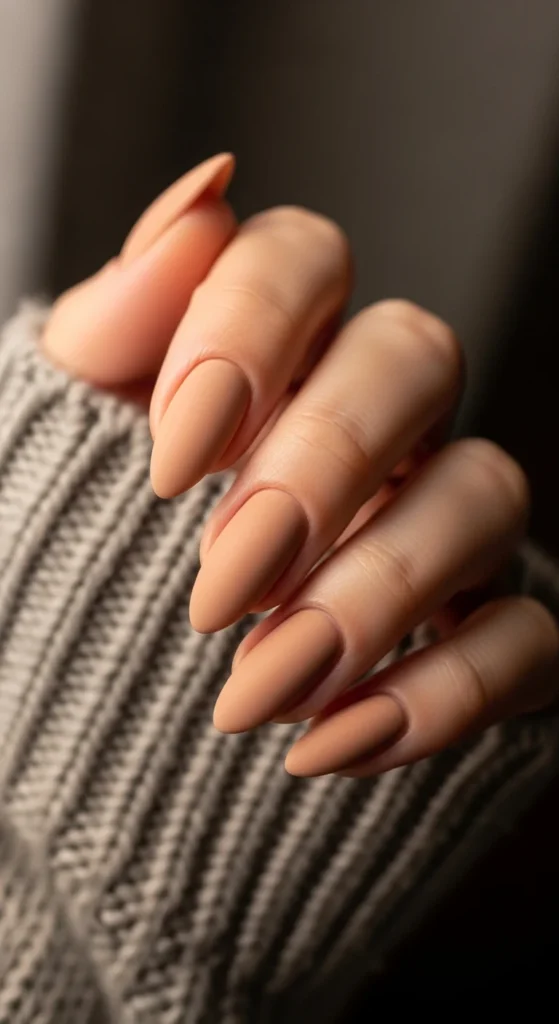
6. Matte Nude with White Botanicals
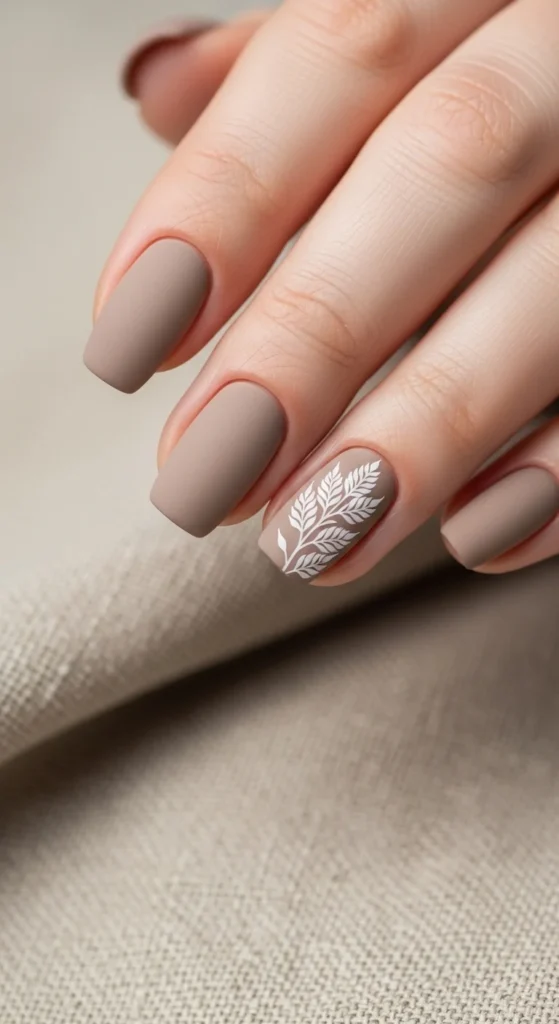
Matte finishes give nude nails a soft velvet feel. Adding tiny white leaves keeps the look interesting.
Use a matte top coat over your nude base. Then paint simple leaf shapes with a fine brush.
Keep the artwork minimal. One or two nails are enough.
If freehand painting feels tricky, try nail stickers instead. They save time and still look neat.
This style works beautifully in fall and winter but can be worn year-round.
7. Short Rounded Everyday Nude
This is the ultimate practical manicure. Short rounded nails resist chips and are easy to maintain.
Pick a nude that closely matches your skin tone. That is the secret to the clean look.
File nails evenly and keep edges smooth. Shape matters more than length here.
This is perfect for busy routines or hands-on work. It still looks tidy without constant touch-ups.
Apply a glossy top coat every few days to keep shine strong.
8. Taupe Nude Almond Elegance
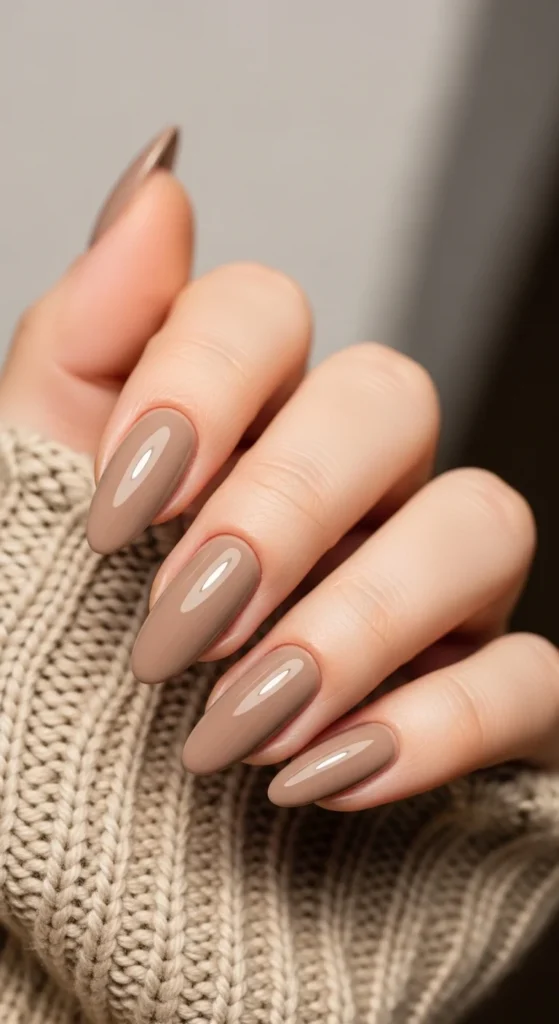
Taupe nudes are trending because they add depth without looking dark. They work especially well on medium to warm skin tones.
Choose a creamy taupe polish and apply two thin coats. Keep the finish glossy for a polished look.
This shade pairs nicely with gold rings and neutral outfits.
For DIY savings, many affordable brands now carry taupe ranges. No salon visit required.
Maintain the almond shape to keep fingers looking longer.
9. Nude with Silver Cat-Eye Accent
If you want subtle sparkle, try a cat-eye accent nail. The magnetic shimmer shifts gently in the light.
Paint most nails nude. Use magnetic polish on one finger only.
Hold the magnet close to create the soft stripe effect. Work slowly for best results.
This is great for evenings but still calm enough for daily wear.
Seal everything with a high-gloss top coat.
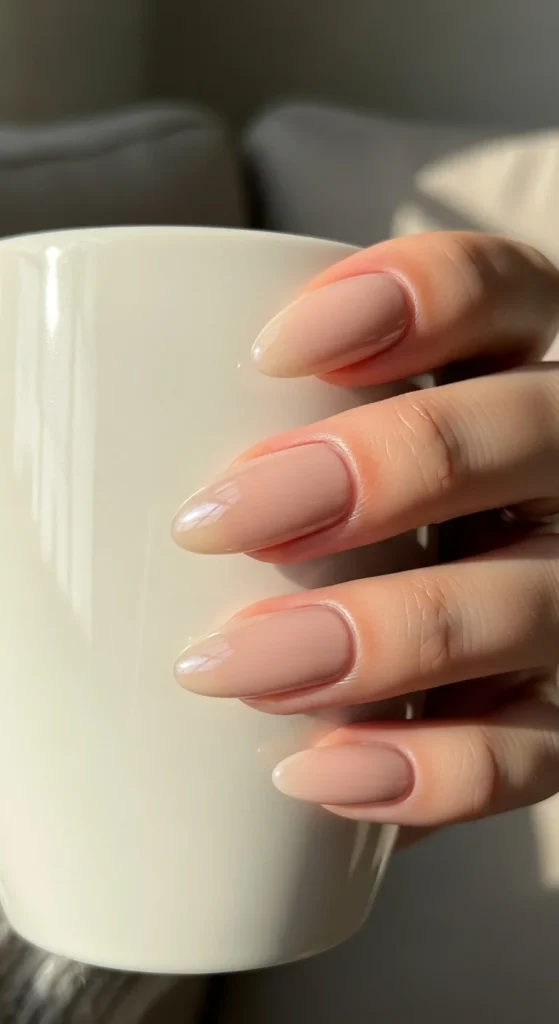
10. Milky Pink Nude Gloss
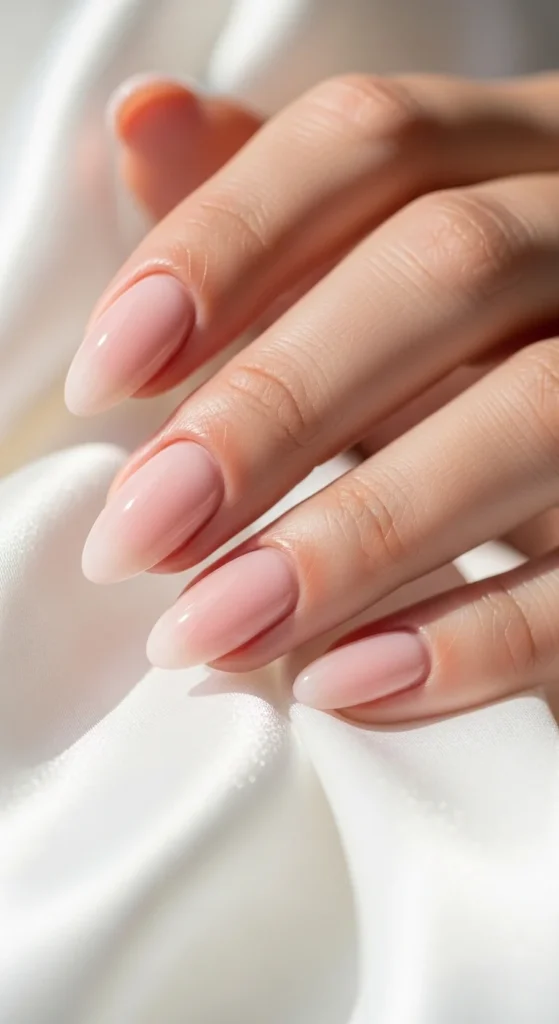
Milky pink is soft, clean, and flattering on many skin tones. It gives hands a smooth appearance.
Apply two thin coats for even coverage. Avoid thick layers that can look streaky.
Oval or almond shapes suit this style best.
For an affordable routine, use regular polish and a plumping top coat to mimic gel shine.
This look is great for weddings, workdays, and everyday wear.
11. Baby Boomer Nude Gradient
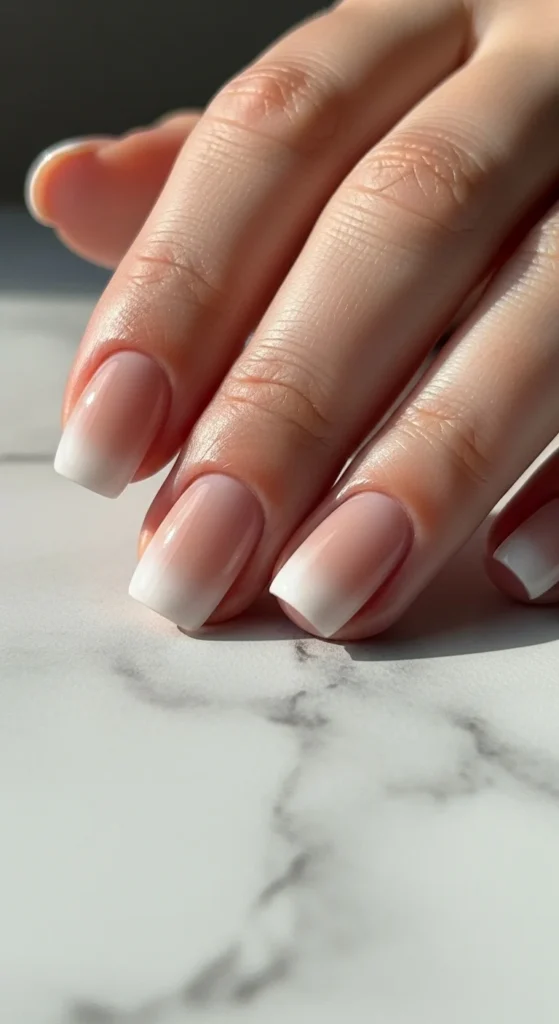
The baby boomer fade is a softer version of the French manicure. It blends pink into white smoothly.
Use a sponge technique and build the fade slowly.
Keep nails short and square for a clean modern feel.
This style hides growth lines well, so it lasts longer between touch-ups.
Finish with a glossy top coat.
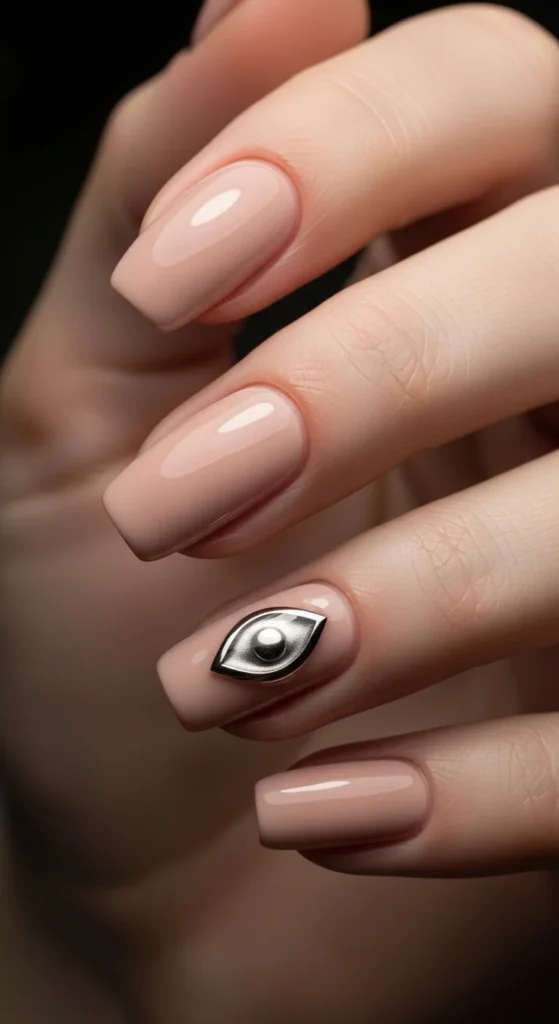
12. Nude with Tiny Crystal Dots
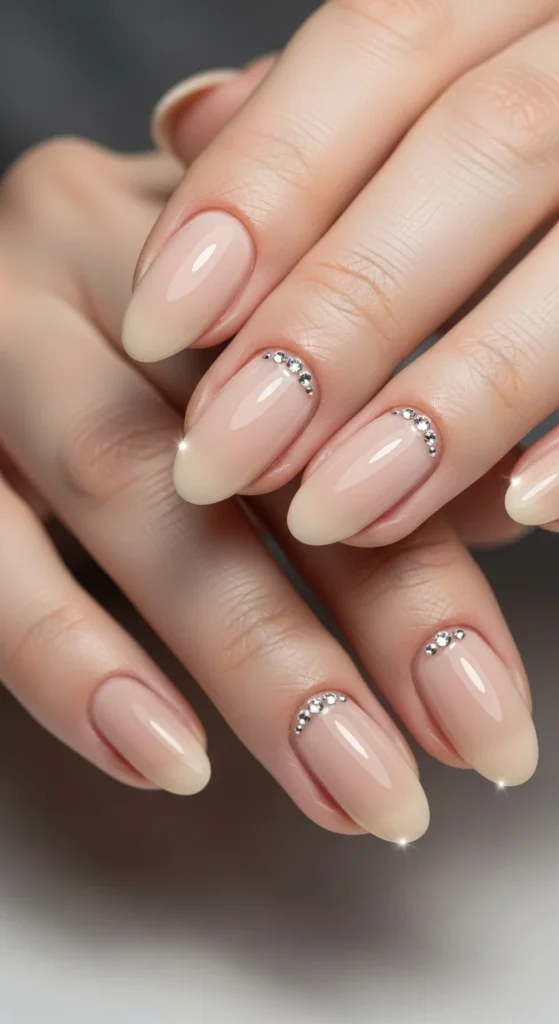
Tiny crystals add just enough shine without feeling heavy.
Place one small rhinestone near the cuticle on one or two nails. Use nail glue for hold.
Keep the rest of the manicure simple and glossy.
This is a quick DIY upgrade for plain nude polish.
For budget options, buy small nail gem wheels online.
13. Soft Square Office Nude
Soft square nails look tidy and professional. They are perfect for work settings.
Choose a creamy beige nude and keep edges gently rounded.
Avoid very long lengths. Medium or short looks cleaner.
Reapply top coat every few days to maintain shine.
This style pairs well with minimal jewelry and neutral outfits.
14. Nude with Thin Gold Lines
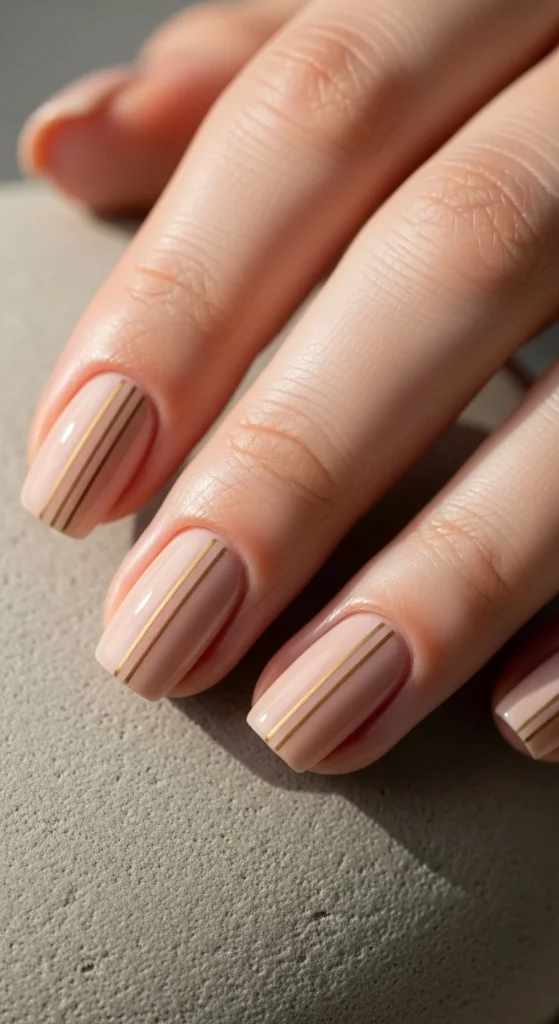
Thin metallic lines add structure without overwhelming the nude base.
Use striping tape or metallic nail tape. Keep lines very fine.
Place diagonally or near the tip for a modern feel.
This design is affordable and beginner-friendly.
Seal well so the tape edges stay smooth.
15. Coffin Nude with Modern French
This style gives nude nails a sharper edge. The coffin shape adds drama while the nude keeps it balanced.
Use a thin French tip rather than a thick one.
Press-on coffin sets are a quick and budget option if shaping feels tricky.
Keep the base warm nude for the best contrast.
Finish with a high-gloss top coat.
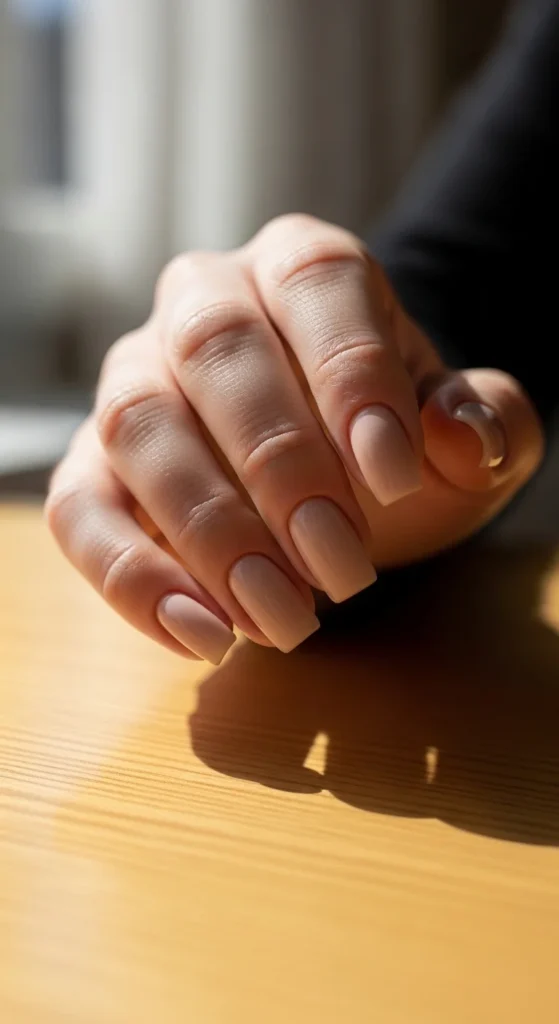
16. Matte Caramel Nude
Caramel tones are trending for warmer skin tones. The matte finish makes them feel soft and modern.
Apply two coats of caramel polish and finish with matte top coat.
Keep nails smooth and evenly shaped. Matte finishes highlight imperfections.
Hydrate cuticles well to keep the look neat.
This shade looks beautiful in fall outfits.
17. Nude with Daisy Details
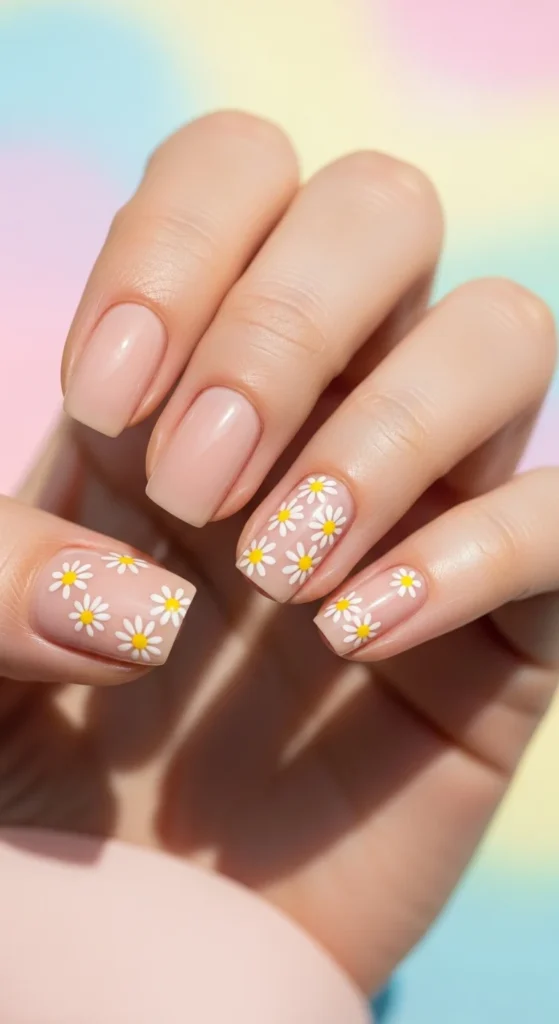
Tiny daisies give nude nails a gentle spring vibe.
Paint very small flowers on one or two nails only. Use a dotting tool for easy petals.
Keep the base sheer or milky for the prettiest effect.
This is a fun DIY weekend manicure.
Seal carefully so the artwork stays smooth.
18. Glossy Oval Nude Classic
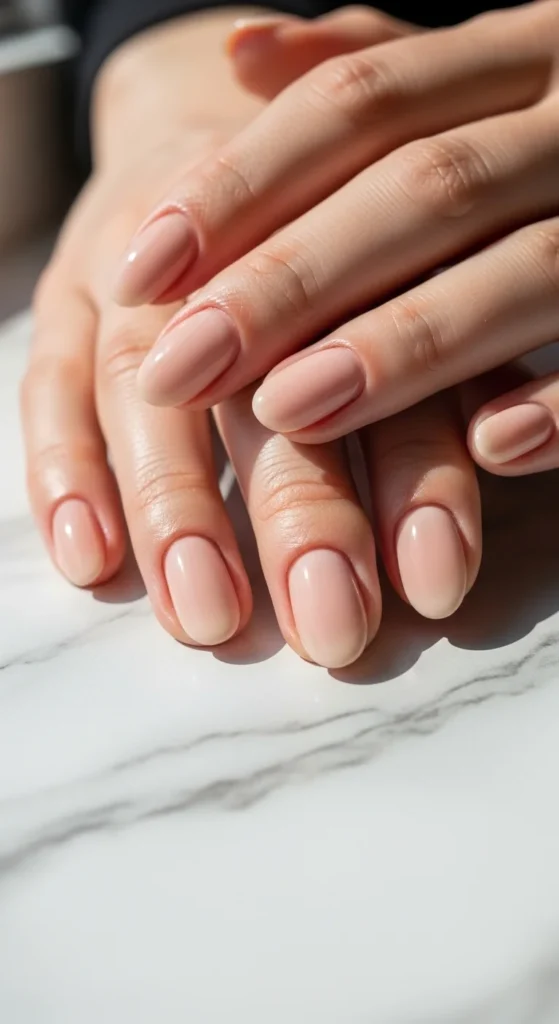
This is the timeless nude manicure that works anywhere.
Choose a nude that closely matches your undertone. Cool skin suits pink nudes. Warm skin suits peach tones.
File nails into a smooth oval and apply two thin coats.
Maintain shine with weekly top coat refresh.
Simple but always polished.
19. Nude Mix-and-Match Textures
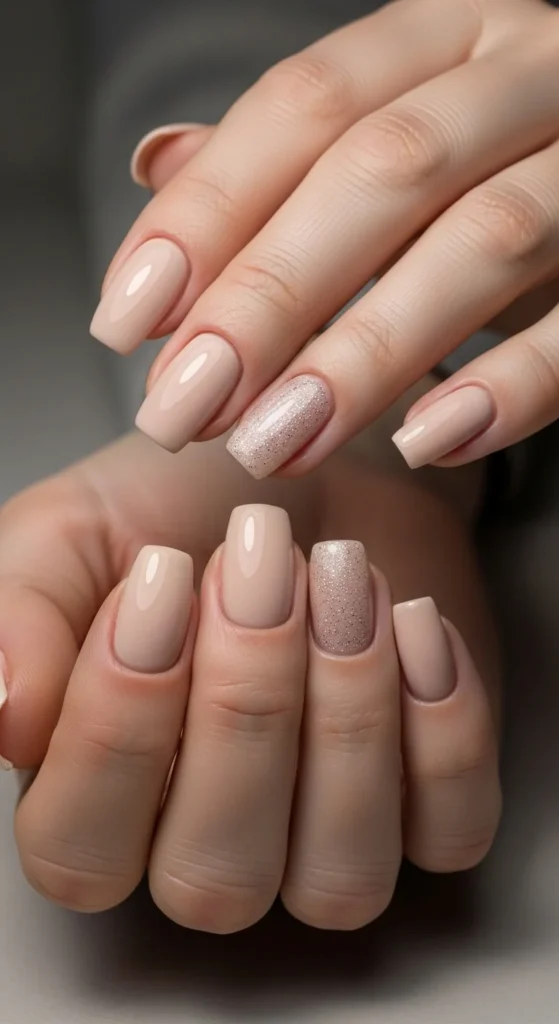
Mixing finishes keeps nude nails from feeling plain.
Use glossy on most nails, matte on one, and a soft shimmer on another.
Keep all shades within the same nude family. That keeps the look cohesive.
This is great for DIY because it uses polishes you may already own.
Balance is key. Avoid too many accents.
20. Short Builder Gel Nude
Builder gel helps strengthen short nails while keeping a natural look.
Apply a thin builder layer, then finish with sheer nude polish.
This is great for people dealing with chips or peeling.
At-home kits are widely available and cost less than regular salon visits.
Maintain with cuticle oil and gentle filing.
21. Toffee Nude with Gold Cuticle Rim
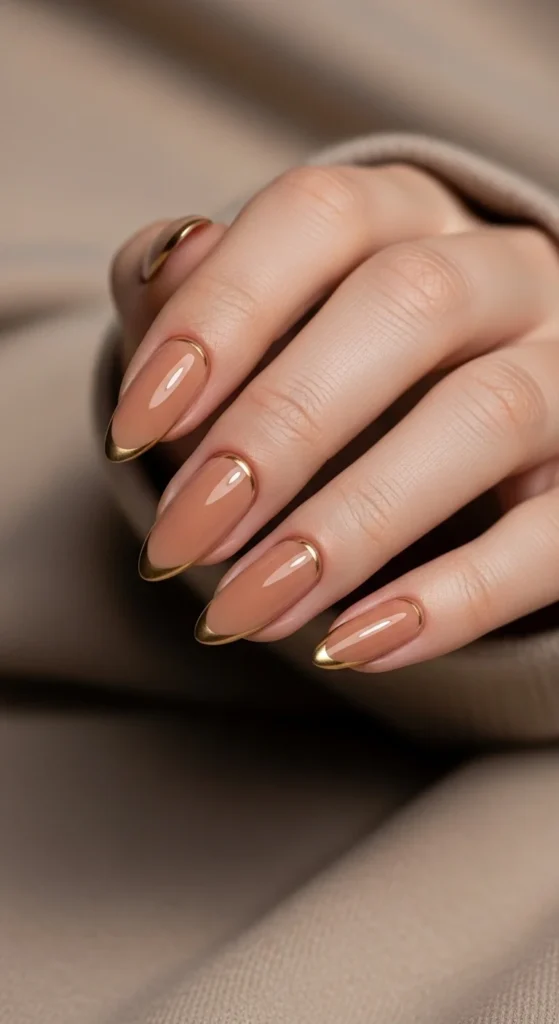
Toffee nudes are gaining attention because they add warmth without looking dark. The thin gold rim near the cuticle gives a jewelry-like finish that still feels clean.
Start with a creamy toffee polish that complements your skin tone. After it dries, use a striping brush and metallic gold polish to trace a very thin line along the cuticle. Keep your hand steady and work slowly.
This design looks especially pretty on almond nails but works on short rounds too. If freehand feels tricky, try gold nail tape and trim carefully.
For a budget version, use regular polish and seal twice with top coat so the gold line stays smooth. It is a small detail that makes a big visual difference.
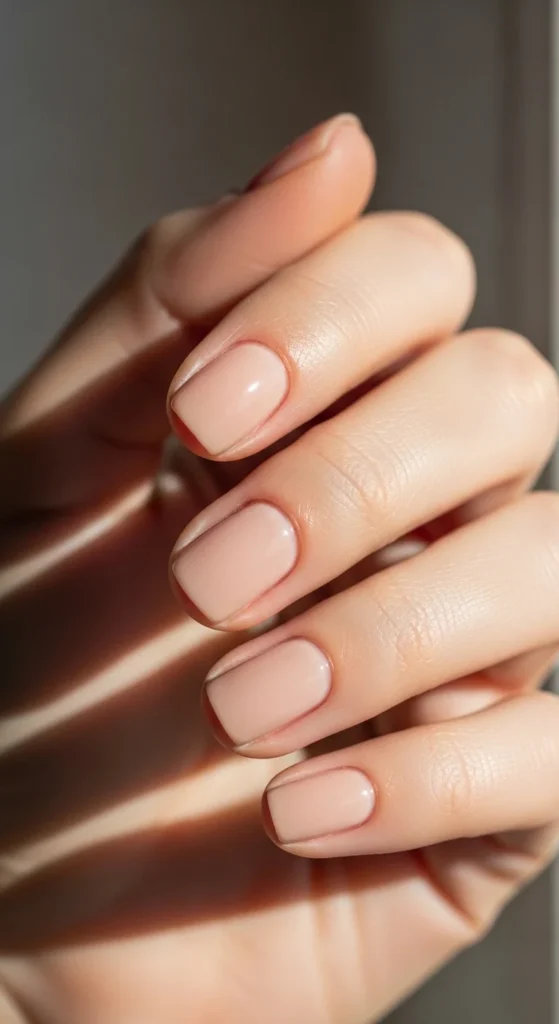
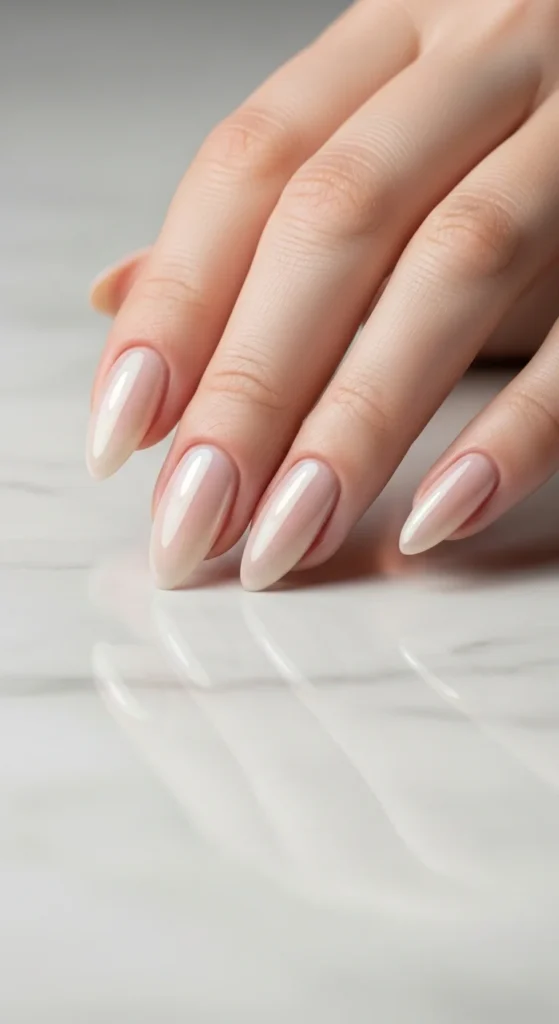
22. Sheer Nude Jelly Nails
Jelly nude nails give that your-nails-but-better effect with a glossy, see-through finish. They look clean and modern while hiding minor nail discoloration.
Choose a sheer jelly nude or mix a drop of nude polish into clear top coat for a DIY version. Apply in very thin layers. The natural nail should still be slightly visible.
This look is perfect if you want something low effort. Chips are less obvious, and regrowth blends in smoothly.
Short oval or rounded shapes work best for this style. Keep edges neatly filed.
Finish with a high-shine top coat and daily cuticle oil for the healthiest appearance.
23. Nude Chrome Pearl Finish
Pearl chrome gives nude nails a soft reflective sheen that looks polished but not loud. It is ideal when you want subtle shine for events or photos.
Apply a creamy nude base first. After curing the top coat, lightly buff pearl chrome powder onto the nail surface. Use very gentle pressure for the smoothest glow.
If you prefer a simple method, look for pearl-effect top coats at the drugstore. They are affordable and beginner friendly.
Almond and oval shapes show the reflection best.
Seal with a glossy top coat and avoid thick layers so the finish stays smooth and glassy.
24. Minimal Nude Accent Stripe

A single stripe can completely change a plain nude manicure. It adds structure while keeping the look clean.
Paint all nails with your favorite nude shade. On one or two nails, draw a thin vertical line using metallic or white polish. Keep the line centered and very fine.
This is an easy DIY upgrade that works even for beginners. Striping tape can help if your brush control is still developing.
Short square nails make the stripe look modern and tidy.
Finish with a glossy top coat so the line looks sealed and smooth.
25. Classic Nude Press-On Perfection
Press-on nude nails are perfect when you want quick results without a long appointment. Modern sets look very natural and are easy to apply at home.
Choose a shade close to your skin tone and pick an oval or almond shape for the most realistic finish. Before applying, lightly buff your natural nails and wipe them clean.
Use the included glue tabs for short-term wear or nail glue for longer hold. Press firmly for about 20 seconds per nail.
Many quality sets are affordable and reusable, which saves money over time.
Carry a small nail glue in your bag for quick fixes, and your manicure can stay neat for days.
Conclusion
Nude nail designs prove that simple does not mean boring. With small details like micro tips, soft ombré fades, or a glossy glaze, you can create manicures that look polished and modern without spending much. Start with a shade that matches your undertone, keep shapes clean, and add subtle accents when you want variety. Try one of these ideas at home this week and see how easy it is to get that polished nude look.

Leave a Reply