
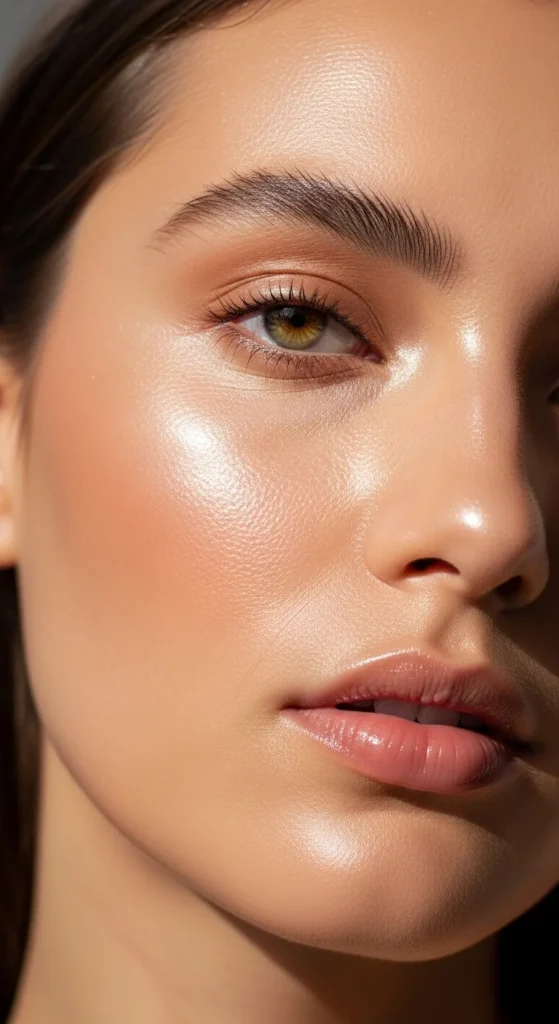
Bronzer is that magic step that makes your skin look like you’ve just come back from a sunny weekend—healthy, warm, and naturally sculpted. When done right, it adds dimension without looking muddy, orange, or heavy. When done wrong… well, we’ve all seen the harsh stripes 😬
The secret? Smart placement, the right shade, and soft blending. Whether you’re a total beginner or refining your routine for 2026’s “soft sculpt” trend, this guide has you covered.
What Bronzer Is (and What It Isn’t)
Bronzer is meant to mimic where the sun naturally hits your face. It adds warmth—not sharp shadows.
- Bronzer = warmth and glow
- Contour = depth and structure
You can layer bronzer over contour, but bronzer alone should never look gray or overly sculpted. Think “sun-kissed,” not “carved.”
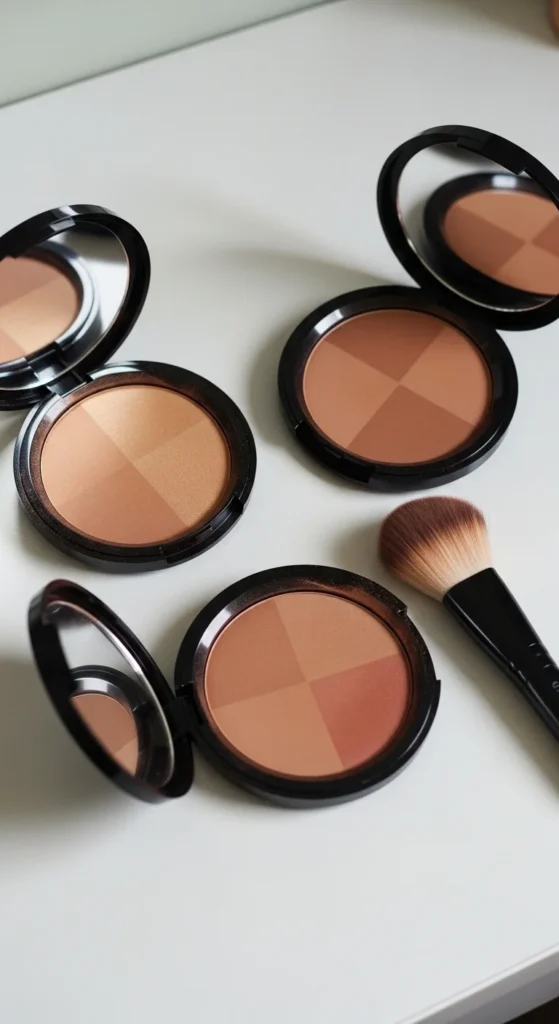
Step 1: Pick the Right Bronzer Shade and Finish
This step prevents 90% of bronzer mistakes.
Shade rule
- Choose 2–4 shades deeper than your foundation
- Match your undertone:
- Warm skin → golden or honey tones
- Cool skin → soft taupe or neutral brown
- Neutral skin → beige-bronze shades
Finish by skin type
- Oily skin → matte bronzer (controls shine)
- Dry skin → cream or radiant powder
- Combo skin → satin or hybrid formulas
If your bronzer looks orange or muddy, it’s usually an undertone issue—not your technique.
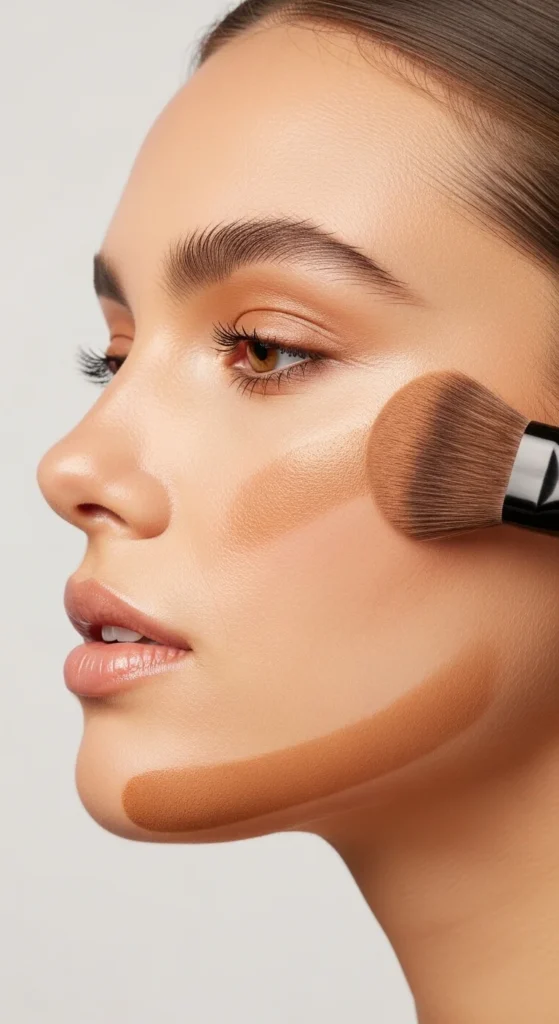
Step 2: Know Exactly Where Bronzer Goes
Think of your face as a sun map. Apply bronzer only to areas that naturally tan first:
- Forehead perimeter (near the hairline)
- Temples
- Cheek hollows (slightly above where contour goes)
- Jawline edges
- Light sweep on nose bridge (optional)
Avoid the center of the face—bronzer belongs on the outer frame.
Step 3: Master the Beginner “3” Shape Technique
If you remember one thing, make it this.
The “3” (or “E”) shape
- Start at the hairline on the forehead
- Sweep down to the cheekbone
- Finish along the jawline
This creates balanced warmth without overthinking placement.
Pro tips:
- Hold your brush from the back end for lighter pressure
- Tap off excess product before touching your face
- Focus more product at the hairline and temples for a slimming effect
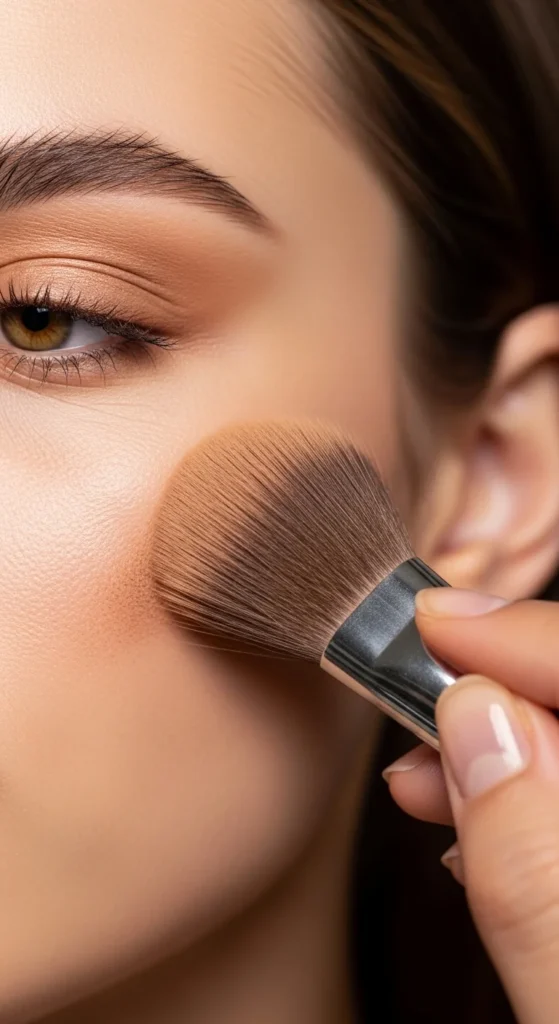
Step 4: Choose the Right Tool for Your Formula
Tools matter more than people realize.
Powder bronzer
- Use a fluffy or angled brush
- Apply in light, circular motions
- Build slowly
Cream or liquid bronzer
- Use a damp sponge, stippling brush, or fingers
- Stamp first, then blend edges
- Great for on-the-go routines
Always test bronzer on your brush before applying to avoid fallout ruining your base.
Step 5: Blend for Skin, Not Stripes
Blending is where bronzer turns believable.
Best blending habits:
- Blend outward and slightly downward
- Diffuse edges, not the center
- Use circular motions for powder
- Use tapping motions for creams
If you see harsh lines:
- Go over edges with a clean brush
- Or lightly tap with leftover foundation on a sponge
Bronzer should melt into your skin—not sit on top.
Step 6: Don’t Forget the Neck and Jawline
This is a game-changer, especially for photos.
- Lightly blend bronzer under the jawline
- Sweep a little down the side of the neck
- Focus on the neck sides, not the center
This avoids the dreaded face–neck color mismatch and keeps everything looking seamless.
Step 7: Adjust for Your Face Shape and Skin Tone
Round face
- Focus bronzer on the outer perimeter
- Keep cheeks lifted, not low
Wide face
- Emphasize temples and hairline
- Less product on the cheeks
Fair skin
- Use a lighter hand and subtle layers
Deeper skin tones
- Don’t be afraid of richer bronzer shades
- Build intensity for visible warmth
Bronzer should be visible—but still natural.
Final Takeaway
Bronzer isn’t about looking darker—it’s about looking healthier, warmer, and softly sculpted. When you choose the right shade, follow the sun map, and blend patiently, bronzer becomes one of the most flattering steps in your routine.
✨ Save this guide for later and try the “3 shape” technique next time you do your makeup!

Leave a Reply